Set up a ChatGPT Enterprise MCP client
Set up a ChatGPT Enterprise MCP client

To set up a ChatGPT Enterprise MCP client, a workspace administrator must first set up a shared plugin in the ChatGPT workspace. Once the plugin is set up, workspace members can add it to their ChatGPT accounts and invoke it in their chats, enabling them to leverage the power of Coveo’s search and retrieval capabilities in their ChatGPT experience.
This article provides step-by-step instructions for both workspace administrators and workspace members. Follow the instructions that apply to your role:
Administrator setup in the ChatGPT workspace
As an administrator, you’ll either enable a shared Coveo plugin or create a shared custom app in your ChatGPT workspace that allows the MCP client to connect to your Coveo Hosted MCP Server using OAuth (Authenticated) or API key (Anonymous) authentication.
Base your choice on the following considerations:
-
Enable the default Coveo plugin if you only want to use the Search and Fetch tools that are available by default in your Coveo organization. This option is suitable for testing the Hosted MCP Server without creating a configuration.
-
Create a custom app to use your own Coveo Hosted MCP Server configuration and leverage the tools it provides.
Prerequisites
-
You have Admin role privileges in your ChatGPT workspace.
-
You’re either a member of the Administrators group in your Coveo organization or you have the required privileges to edit a Hosted MCP Server configuration.
-
(Custom app setup) You have configured a Hosted MCP Server in your Coveo organization.
Enable the default Coveo plugin
A default Coveo plugin is available in ChatGPT, but it must be enabled in your ChatGPT workspace before it can be used.
This plugin uses the generic MCP endpoint (mcp.cloud.coveo.com/mcp), as well as the Search and Fetch tools, which are available by default in your Coveo organization.
You can use it to test the Hosted MCP Server without creating a configuration.

|
The connection to the Coveo organization is established during the workspace member setup. |
To enable the default Coveo plugin
-
Log in to ChatGPT as a workspace administrator.
-
Go to Workspace settings.
-
From the Plugins directory, enter
Coveoin the search box, and then select Coveo. -
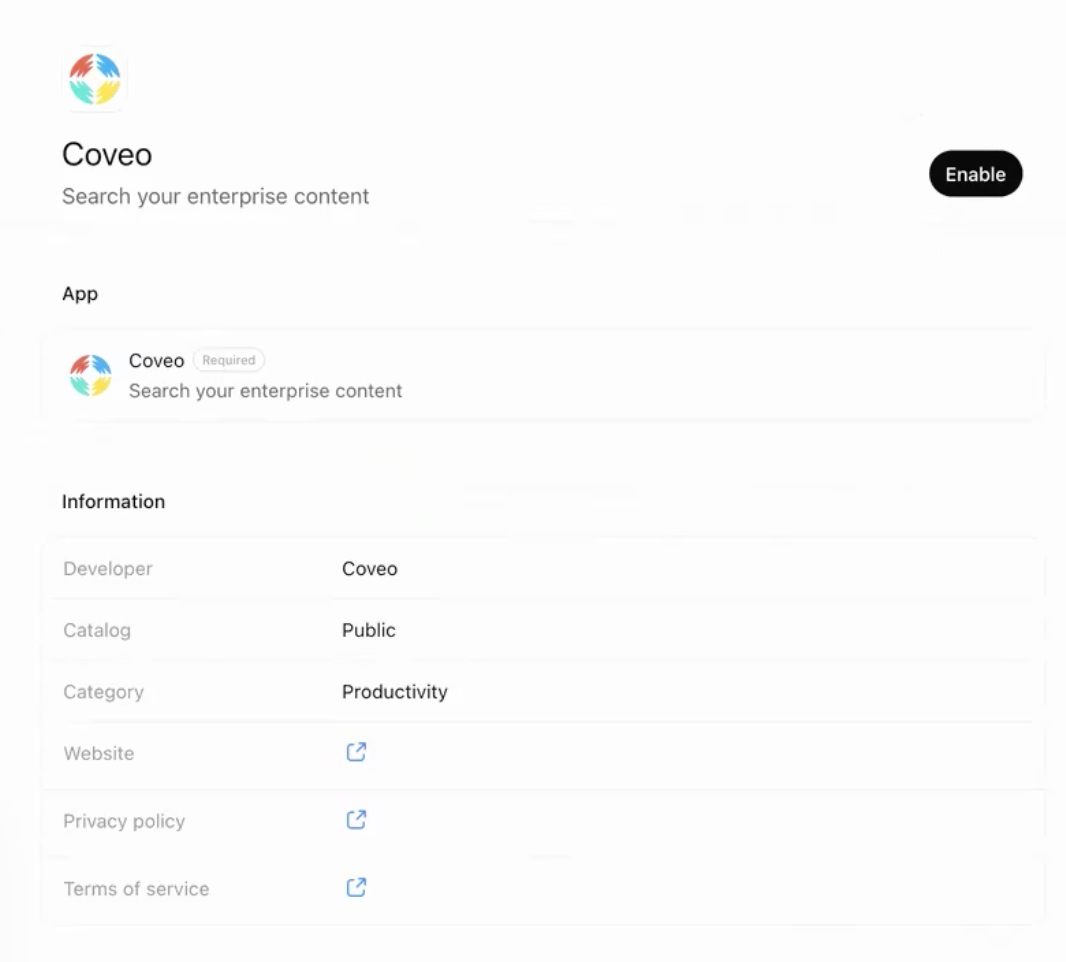
On the Coveo plugin details page, click Enable.
-
Configure access to the app and which actions are available to your workspace members, and then click Enable.
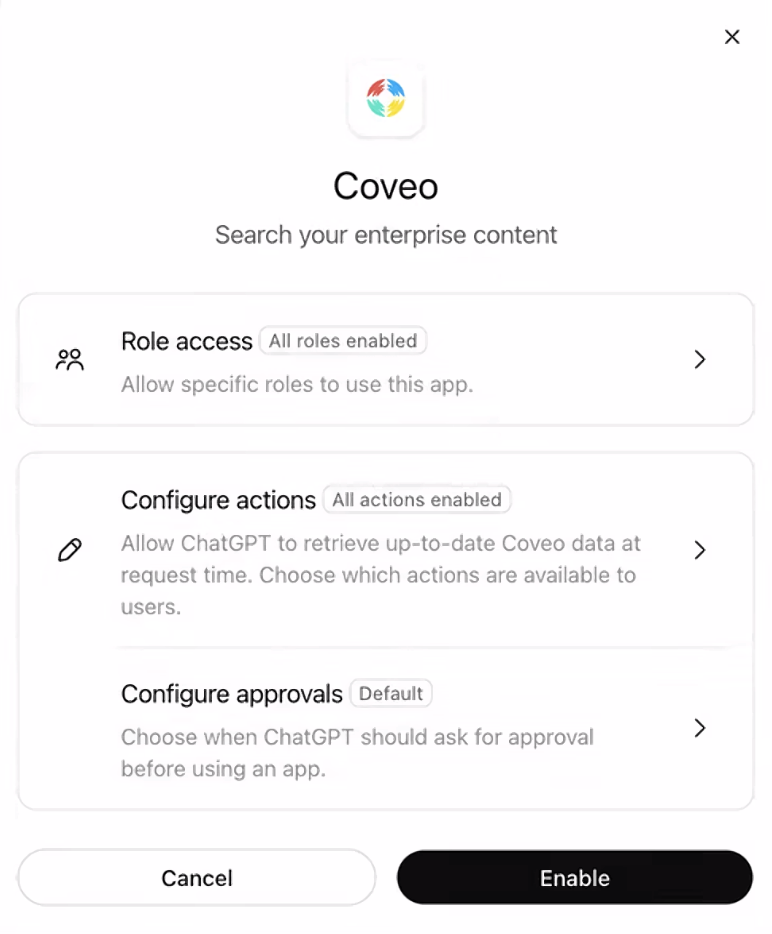
The default Coveo plugin is now available in your ChatGPT workspace for workspace members to add to their ChatGPT accounts. See Workspace member setup for details.
Add a custom app
To use your own Coveo Hosted MCP Server configuration, create an app in your ChatGPT workspace.
|
|
Apps created in the ChatGPT workspace are accessible as plugins to workspace members. |
To add an app
-
Log in to ChatGPT as a workspace administrator.
-
Go to Workspace settings > Settings > Security and login.
-
From the Security and login modal, enable Developer mode, and then close the modal.
-
Go to Workspace settings, and then click Apps > Create.
-
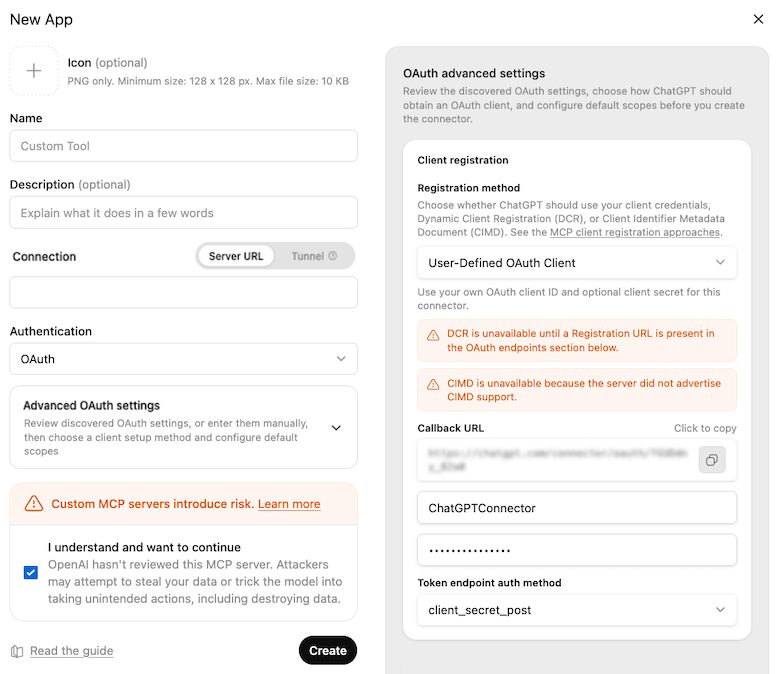
In the New App modal, specify the following information:
-
In the Name field, enter a meaningful name to help workspace members identify the app.
-
(Optional) In the Description field, enter a description for the app.
-
In the Connection field:
-
Under Authentication:
For OAuth (Authenticated) authentication
-
Select OAuth from the drop-down menu, and then click Advanced settings.
The OAuth advanced settings section appears.
-
Ensure the Registration method is set to User-Defined OAuth Client.
-
In the OAuth Client ID and OAuth Client Secret (Optional) fields, enter
ChatGPTConnector.The Token endpoint auth method is automatically set to client_secret_post.
No other settings are required. You can keep the default values for the other settings in this section.
For API key (Anonymous) authentication
-
Select No Auth from the drop-down menu.
-
-
Check the I understand and want to continue box.
-
Click Create.
The Welcome back to Coveo AI-Relevance Platform modal appears.
-
-
Log in to your Coveo organization to finish adding the app.
Make sure to use the same login option that was specified in the MCP Server search group created in the Coveo organization.
-
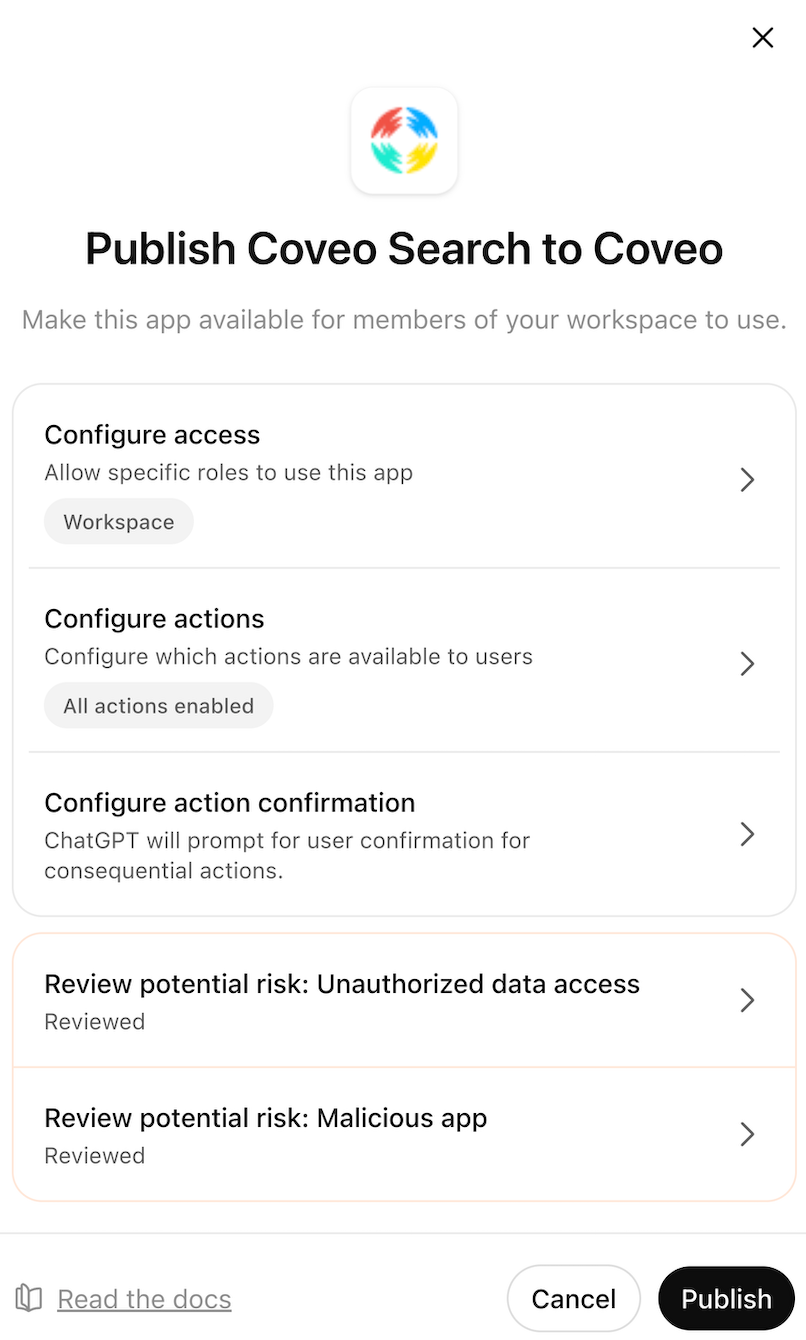
Click Publish.
-
Configure access to the app and which actions are available to workspace members.
-
For each Review potential risk section, click I trust this app and I have reviewed the parameters being sent to each action and they do not request sensitive data that they shouldn’t.
-
Click Publish.
-
The app is now available as a plugin in your ChatGPT workspace for workspace members to add to their ChatGPT accounts.
Workspace member setup in ChatGPT
Before you can use the Coveo plugin in your ChatGPT account, confirm that your workspace administrator has either enabled the default Coveo plugin or created a custom app in your ChatGPT workspace. Then, follow the steps below to add the plugin to your ChatGPT account and start using it in your chats.
Add the Coveo plugin
-
Log in to ChatGPT.
-
From the Plugins directory, enter
Coveoin the search box, and then select Coveo. -
On the Coveo plugin details page, click Install plugin.
The Welcome back to Coveo AI-Relevance Platform modal appears.
-
Log in to the Coveo Platform using the login method specified by your company.
Login methods are specified in the MCP Server search group created in your Coveo organization.
-
In the Grant access modal, click Authorize to grant full access to your Coveo organization.
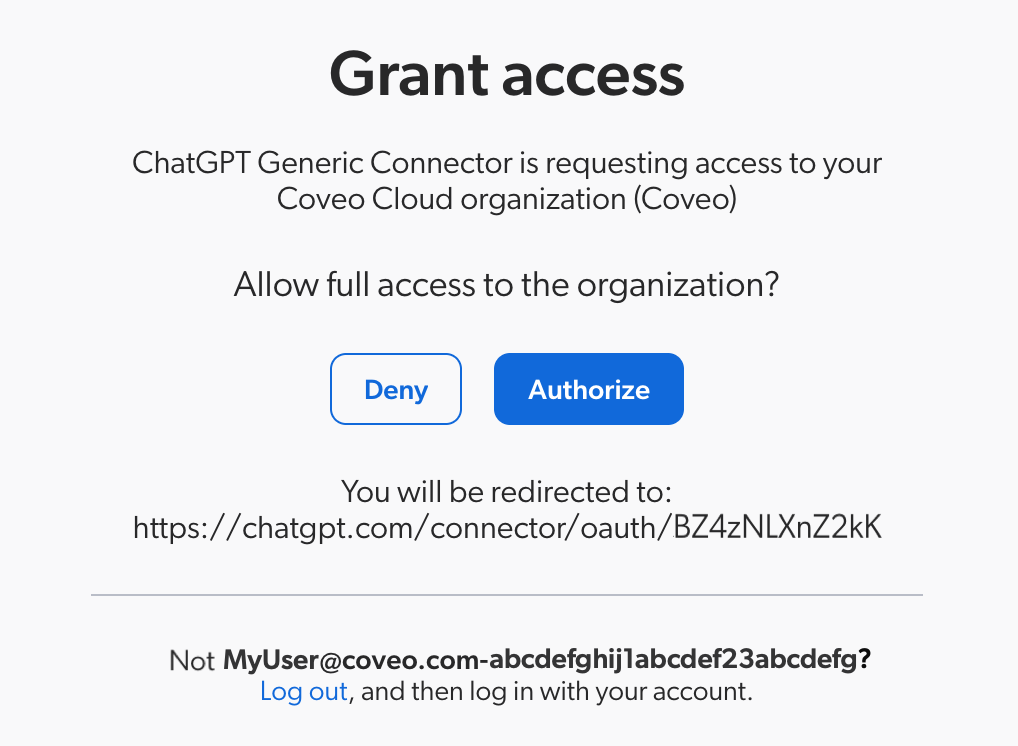
The Coveo plugin has now been added to your ChatGPT account.
-
Refresh the ChatGPT page to see the plugin in your list of available plugins.
-
Start a new chat.
-
Enter
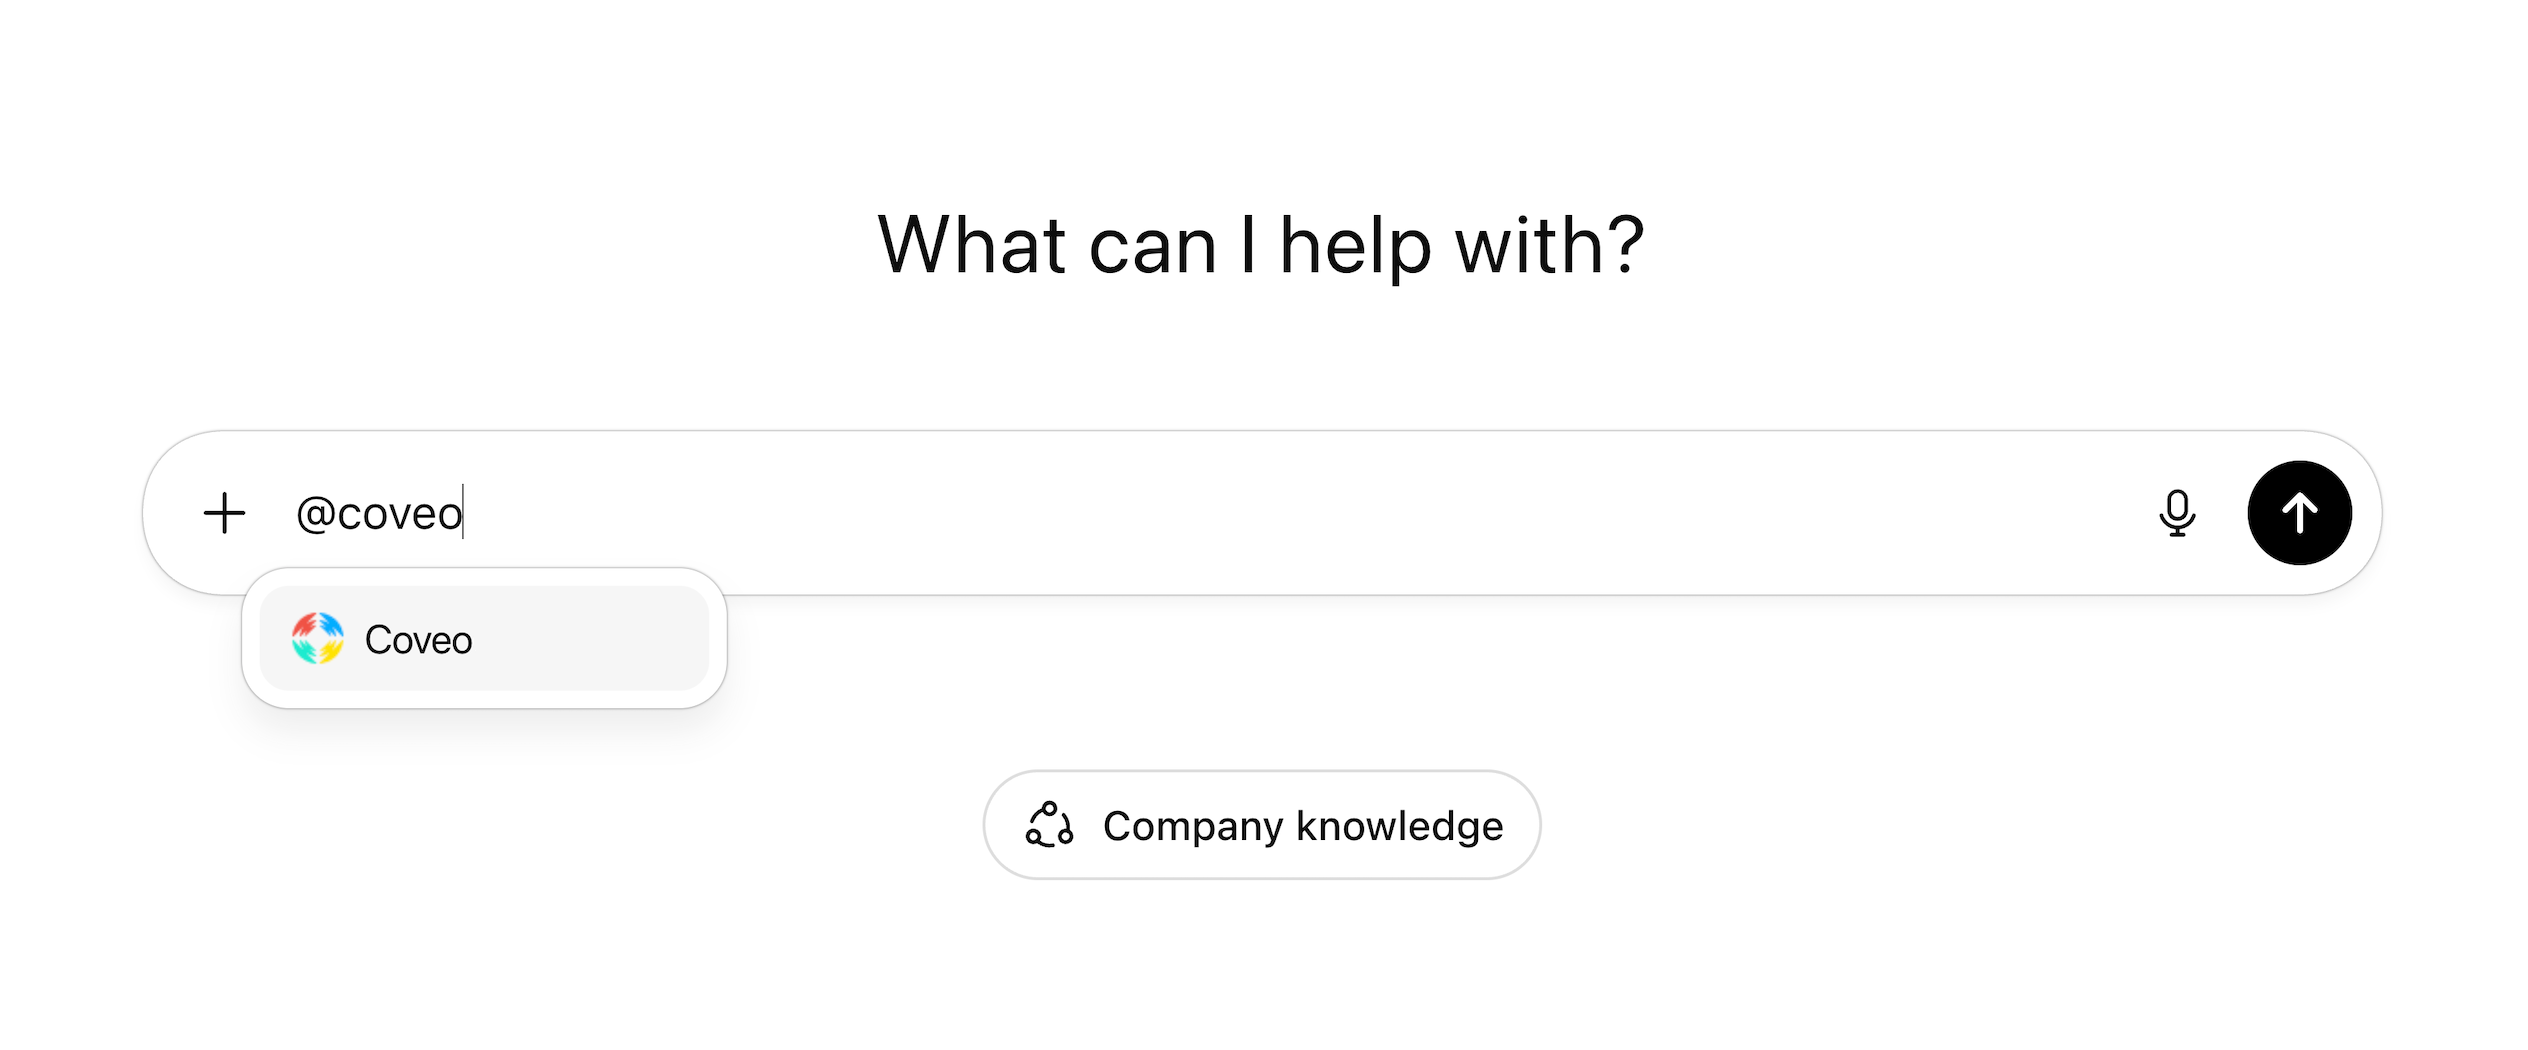
@coveoor/coveoto trigger the Coveo plugin and start using it.