Create a Google Cloud Console project and service account
Create a Google Cloud Console project and service account
To authorize Coveo to access your Google content, a Google Workspace administrator must perform a Google Workspace (formerly G Suite) domain-wide delegation of authority. Before doing so, however, a Google Workspace domain administrator must create the following:
-
A Google Cloud Console project for your organization
-
A service account for the project
The project is required to enable the API keys and the service account is required to enable domain-wide delegation of authority.
|
|
Note
If you’re not the Google Workspace domain administrator for your company, contact them so they can perform the steps detailed in this article. |
Create a Google Cloud Console project
-
Access the Google Cloud Console Manage resources page using a Google account with administrator credentials.
-
On the Manage resources page, click Create Project.

-
Configure the project.
-
Enter a Project name.
 Note
NoteThe Project ID is automatically created based on the project name and appears under the Project name field. Click Edit to modify the project ID.
-
Select the Organization in which you want to create the API project for the Coveo source.
-
Click Create.

-
-
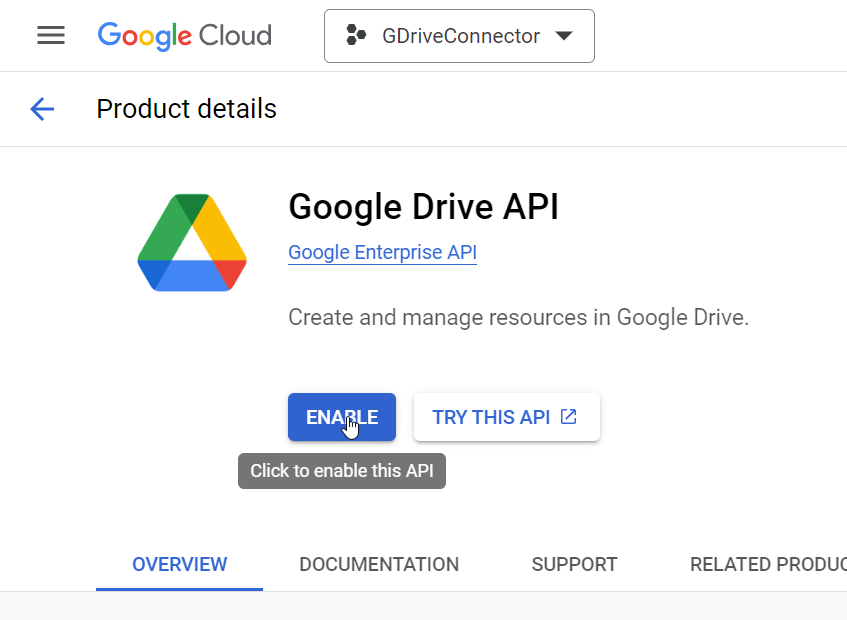
On the header, use the search box to search for, and then select, Google Drive API.
-
On the Google Drive API page, make sure that your project is selected on the header, and then click Enable.
-
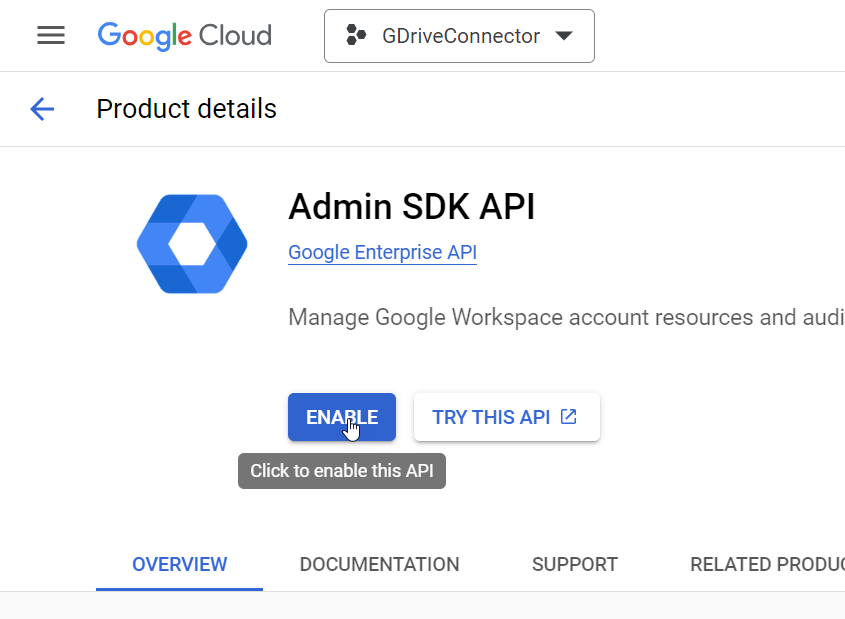
On the header, use the search box to search for, and then select, Admin SDK API.
-
On the Admin SDK API page, make sure that your project is selected on the header, and then click Enable.
-
Create a service account for the project.
Create a service account
-
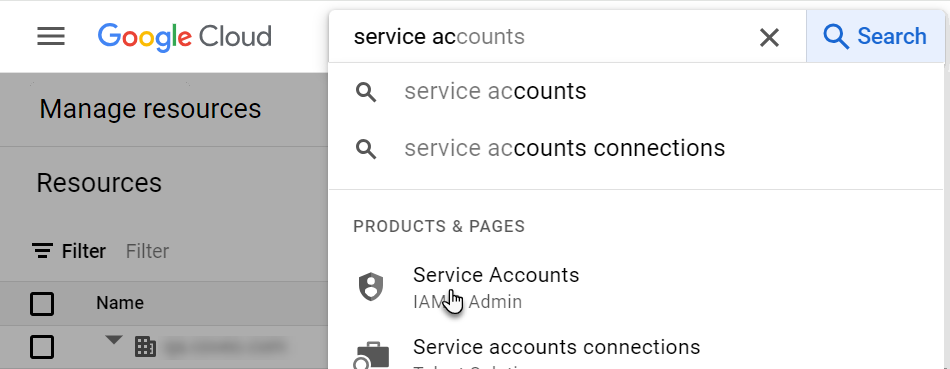
In the Google Cloud Console, on the header, use the search box to search for, and then select, Service Accounts.
-
On the Service Accounts page, make sure that your project is selected on the header, and then click Create Service Account.
-
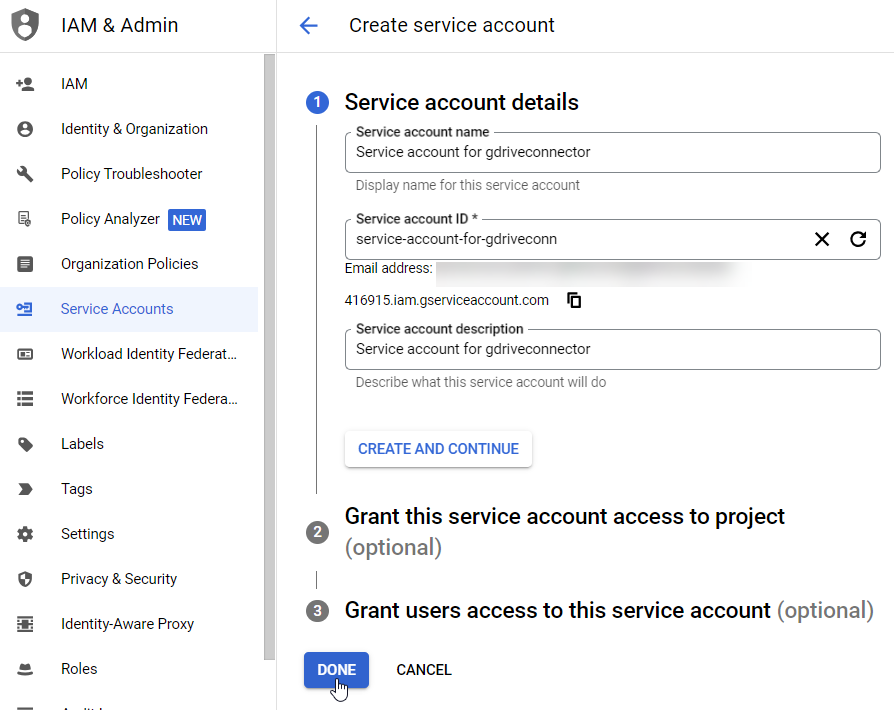
On the Create service account page, enter a Service account name and a Service account description.
NoteThe Service account ID is automatically created from the Service account name.
-
Click Done.
-
On the Service accounts for project page, click the service account email.
-
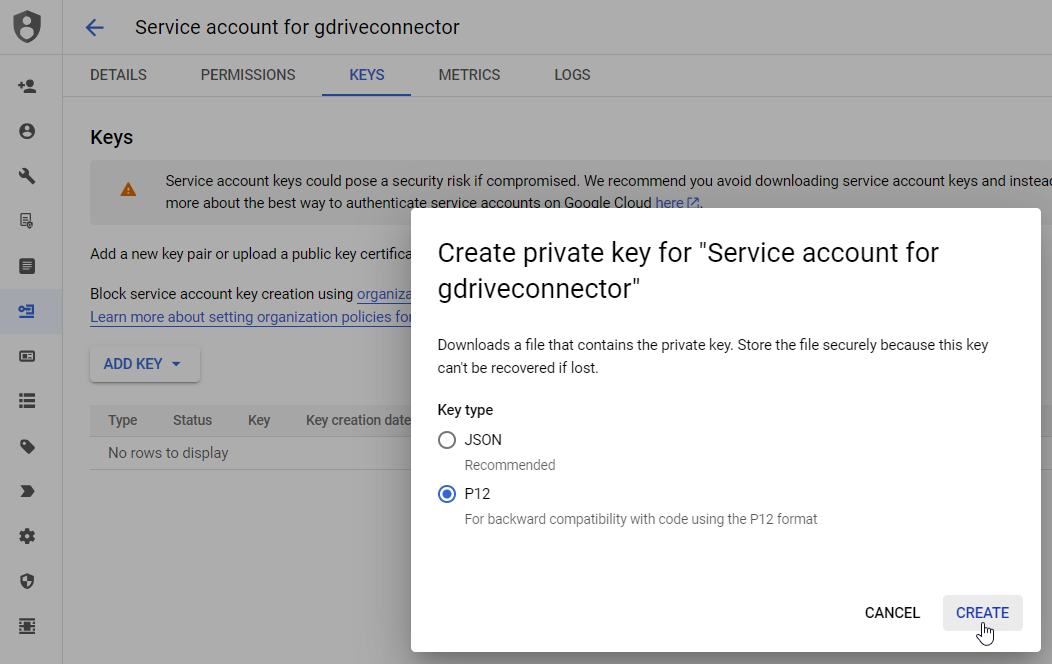
On the Keys tab, click Add Key > Create new key.
-
Select P12, and then click Create.
 Note
NoteA private key is automatically downloaded as a Personal Information Exchange (
.p12) file in your browser’s download folder. You’ll need the key file to configure your source. -
In the Private key saved to your computer dialog box, take note of the Private key password for your records, and then click Close.

Don’t change the Private key password.
-
On the Details tab, take note of the following information:
-
Service account email (required to configure your source)
-
Under Advanced settings, the Client ID that appears under Domain-wide Delegation (required for domain-wide delegation)
-
What’s next?
To grant the source access to your Google account, you must modify the security parameters.