Index handpicked shared drives only
Index handpicked shared drives only
Basic configurations for a Google Drive source allow you to index only Shared drives content for a specified set of existing users. However, determining the set of users you need to target for indexing the desired shared drives can be challenging. The targeted users' shared drives may also change over time and this can lead to unwanted changes to the indexed content.
This article details a scenario where the goal is to index only a handpicked set of shared drives. The setup procedure involves the creation of a dedicated user account, which is then granted access to this specific set of shared drives.
Prerequisites
Ensure you have a Google account with administrator credentials. These credentials allow your Coveo organization to read your Google account using OAuth 2.0, a protocol that authorizes access without giving your password.
Procedure
-
Create a user account to be used as the crawling account for your Google Drive source. The drives you’ll share with this user are the ones that will be indexed.
-
Access the Google Workspace Admin Console with a super administrator account.
-
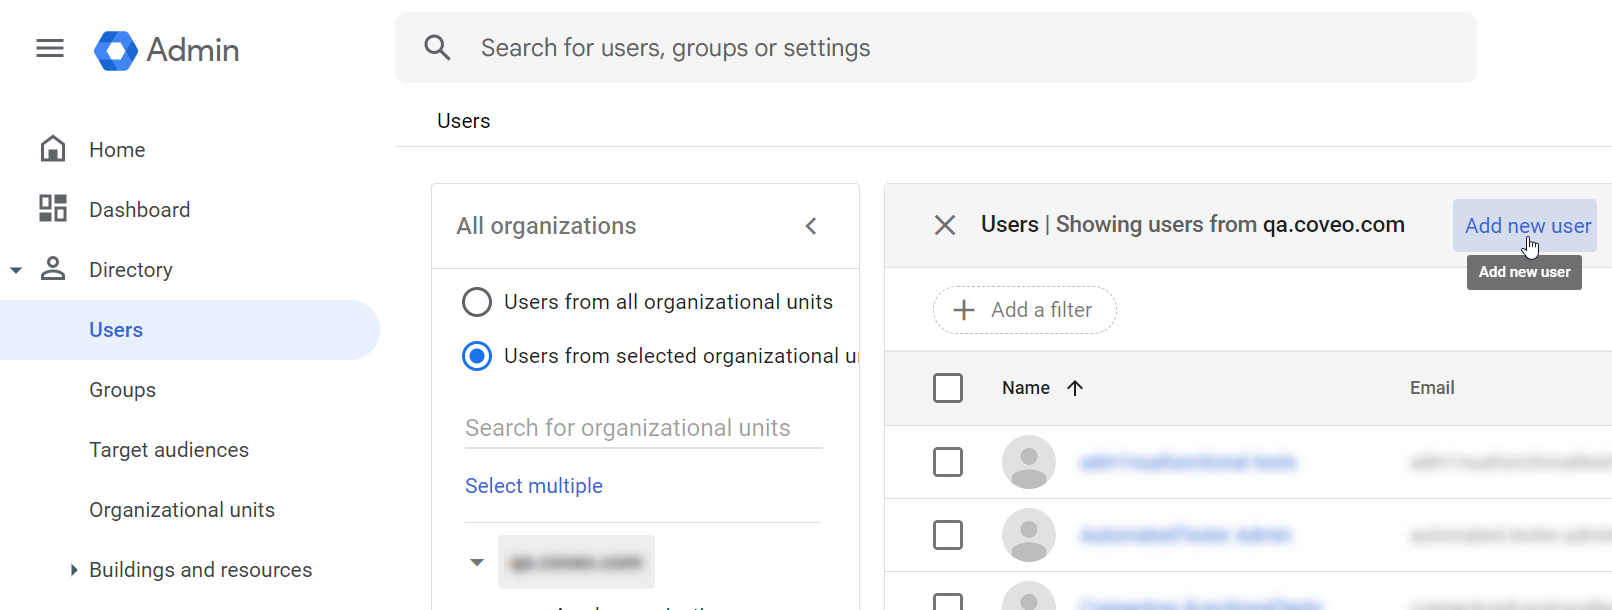
In the main menu, select Directory > Users.
-
Click Add new user.
-
Fill in the User information form, and then click Add new user.
-
-
Create a user group, and add the user as the sole member of the group.
-
In the main menu, select Directory > Groups.
-
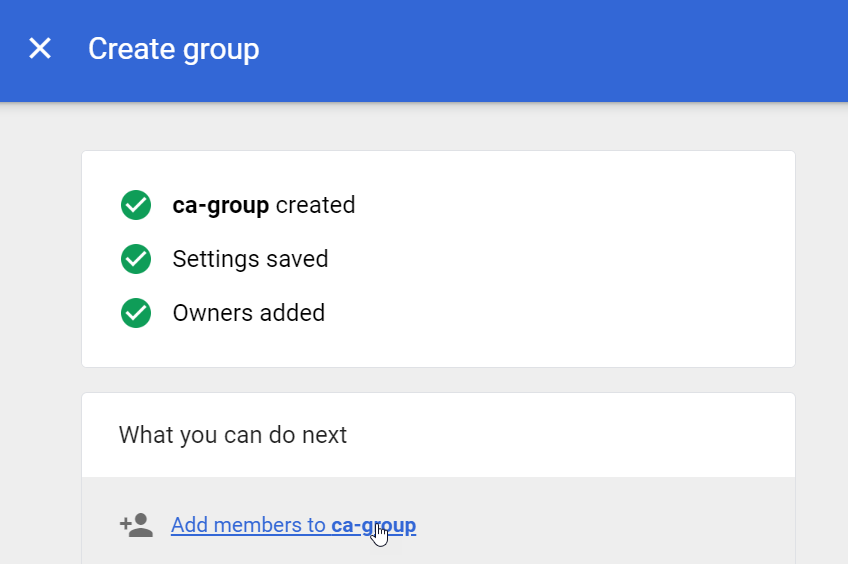
Click Create group.
-
Create the group and add the user you created earlier.
-
-
Publish a new internal app.
-
Log into the Google Cloud Console using a Google Account with administrator credentials.
-
In the header dropdown menu, select your project.
-
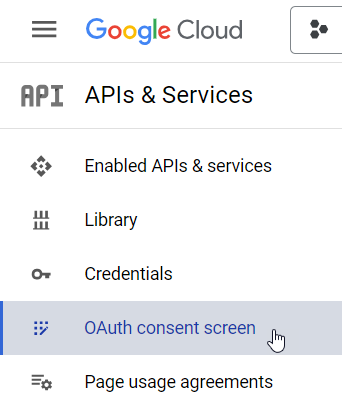
Click APIs & Services.
-
In the menu, select OAuth consent screen.
-
In the OAuth consent screen, select the Internal user type, and then click Create. You don’t need to create new OAuth credentials or to publish them for verification since you’re publishing an internal app. However, if you still want to do so, you may want to see Configure OAuth for help with this section.
-
Configure your app in the Google Workspace Marketplace SDK.

See Configure your app in the Google Workspace Marketplace SDK for help with this section.
-
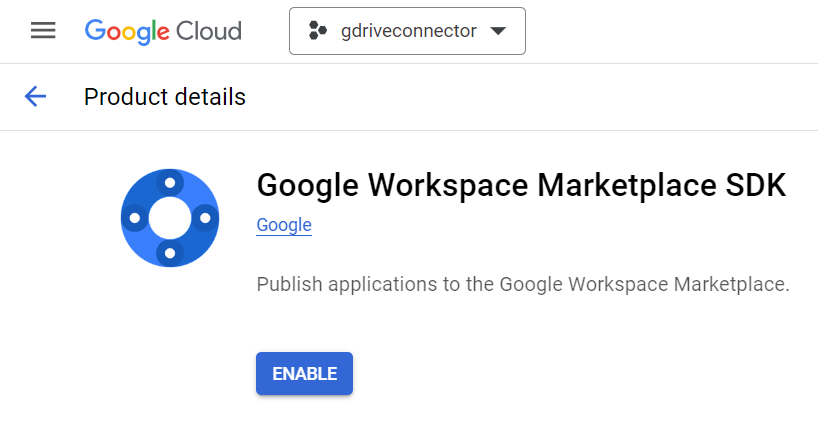
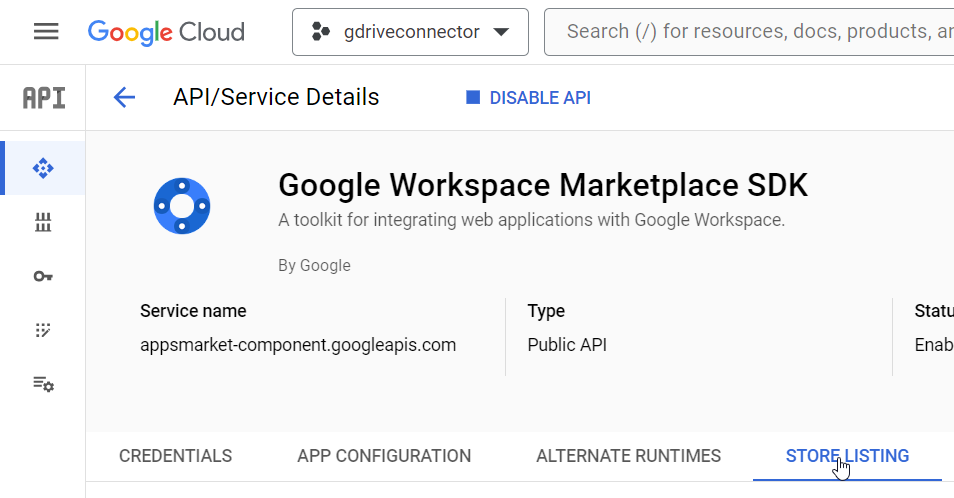
Access the Google Workspace Marketplace SDK page.
-
Click Enable.
-
In the App Configuration tab, set the App Visibility to Private.
-
Set the Installation Settings to Admin Only Install.
-
Under App Integration, select Web App.
-
Under Universal Nav Url, enter any safe site. This URL doesn’t matter.
-
Under OAuth Scopes, enter the following:
https://www.googleapis.com/auth/userinfo.emailhttps://www.googleapis.com/auth/userinfo.profilehttps://www.googleapis.com/auth/admin.directory.user.readonlyhttps://www.googleapis.com/auth/admin.directory.group.readonlyhttps://www.googleapis.com/auth/drive.readonly
-
-
Create a store listing.
See Create a store listing for help with this section.
-
Select the Store Listing tab.
-
Fill in all required fields. The URLs, email addresses, and images don’t matter, as long as they exist.
-
Once you’ve created the store listing, copy the App Url. You’ll need it later on.
-
-
-
Create a Google Workspace Marketplace-compatible OAuth Client for the service account you created.
-
Log into the Google Cloud Console using a Google account with administrator credentials.
-
Access the Service Accounts page.
-
Select the project the service account is associated with.
-
Click the service account email.
-
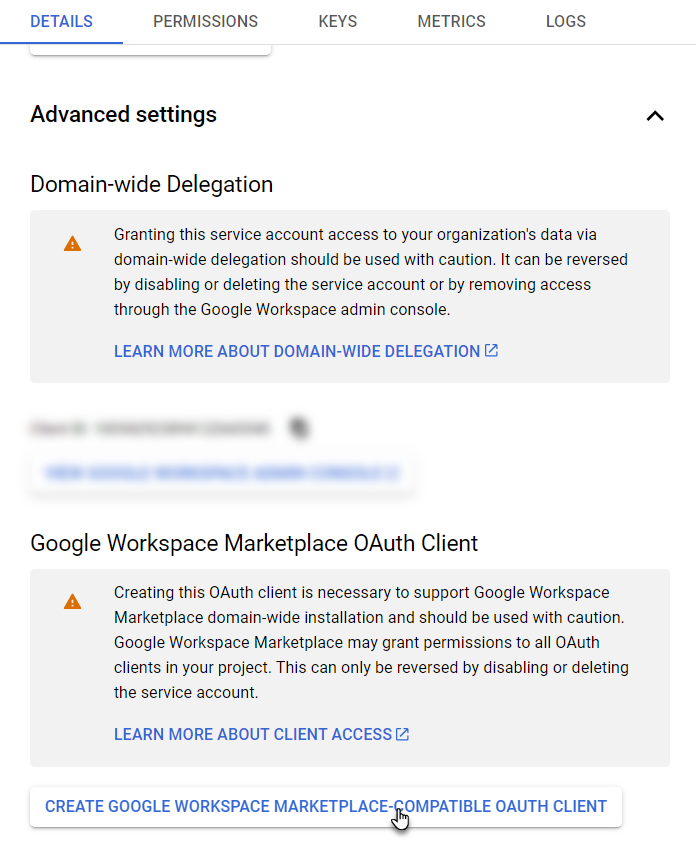
On the Details tab, expand the Advanced settings section.
-
Click Create Google Workspace Marketplace-compatible OAuth Client.
-
-
Install the app.
-
Access the app URL using a super admin account.
-
While installing the app, under Install the app automatically for the following users, select only the group you created earlier. This ensures that the Coveo source can only impersonate the dedicated user account you created.
-
-
Configure your Google Drive source to use the dedicated user account you created.
-
On the Sources (platform-ca | platform-eu | platform-au) page of the Coveo Administration Console, click your Google Drive source, and then click Edit in the Action bar.
-
Under Content, select Specific users, and then enter your dedicated user account email address.
-
Select Index shared drives, and then click Save.
-
On the Sources (platform-ca | platform-eu | platform-au) page, click your Google Drive source, and then click More > Edit configuration with JSON.
-
In the Edit configuration with JSON panel, set the
ForceIndexSharedDrivesNotManagedByUserparameter value totrue. Then, click Save.
-
-
Share the desired shared drives with your dedicated user account.
-
Access the Google Workspace Admin Console with a super administrator account.
-
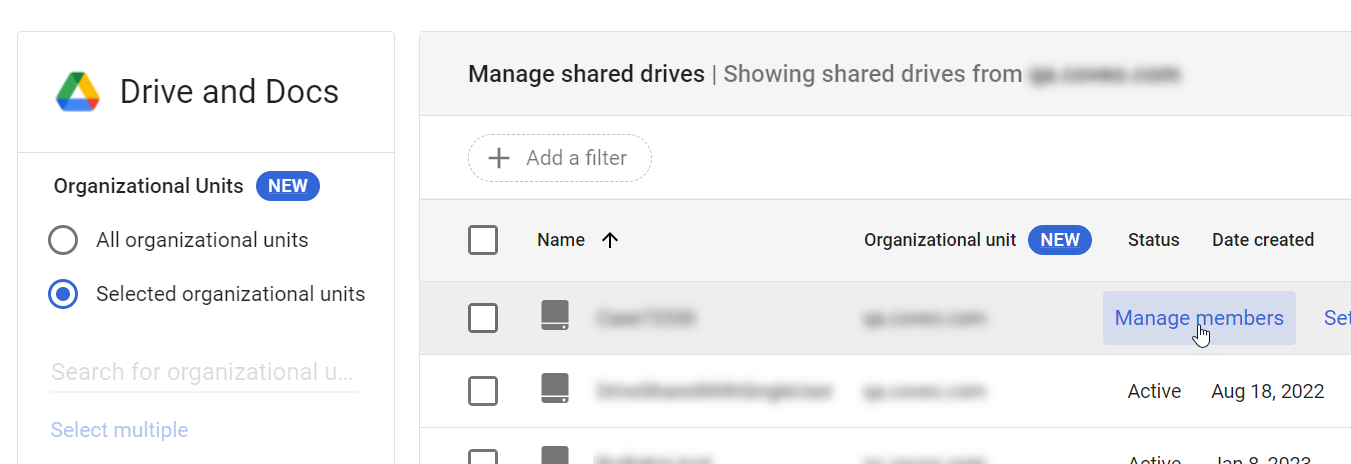
In the main menu, select Apps > Google Workspace > Drive and Docs.
-
Click Manage shared drives.
-
Hover over a shared drive you want to give your dedicated user account access to, and click Manage members.
-
In the Manage members panel, select the dedicated user account.
-
Choose the access level for this user. To index comments, select Commenter. Otherwise, select Viewer.
-
Click Send.
-
Repeat the process for each shared drive you want to index.
-
-
Finish configuring your source.