Build a Hosted Insight Panel Interface

The Coveo Insight Panel Builder is an intuitive tool designed to let you build Insight Panels without writing any code. The interfaces built using the Insight Panel Builder can be deployed to popular Customer Relationship Management (CRM) systems such as Salesforce.
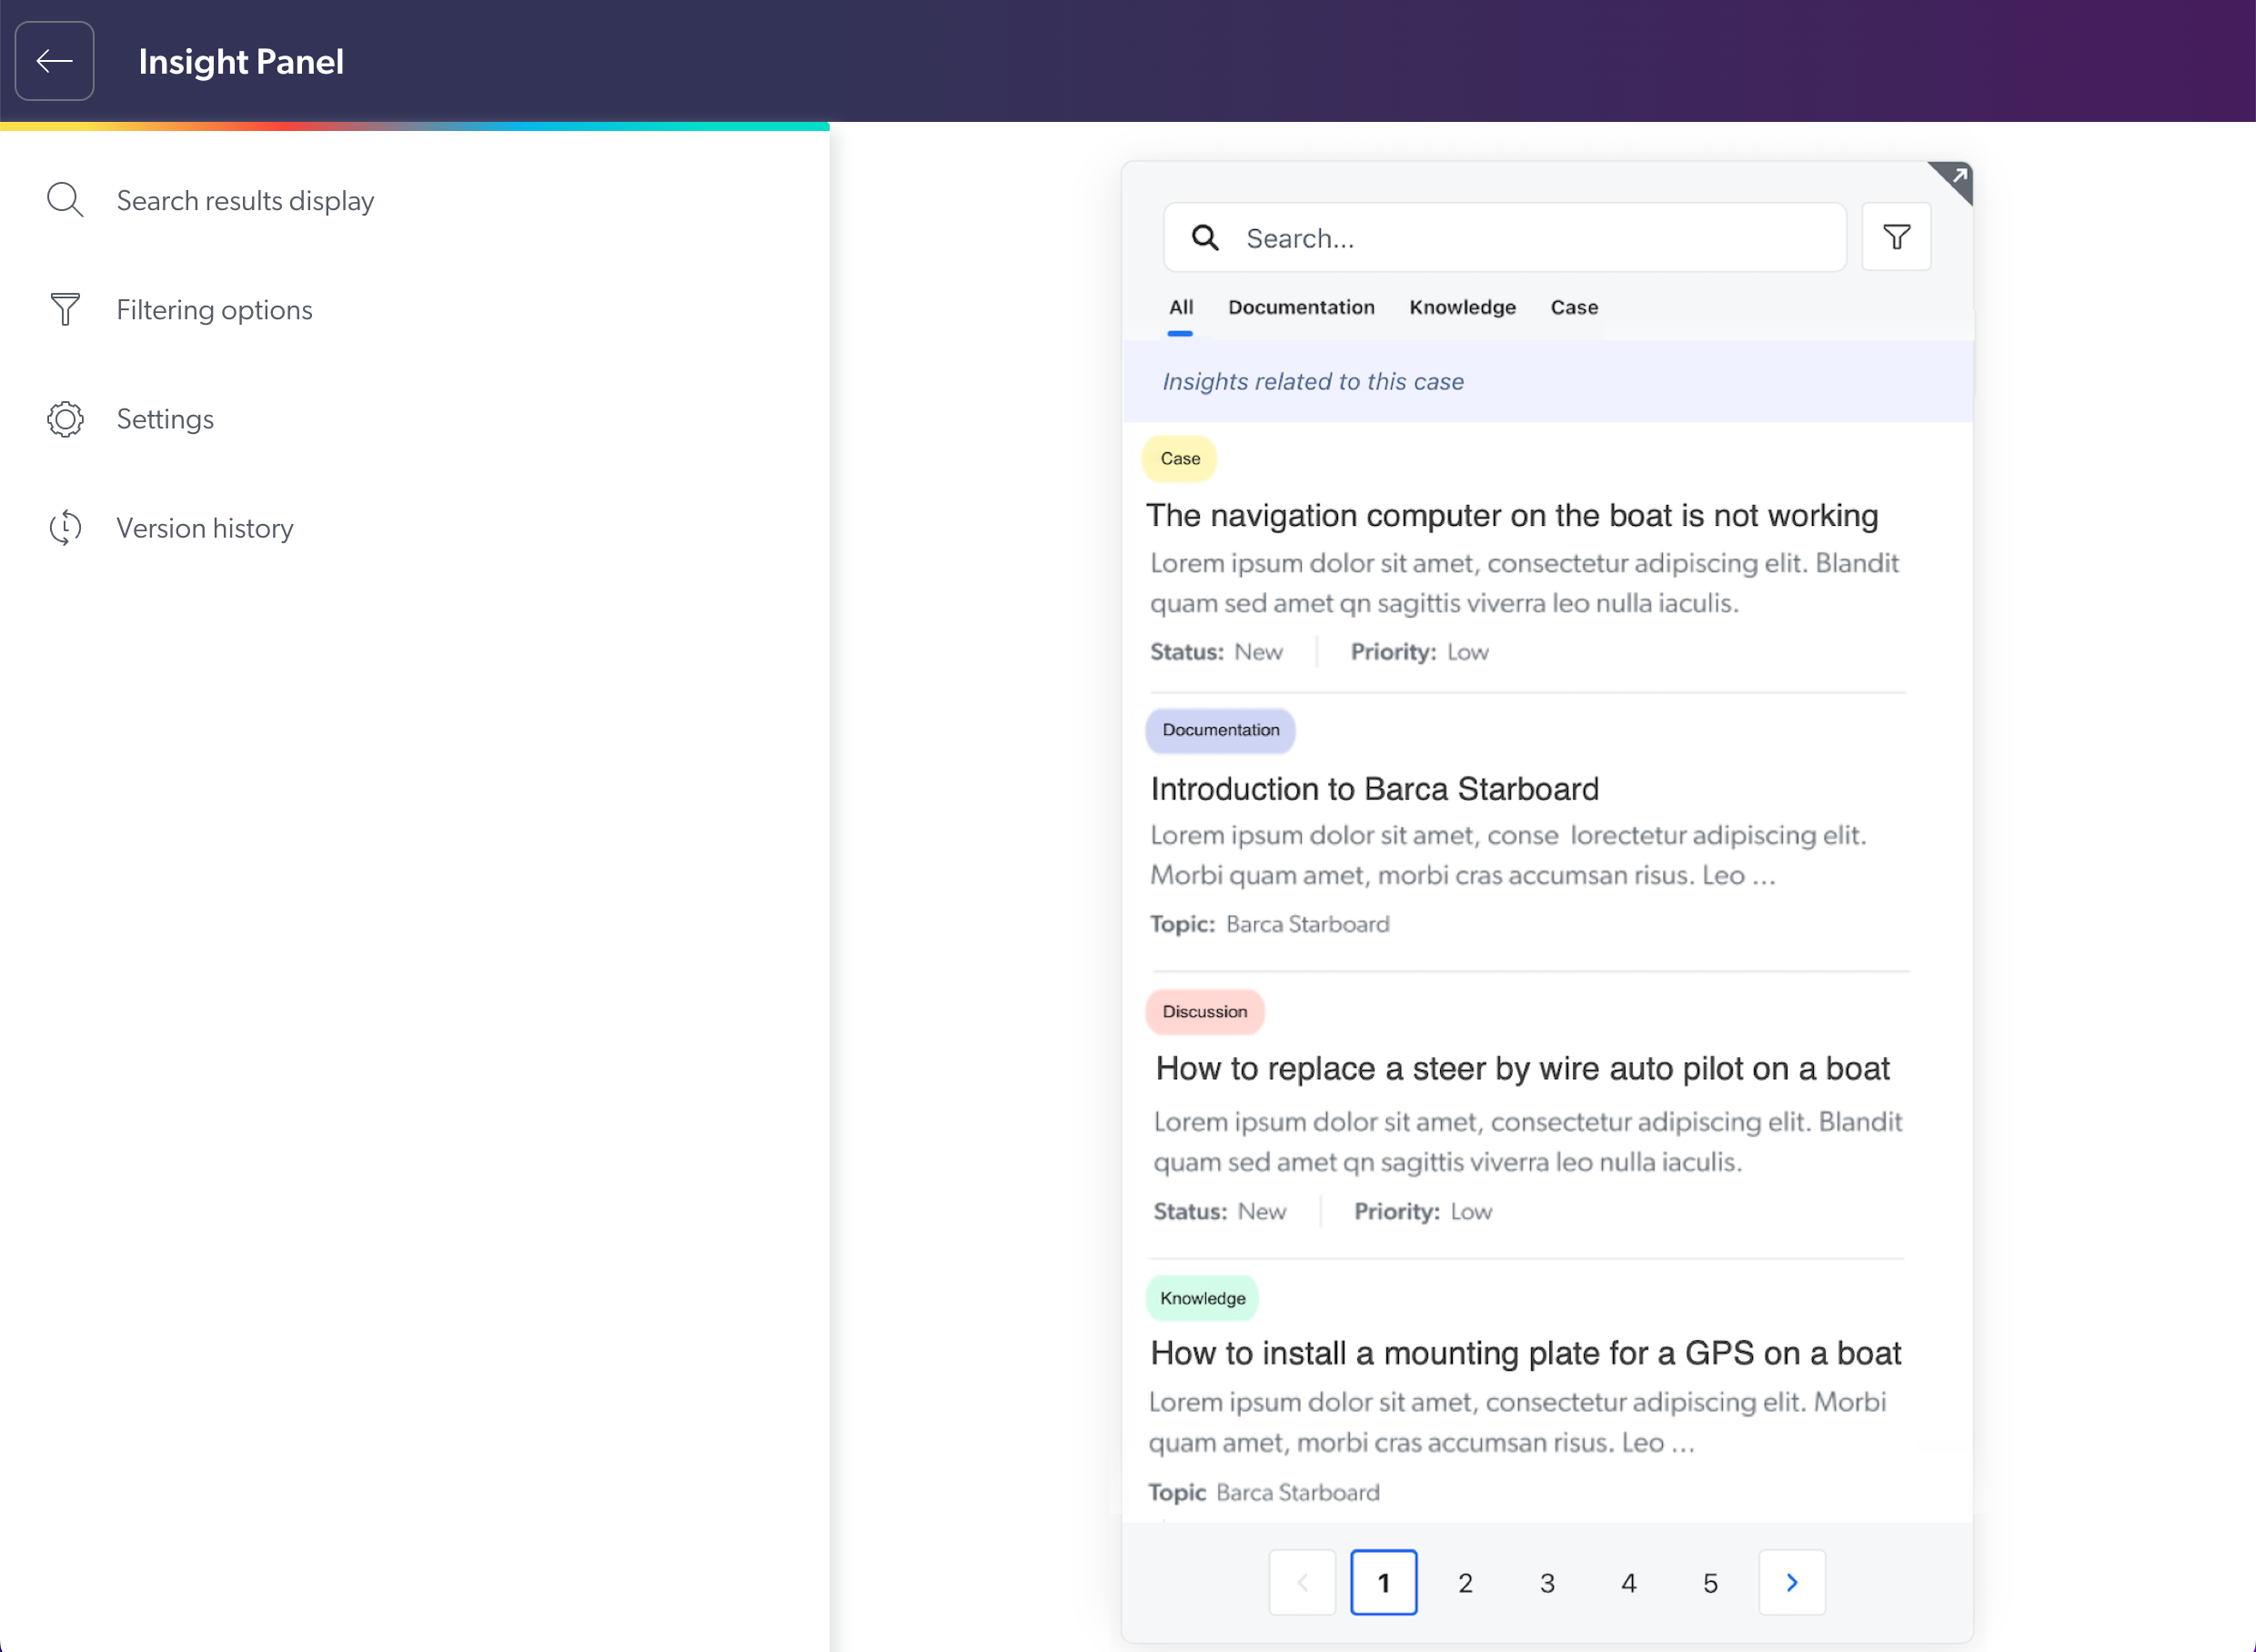
insight panel builder

The Insight Panel Builder is available once you’ve created an Insight Panel configuration. It’s accessible via the Insight Panel (platform-ca | platform-eu | platform-au) page of the Coveo Administration Console, and relies on Coveo’s latest UI framework, Coveo Headless, which supports both the Coveo Quantic (Salesforce only) and Coveo Atomic libraries.

Insight Panel Builder Features

Result Templates

Result templates set how individual query results appear in the Hosted Insight Panel based on certain conditions. For example, you can display PDF and Web results differently. The Search results display panel lets you create result templates, configure display options, and enable or disable result actions and tags (see Configure Result Templates).

Filtering Options

The Filtering options panel lets you configure navigation components such as facets and tabs quickly and easily (see Configure Filtering Options).

Settings

The Settings panel lets you access the Hosted Insight Panel’s configuration ID, as well as enable or disable key features such as Insight Full Search (see Configure Settings).

Access the Insight Panel Builder

  1. On the Insight Panel (platform-ca | platform-eu | platform-au) page, click the Insight Panel configuration you want to edit, and then click Edit in the Action bar.

  2. Under Insight Panel Builder, click Edit interface.
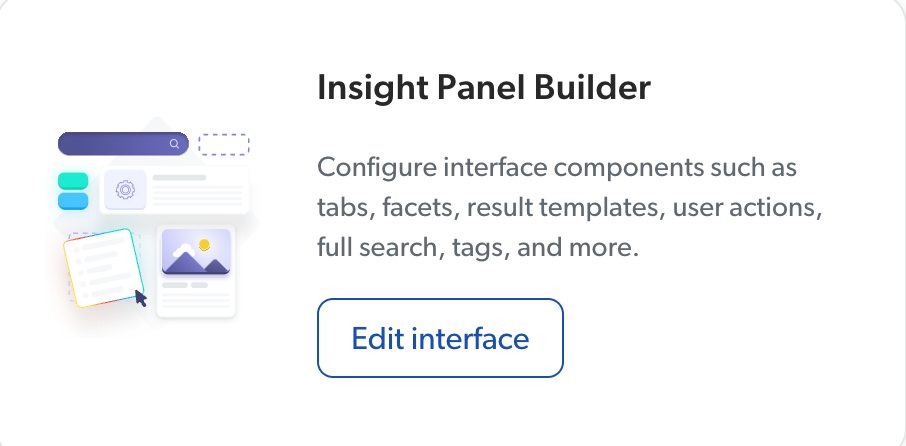
    access insight panel builder
Note

The Insight Panel Builder is also accessible when adding an Insight Panel configuration.

Configure Result Templates

The Search results display panel of the Insight Panel Builder lets you perform the following tasks:

Add Result Templates

  1. Access the Insight Panel Builder.

  2. Click Search results display.

  3. In the Result templates section, click Add template.

  4. In the Name field, enter a name to recognize and edit your template later.

  5. Under Usage, click Add condition to determine when to use this result template.

    Notes
    • A minimum of one condition is required.

    • For each query result, the Hosted Insight Panel evaluates the condition(s) to determine which result template to use.

    1. In the Select a field dropdown menu, select the desired field (e.g., source).

    2. In the Select a condition dropdown menu, select the desired operator (e.g., Must match).

    3. In the Values field, specify at least one value (e.g., YouTube).

      Tip
      Tip

      Use a comma-separated list to specify multiple values.

    4. Click Done to apply your changes.

  6. Under Colored badge, set the following options:

    1. Click On or Off to enable or disable badges, respectively.

    2. Select a field to display as a colored badge at the top of your result template. This visual cue helps users quickly recognize a result type such as a document or a video.

      For example:

      badge
      Tip
      Tip

      Start typing a Coveo field name in the dropdown menu to filter by name, and then select the desired field.

    3. Select a color for your badge.

  7. Under Additional information, click Add details.

    1. Select a field to display the related metadata value at the bottom of your result template.

      For example:

      metadata
      Tip
      Tip

      Start typing a Coveo field name in the dropdown menu to filter by name, and then select the desired field.

    2. (Optional) To include a label for the selected field, select the Include label checkbox. You can enter a custom label name or keep the default field name.

      Note

      Clear the Include label checkbox if you don’t want to include a label for the field.

    3. Click Done to apply your changes.

    4. Repeat this step to display additional details (e.g., author, type, and duration).

  8. Click Save to save your result template.

  9. Click Done to return to the Search results display panel.

Edit Result Templates

  1. Access the Insight Panel Builder.

  2. Click Search results display.

  3. In the Result templates section, click the card of the result template you want to edit.

  4. Modify the settings in the following sections, as appropriate:

  5. Click Save to save your changes.

Delete Result Templates

  1. Access the Insight Panel Builder.

  2. Click Search results display.

  3. In the Result templates section, click the result template you want to delete.

  4. Click Delete.

  5. Click Delete again to confirm the action.

  6. Click Save.

Reorder Result Templates

  1. Access the Insight Panel Builder.

  2. Click Search results display.

  3. In the Result templates section, click Template reorder icon on the template card to drag and drop it in the desired order.

    Notes
    • The Default template can’t be reordered.

    • Result templates are evaluated in the order they appear in the list. This means that if a query result meets the conditions found in multiple templates, the Hosted Insight Panel will render the result using the first applicable template in the list.

  4. Click Save to apply your changes.

Enable or Disable Result Actions

Note

Although the Attach to case, Copy to clipboard, and Quick view result actions are enabled by default, they aren’t currently available in the Builder preview. These functionalities can only be leveraged in your CRM system (see About Result Actions).

  1. Access the Insight Panel Builder.

  2. Click Search results display.

  3. To enable or disable the Attach to case, Copy to clipboard, or Quick view result actions, select or clear the corresponding checkbox under Result actions.

Enable or Disable Tags

Note

The Recommended tag is disabled by default.

  1. Access the Insight Panel Builder.

  2. Click Search results display.

  3. To enable or disable the Recommended tag, select or clear the corresponding checkbox under Tags.

    Note

    Tags can’t be set on specific result templates. This setting applies to all result templates (i.e., existing and newly created ones).

Configure Filtering Options

The Filtering options panel of the Insight Panel Builder lets you manage the following functionalities:

Manage Facets

The Facets section of the Filtering options panel lets you perform the following tasks:

Enable or Disable Facets

Note

The Source, Author, and Item type facets are enabled by default.

  1. Access the Insight Panel Builder.

  2. Click Filtering options.

  3. To enable or disable all facets, click On or Off respectively in the Facets section.

    Important
    Important

    Saving the Insight Panel Builder configuration after disabling facets deletes the existing facet configurations. Although you will be able to add new facets after reloading the page, the previous ones will no longer exist.

  4. Click Save.

Add Facets

  1. Access the Insight Panel Builder.

  2. Click Filtering options.

  3. In the Facets section, click Add facet.

  4. In the Select a field dropdown list, select a facet field (e.g., year or itemtype).

    Tip
    Tip

    Start typing a Coveo field name in the dropdown menu to filter by name, and then select the desired field.

    The Name field defaults to the field name, but you can modify it.

  5. In the Display section, select one of the following options:

    • Checkbox to display a checkbox next to the field values.

    • Link to display the field values as links.

  6. Click Done to apply your changes.

  7. Click Save.

Edit Facets

  1. Access the Insight Panel Builder.

  2. Click Filtering options.

  3. In the Facets section, expand the facet card you want to modify.

  4. Modify the information displayed in the Field, Name, or Display sections, as appropriate.

  5. Click Done to apply your changes.

  6. Click Save.

Delete Facets

  1. Access the Insight Panel Builder.

  2. Click Filtering options.

  3. In the Facets section, expand the facet card you want to delete.

  4. Click the Trash icon button to delete the facet.

  5. Click Save.

Manage Tabs

The Tabs section of the Filtering options panel lets you perform the following tasks:

Enable or Disable Tabs

Note

Tabs are disabled by default.

  1. Access the Insight Panel Builder.

  2. Click Filtering options.

  3. To enable or disable all tabs, click On or Off respectively in the Tabs section.

    Note

    The All tab can’t be deleted and is provided by default to ensure all content can be viewed.

  4. Click Save.

Add Tabs

  1. Access the Insight Panel Builder.

  2. Click Filtering options.

  3. In the Tabs section, click Add tab.

  4. In the Label field, enter the name that will be displayed on the tab in the Insight Panel.

  5. Under Usage, click Add condition to determine the content that will be part of this tab.

    1. In the Select a field dropdown menu, select the desired field (e.g., source).

      Tip
      Tip

      Start typing a Coveo field name in the dropdown menu to filter by name, and then select the desired field.

    2. In the Select a condition dropdown menu, select the desired operator (e.g., Must match).

    3. In the Values field, specify at least one value (e.g., YouTube).

      Tip
      Tip

      To specify multiple values, use a comma to separate each value.

  6. Click Done to apply your changes.

  7. Click Save.

Edit Tabs

  1. Access the Insight Panel Builder.

  2. Click Filtering options.

  3. In the Tabs section, click the tab card you want to modify.

  4. In the panel that opens, modify the information displayed in the Label or Usage sections, as appropriate.

    Note

    Only the Label field in the All tab can be modified.

  5. Click Done to apply your changes.

  6. Click Save.

Delete Tabs

  1. Access the Insight Panel Builder.

  2. Click Filtering options.

  3. In the Tabs section, click the tab card you want to delete.

  4. In the panel that opens, click Delete to delete the tab.

    Note

    The All tab can’t be deleted.

  5. Click Delete again to confirm your changes.

  6. Click Save.

Reorder Tabs

  1. Access the Insight Panel Builder.

  2. Click Filtering options.

  3. In the Tabs section, click Tabs reorder icon on the Tabs card, and then drag and drop the card in the desired order.

    Note

    The All tab can’t be reordered. It will always appear at the top of the Tabs list since it’s meant to display all content.

  4. Click Save to apply your changes.

Configure Settings

The Settings panel of the Insight Panel Builder lets you perform the following tasks:

Access the Hosted Insight Panel Configuration ID

  1. Access the Insight Panel Builder.

  2. Click Settings.

  3. Under Configuration ID, click clipboard icon to copy the Hosted Insight Panel configuration ID to your clipboard.

Enable or Disable the Insight Full Search Functionality

Note

Although the Insight Full Search functionality is enabled by default, it’s not currently available in the Builder preview. This functionality can only be leveraged in your CRM system (see Activate the Insight Full Search Functionality).

  1. Access the Insight Panel Builder.

  2. Click Settings.

  3. To enable or disable the Insight Full Search functionality, select or clear the Full Search checkbox under Insight Panel features.

  4. Click Save to apply your changes.

What’s Next

Learn how to integrate your Hosted Insight Panel in Salesforce (see Integrate a Coveo Quantic Insight Panel Component).