Upgrading from November 2018 to February 2019
Upgrading from November 2018 to February 2019

|
For the best Coveo for Sitecore experience, always follow the Best Practices When Upgrading Coveo for Sitecore. |
This section describes how to upgrade Coveo for Sitecore 4.1 from the November 2018 to the February 2019 release.
Step 1: Upgrade Coveo for Sitecore
|
|
Ensure that the Microsoft MVC security update MS14-059 is installed on every Sitecore host in your environment. |
-
Log into the Sitecore Desktop.
-
Access the Installation Wizard (Sitecore Start Menu > Development Tools > Installation Wizard).
-
Install the Coveo for Sitecore .zip package.
-
When prompted to overwrite files, click Yes to all.
-
When prompted to overwrite items, select Overwrite, then click Apply to all.
 Note
NoteYou might be prompted twice with this question. Select the Overwrite option and click Apply to all both times.
-
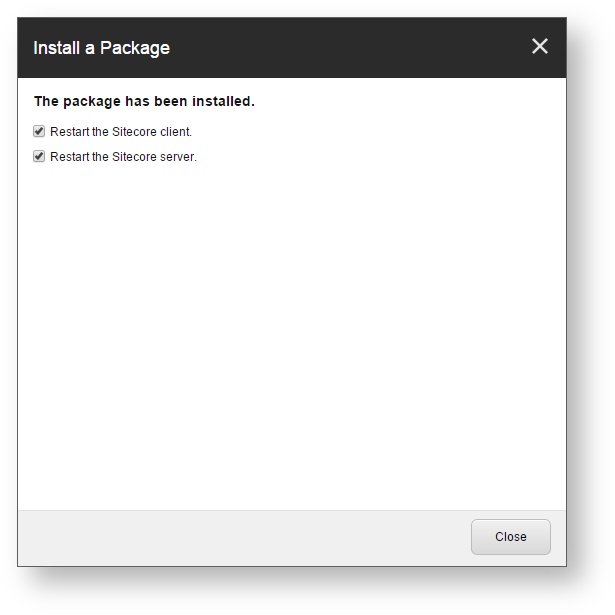
Once the installation is completed, make sure that you restart both the Sitecore client and server.
Step 2: Delete Two Configuration Files From the \Modules\Coveo Folder
Sitecore 9
The following configuration files have been moved from the <SITECORE_INSTANCE_ROOT>\App_Config\Modules\Coveo folder to the new <SITECORE_INSTANCE_ROOT>\App_Config\Modules\Coveo\Analytics folder:
-
Coveo.Analytics.XConnect.config.disabled -
Coveo.Analytics.xDB.config
When upgrading, these two files you already had in the <SITECORE_INSTANCE_ROOT>\App_Config\Modules\Coveo folder won’t be deleted automatically.
You must therefore delete the Coveo.Analytics.XConnect.config.disabled and Coveo.Analytics.xDB.config files located in the <SITECORE_INSTANCE_ROOT>\App_Config\Modules\Coveo folder so that only the ones in the new <SITECORE_INSTANCE_ROOT>\App_Config\Modules\Coveo\Analytics folder remain.
Step 3: Publish your site
In the Sitecore Content Editor, perform a publish site action.
This ensures any changes related to Coveo components in the upgrade are published to the web database.