Inserting Custom CSS in Coveo for Sitecore
Inserting Custom CSS in Coveo for Sitecore
- Creating and Editing the New
.cshtmlLayout File - Creating the New Layout Item
- Linking Your Coveo-Powered Search Page Item to Your New Layout Item
- Specifying a Custom Class in the Coveo Search Interface Data Source
- Creating and Editing Your Custom CSS File
- Using This Solution With Many Coveo-Powered Search Pages
It’s generally recommended to overwrite the CSS of the Coveo for Sitecore components so that they match the look and feel of your website.
The solution described below allows you to easily link one or several Coveo for Sitecore search pages with the same CSS file while having each distinct search interface render its components differently. Additionally, you maintain the ability to upgrade Coveo for Sitecore without losing your search interface styling in the process.
The basic idea behind this solution is to add a class attribute value to the Coveo Search Interface component through its data source and to reference a custom CSS file in the search page .cshtml layout file.
This custom CSS file leverages the added class attribute value.
Since all visible Coveo-powered search page components are <div> elements nested in the Coveo Search Interface <div>, you can easily create narrow CSS selectors referencing the added Coveo Search Interface class attribute value which, in effect, override the broader, default Coveo CSS selectors (see Styling the Coveo JavaScript Search Framework).
The general steps in implementing the solution are the following:
-
Creating a new
.cshtmllayout file based on your current Coveo-powered search page.cshtmllayout file, and in the new layout file, adding a reference to the CSS file that will contain your custom classes. -
Copying your current Coveo-powered search page layout item in the Sitecore Content Editor, and adjusting its
Pathfield value to associate it with the new.cshtmllayout file. -
Linking your Coveo-powered search page item to your new layout item in the Content Editor presentation details.
-
Specifying your custom class in the Coveo Search Interface component data source.
-
Creating and editing your custom CSS file.
The sections below provide more details for each of these steps.
|
|
Instructions regarding the creation/duplication of files and items outside |
Creating and Editing the New .cshtml Layout File
-
In your file explorer, open the
<SITECORE_INSTANCE_ROOT>\Website\Layoutsfolder (for Sitecore 8 instances), or the<SITECORE_INSTANCE_ROOT>\Layoutsfolder (for Sitecore 9 instances). -
In the
Layoutsfolder, create a new folder calledCustom Layouts. -
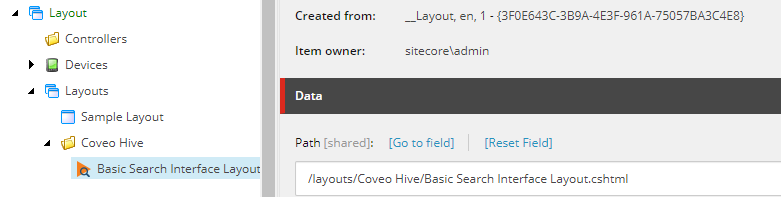
Locate the
.cshtmllayout file your Coveo-powered search page is currently using. If necessary, follow the steps below.-
Select your Coveo-powered search page item in the Content section of the Sitecore content tree.
-
Select Presentation in the Sitecore menu, and Details in the ribbon.
-
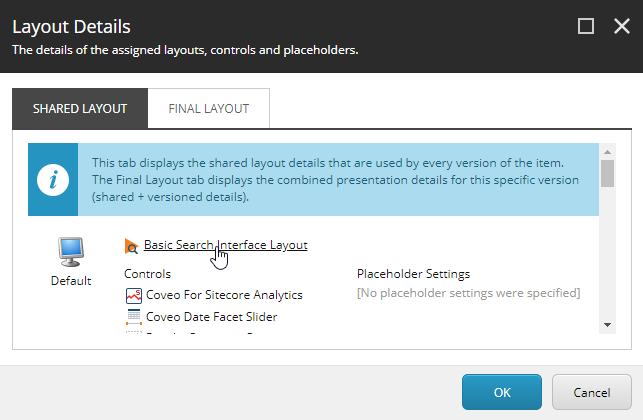
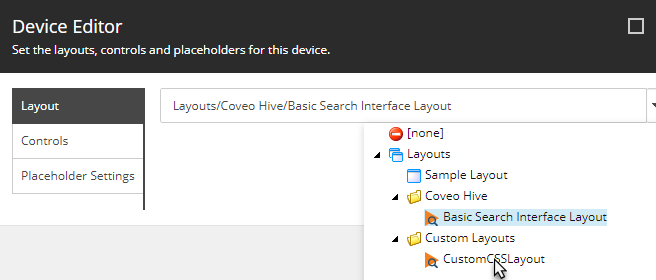
In the Layout Details dialog, click the name of the layout item to bring up the Device Editor dialog. The location of the layout item in the content tree is then displayed.
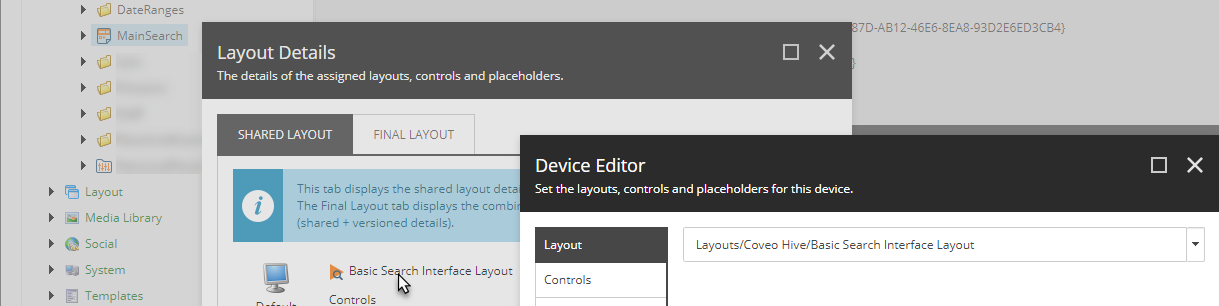
-
Navigate to the location of the layout item and select it.
-
See the
Pathfield value for the name and location of the.cshtmllayout file.
-
-
Copy the
.cshtmllayout file your search page is currently using, and theWeb.configfile located in the same folder, into theCustom Layoutsfolder. -
Change the name of the new layout file to
CustomCSSLayout.cshtml.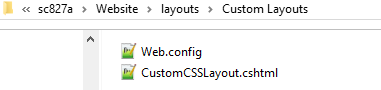
-
Open the
CustomCSSLayout.cshtmlfile using your preferred text editor. -
In the
<head>section, add the following<link>tag.-
For Sitecore 8 instances
<link rel="stylesheet" href="/Css/Custom/CustomCSS.css" /> -
For Sitecore 9 instances
<link rel="stylesheet" href="/Custom/CustomCSS.css" />
-
-
Save your changes.
Creating the New Layout Item
-
In the Sitecore Content Editor, right-click the Layouts item and select Insert > Layout Folder.
-
Name your new folder
Custom Layouts.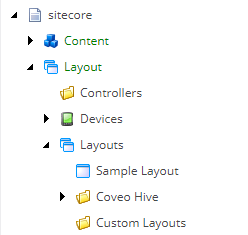
-
Locate the layout item your Coveo-powered search page is currently associated with. If necessary, follow the steps below.
-
Select your Coveo-powered search page item in the Content section of the Sitecore content tree.
-
Select Presentation in the Sitecore menu, and Details in the ribbon.
-
In the Layout Details dialog, click the name of the layout item to bring up the Device Editor dialog. The location of the layout item in the content tree is then displayed.
-
-
Right-click the layout item your Coveo-powered search page is currently associated with and select Copying > Copy To.
-
In the Copy Item To dialog, select the
Custom Layoutsfolder.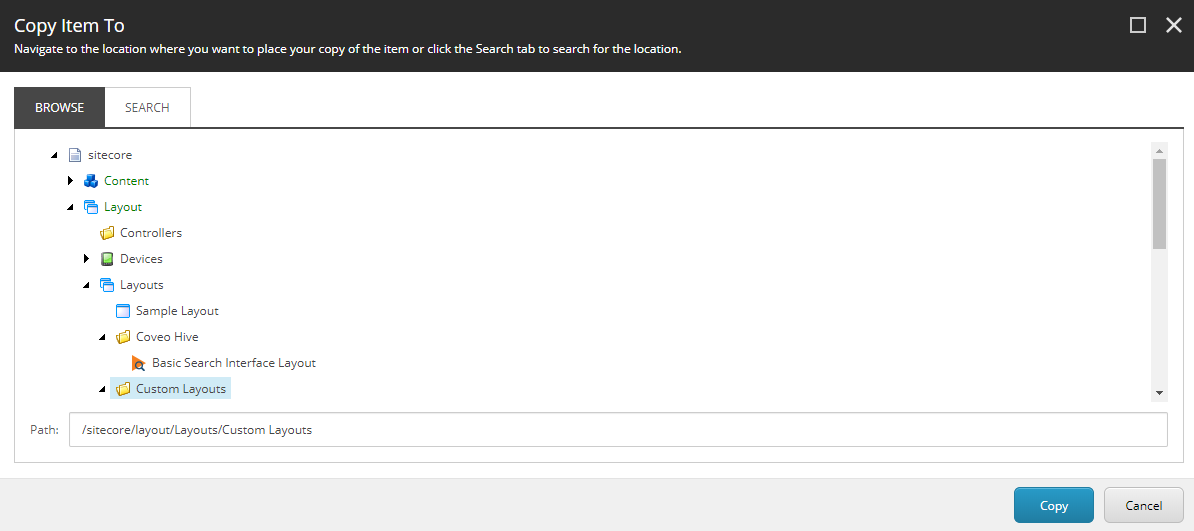
-
Click Copy.
-
Right-click the new layout item and select Rename.
-
Rename your new layout item
CustomCSSLayout.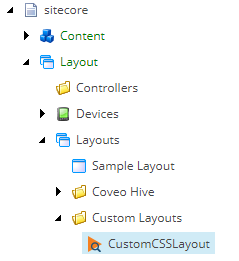
Linking Your Coveo-Powered Search Page Item to Your New Layout Item
-
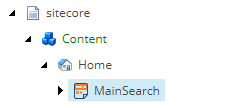
In the Sitecore Content Editor, select your Coveo-powered search page parent item.
-
Select Presentation in the Sitecore menu, and Details in the ribbon.
-
In the Layout Details dialog, click the name of the layout item your search page is currently associated with.
-
In the Device Editor dialog, select your new layout item using the Droptree field.
-
Click OK twice to close both dialogs.
Specifying a Custom Class in the Coveo Search Interface Data Source
-
Open your Coveo-powered search page in the Sitecore Experience Editor.
-
Select the Coveo Search Interface component.
-
Click Edit the rendering’s data source. It should be the leftmost in the floating toolbar.
-
In the
Custom CSS classesfield, typeCustomClass.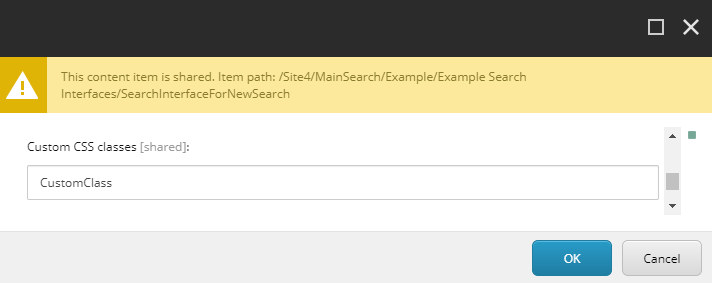
-
Click OK.
The Coveo Search Interface component now renders as <div id="<ID>" class="CoveoSearchInterface CustomClass ..." ...
>.
Creating and Editing Your Custom CSS File
-
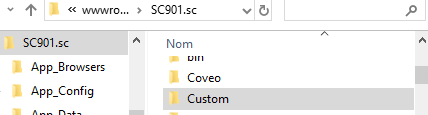
In your file explorer, navigate to the
<SITECORE_INSTANCE_ROOT>\Website\Cssfolder (for Sitecore 8 instances), or the<SITECORE_INSTANCE_ROOT>folder (for Sitecore 9 instances). -
Create a folder named
Custom. You should now have the folder structure below.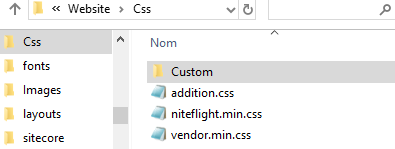
-
In your
Customfolder, create a text file. Name itCustomCSS.css, in accordance with the layout file<link>taghrefattribute value added earlier. -
Open your
CustomCSS.cssfile with your preferred text editor. -
Add selectors as in the example below.
.CustomClass.CoveoSearchInterface {
  ... ;
  ... ;
}

.CustomClass .coveo-facet-header {
  ... ;
  ... ;
}
In this example, the
.CustomClass.CoveoSearchInterfaceselector is applied to HTML elements whoseclassattribute contains theCustomClassandCoveoSearchInterfacevalues. Given that you previously added theCustomClassvalue to the Coveo Search Interfaceclassattribute, this selects<div id="<ID>" class="CoveoSearchInterface CustomClass ..." ... >. You can therefore set the properties that are inherited by the components nested in the Coveo Search Interface component under this selector.As for the
.CustomClass .coveo-facet-headerselector, it’s applied to HTML elements whoseclassattribute contains thecoveo-facet-headervalue if the element is located within another element whoseclassattribute contains theCustomClassvalue (in this case, the<div id="<ID>" class="CoveoSearchInterface CustomClass ..." ... >element). You can therefore target specific Coveo component<div>elements in a given search interface using a selector syntax similar to this one. -
Add properties and values in your CSS file, in accordance with your styling requirements.
-
Save your file.
Using This Solution With Many Coveo-Powered Search Pages
The solution presented in this article is easily extensible. For all distinct Coveo-powered search pages, you can proceed as follows to apply custom classes:
-
Open your search page in the Experience Editor and add a unique
classattribute value to the<div class="CoveoSearchInterface ..." ...>element through the Coveo Search Interface data source (see Specifying a Custom Class in the Coveo Search Interface Data Source). -
Add selectors that reference the newly added
classattribute value in theCustomCSS.cssfile and the appropriate styling property values for each (see Creating and Editing Your Custom CSS File).