Creating and Making Use of a New Result Template
Creating and Making Use of a New Result Template
This article covers how to create a result template in Coveo for Sitecore Hive and how to specify when it should be used to display search results.
|
|
Note
For information on how to edit the content of a result template, see Editing the Content of a Result Template. |
Things You Should Know and Do Beforehand
There are a few prerequisite steps to perform and time-saving information you should know before you begin.
Required Parent Components
Creating and using a custom result template for search results typically requires the following steps:
-
Inserting a Coveo File Result Template or Coveo Item Result Template component in your interface.
-
When using a Coveo File Result Template component, linking that component to a
.cshtmlview file. When using a Coveo Item Result Template component, providing the result template code in the component data sourceScriptfield. -
Specifying conditions on the result template component that determine when the result template should be used.
However, before you can insert a Coveo File Result Template or Coveo Item Result Template component in your interface, you need the necessary parent components.
Coveo for Sitecore comes with a Default Frame component that automatically sets up a basic Coveo for Sitecore search interface with all the necessary result template parent components and placeholders, up to and including the Results List placeholder (see Adding the Default Frame).
The Example Search Page template in Coveo for Sitecore is another timesaving tool you can use to obtain a complete search interface, including two Coveo File Result Template components, one inserted inside a card result list and the other in a list result list component (see Inserting an Example Search Page with Coveo for Sitecore Hive).
About the Results List Component
A search interface may contain several Coveo Results List components.
A typical search interface includes two results list components, one for a List layout and the other for a Card layout (see JavaScript Search Framework result layouts).
You specify which type of layout to use in the Coveo Results List component data source, in the Results layout field.
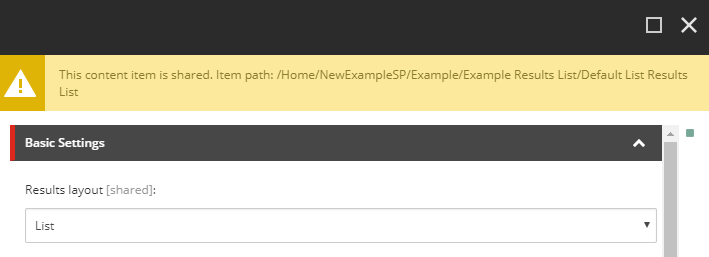
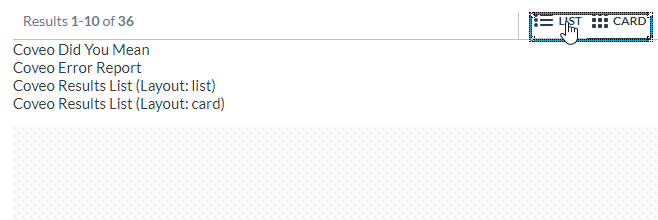
The rendering of a Coveo Results List component in the Sitecore Experience Editor tells you which type of layout the result list is associated with.

In the Sitecore Experience Editor, when you use the Coveo Result Layout component to toggle between the Card and List layouts, you’re actually selecting the corresponding result list component.
Therefore, when you select Card in the Coveo Result Layout toggle component, the Result Templates placeholder of the card Coveo Results List component becomes accessible, whereas you would select the List option in the Coveo Result Layout component to make the Result Templates placeholder of the list Coveo Results List accessible.
About the Coveo Result Template Components
You actually don’t need to insert a Coveo File Result Template or Coveo Item Result Template component inside a Coveo Results List component for search results to be displayed.
However, when a Coveo Results List component doesn’t contain a result template component, the search interface uses a very basic template containing an item title and excerpt to display results.
This basic template is not related in any way to the /Coveo/Hive/templates/default.cshtml file.
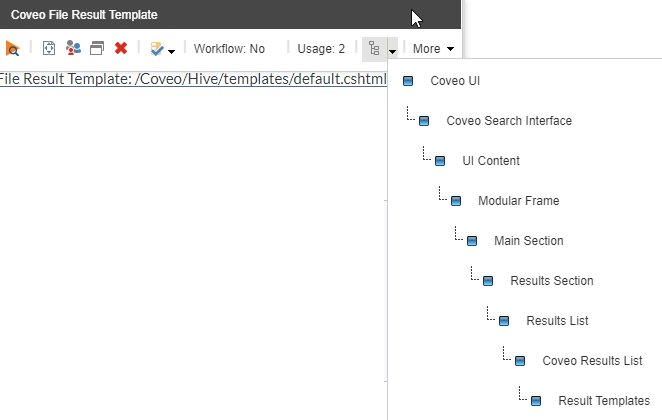
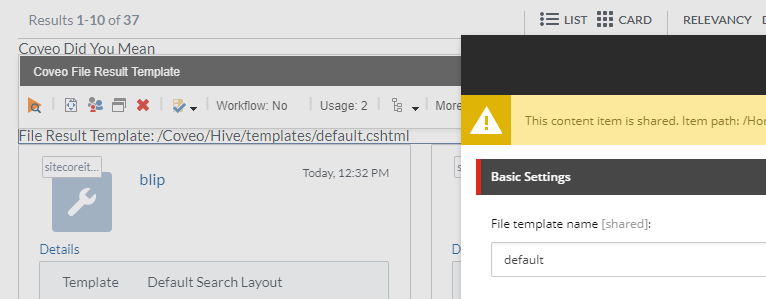
You can link a Coveo File Result Template component to an actual view file located in the /Coveo/Hive/templates folder by referencing the .cshtml file name in the File template name field of the result template component data source.
If you use the Example Search Page template in Coveo for Sitecore to get started, that search interface contains both a list and a card Coveo Results List component.
In each of these components, you find a Coveo File Result Template component referencing the /Coveo/Hive/templates/default.cshtml file.
Hence, a card layout and a list layout can share the same .cshtml file.
The CSS classes applied to format the result list in a single column or two columns are specified upstream from the result template view files.
Types of Coveo Result Template Components
Coveo for Sitecore packages include two types of result template components:
-
the Coveo File Result Template component
-
the Coveo Item Result Template component
Coveo File Result Template
A Coveo File Result Template component is associated with a .cshtml view file which is saved on disk, in the /Coveo/Hive/templates folder.
You need to use the File template name field of the component data source to reference the .cshtml view file to use.
You would like to create a new result template, based on the Coveo for Sitecore Hive default template, and use it to display results in your search interface.
For this example, we’ll use the Example Search Page as the starting point.
-
Create a new Example Search Page (see Inserting an Example Search Page with Coveo for Sitecore Hive).
-
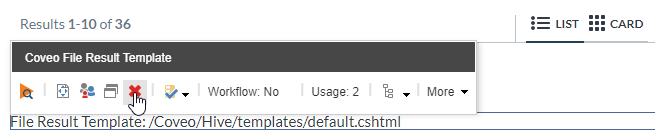
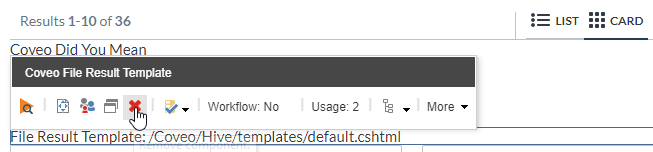
In the Sitecore Experience Editor, toggle between the List and Card layouts and remove the existing result templates in both results lists.
-
Save your page.
-
In your file explorer, open the
/Coveo/Hive/templatesfolder. -
Create a copy of the
default.cshtmlfile calledtest.cshtml. -
Back in the Experience Editor, select the List option in the Coveo Result Layout component.
-
In the list Coveo Results List component Result Templates placeholder, click Add here.
-
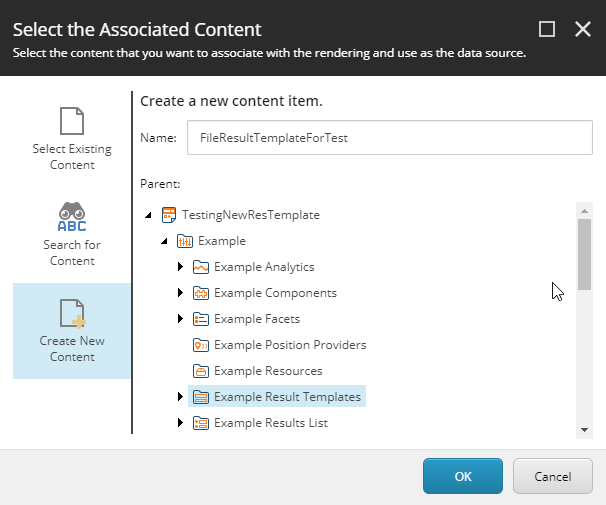
Select the Coveo File Result Template component.
-
Create a data source for your new component.
An
Undefined Result Templatemessage should be displayed. -
In the floating toolbar, select the Edit a rendering’s data source option. It should be the leftmost option in the toolbar.
-
Set the value of the
File template namefield to test.
-
Click OK and save the changes on your page.
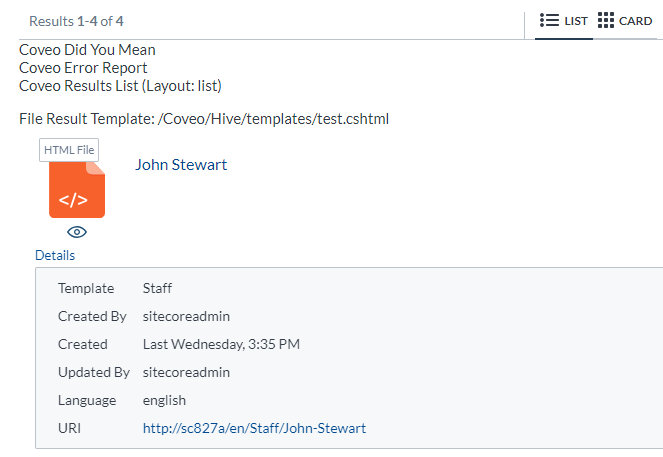
When the List layout is selected, your search interface should now show results including the item Template, Created By, Created, Updated By, Language and URI field values.
When the Card layout is selected, your search interface should now show results using the base out-of-the-box title and excerpt template, because the card Coveo Results List component contains no result template component.
Coveo Item Result Template
The rendering markup of this result template is stored directly in the component data source.
You need to configure the Script field with the result template you want to use.
Copy-paste the code below in the Script field of your result template data source and save the item.
<div style="padding: 5px;">
  <div class="my-result-template-header" style="display: flex; align-items: center;">
    <div class="CoveoIcon" data-small="true"></div>
    <div class="CoveoResultLink" data-field="{{= coveoFieldName("@title") }}" style="flex-grow: 1; margin-left: 5px;"></div>
  </div>
  <div class="my-result-template-content">
    <div class="CoveoExcerpt"></div>
  </div>
</div>
Conditions
Conditions allow you to configure specific views in your result list, depending on the item type. Conditions are specified in the Conditions section of Coveo File Result Template and Coveo Item Result Template data sources.
If a result item matches all conditions specified in the Coveo Result Template data source, it’s rendered using the template referenced in the data source File template name field.
If not, the result item is evaluated against the conditions in the next Coveo Result Template component in the list.
Therefore, the order in which you insert your Coveo Result Template components in your search interface is important.
|
|
Leading practice
If you leave a Coveo Result Template without conditions at the top of the list, the other templates in the list will never be evaluated since the first one will always have matching conditions. We instead recommend that you insert the Coveo Result Template associated to your default template, without conditions, at the bottom of the list as a proper fallback. |
|
|
Note
For more information on which template is chosen when trying to render a result, see Understanding the Condition Evaluation Mechanism. |
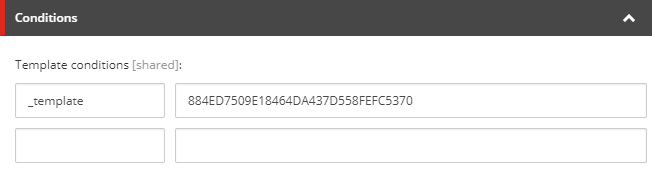
Setting Template Conditions
Template conditions are set using field-value pairs.
|
|
Note
Coveo for Sitecore Hive automatically translates the condition field names to the Coveo format. |
When one or several templates are targeted, the Result Template component adds a data-field-<TEMPLATE_COVEO_FIELD_NAME>="<TEMPLATE1_ID>,<TEMPLATE2_ID>,..." script tag attribute in the search page rendering.
Many Result Template Example
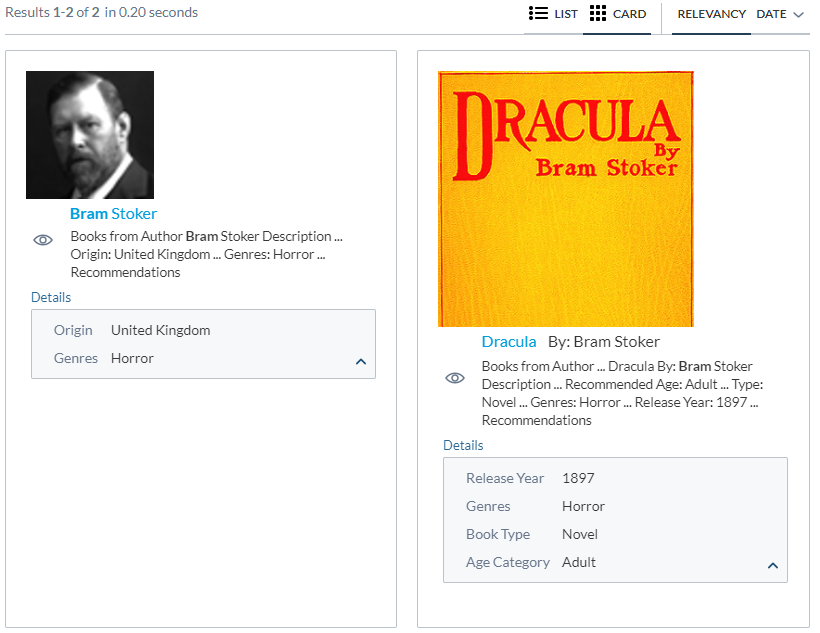
In this example, there are three results templates: author, book, and default.
-
In the Result Templates section, select Add here.
-
Choose Coveo File Result Template and click Select.
-
Create a new data source and name it something meaningful. For this example, you can use
Author Result Template. -
Click the newly added rendering, and click Edit the rendering’s data source.
-
Edit the
File template nameto the name of your.cshtmltemplate file. -
Set a template condition that matches only the items that are authors.
-
Repeat steps 1 through 6 for the
bookanddefaultresult templates.-
On the
bookresult template, set a template condition that matches only the items that are books. -
On the
defaultresult template, set no conditions as it will be used as a general fallback for other items.
-
Here is what the result can look like:
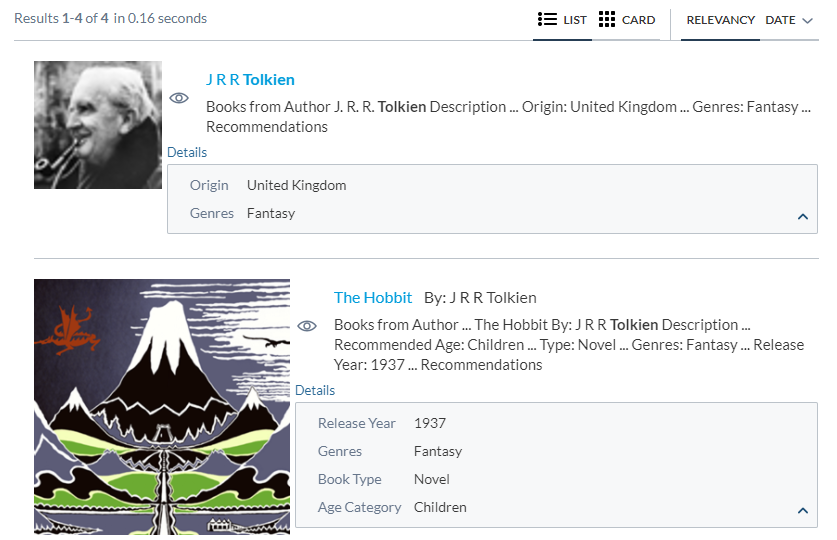
The Book item matches the book template and is now rendered differently than authors and other items.
Referencing the Template in Many Results List
If you’re leveraging the Coveo Result Layout component or using many result list, you can easily reference already created result template data sources.
These steps allow you to add the same templates from the previous example in a Card layout.
-
Click Card Layout, located in the Result Layout section.
-
Select the displayed result list Result Template placeholder, and add a new component
-
Choose File Result Template and click Next.
-
Select the previously created result template.
-
Save the page.
The same template should now be shown in the card layout.
Here is the result: