Changing the Location of RabbitMQ Queues
Changing the Location of RabbitMQ Queues
On-Premises only
RabbitMQ stores its queues inside a database located under C:\Users\<USERNAME>\AppData\Roaming\RabbitMQ for Coveo by default.
You may want to move this database to a different location, for example for disk space or performance reasons.
To change the location of queues:
-
Stop the
RabbitMQ for Coveoservice (Administrative Tools > Services). -
Locate the folder where RabbitMQ stores its data. It’s typically located under
C:\Users\<USERNAME>\AppData\Roaming\RabbitMQ for Coveo. -
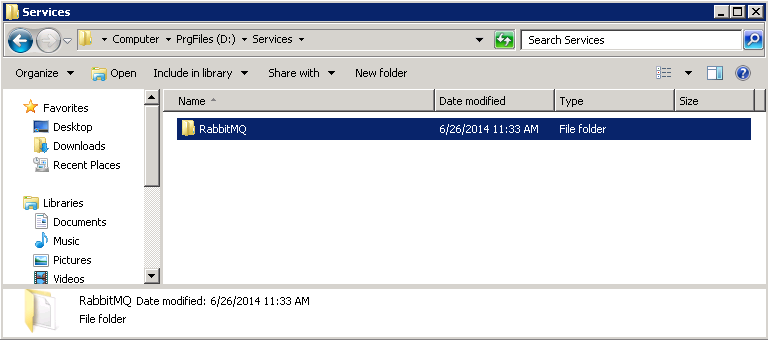
Copy this folder and all its content to the new location.
 Note
NoteOptionally, you can rename the folder. As shown in the above example,
C:\Users\<USERNAME>\AppData\Roaming\RabbitMQ for Coveowas relocated toD:\Services\RabbitMQ. However, be careful not to alter the folder structure and content when moving it. -
Open the Windows Registry Editor:
-
Open the Run dialog (Start > Run).
-
Enter
regedit.exeand choose OK.
-
-
For recovery purposes, export the key
HKEY_LOCAL_MACHINE\SOFTWARE\Ericsson\Erlang\ErlSrv\1.1\RabbitMQ for Coveo(right-click > Export).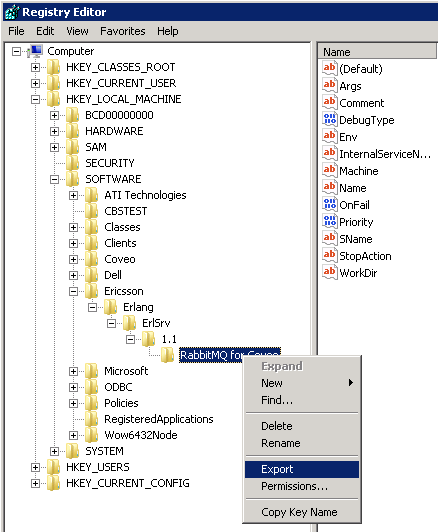

To recover the old key and its values, double-click the export file (
.reg) and choose Yes when you’re prompted for installing the key. -
Copy the content of the Args string value to a text editor.
-
In the text editor, use the Find & Replace command to replace any path pointing to the old location with the new desired path.
In the Args string value, the data folder of RabbitMQ uses forward slashes (/) instead of backslashes (), so be careful not to use standard backslashes.
NoteIn this example, you would search for
C:/Users/<USERNAME>/AppData/Roaming/RabbitMQ for Coveoand replace it withD:/Services/RabbitMQ. -
Copy the content of your text editor back into the key value and choose OK.
-
Do the same thing for the following string values:
-
Env(this one uses slashes as path separators). -
WorkDir(this one uses backslashes as path separators).
-
-
Restart the
RabbitMQ for Coveoservice. -
Wait a few seconds for the service to load properly.
-
Browse to the new RabbitMQ data folder (that is,
D:\Services\RabbitMQ). -
Open the
rabbit@[hostname].logfile in a text editor. -
Validate that next to the last instance of the
=INFO REPORT=string, the timestamp that appears shows a time later than when you restarted the RabbitMQ service.
NoteAlternatively, you can monitor the folder and verify whether the Date modified column is updated sometimes.
-
If you’re sure that the RabbitMQ service is now working properly with your new folder, then you can optionally delete the old
RabbitMQ for Coveofolder.