Upgrading from February 2019 to May 2019
Upgrading from February 2019 to May 2019
|
|
For the best Coveo for Sitecore experience, always follow the Best Practices When Upgrading Coveo for Sitecore. |
This section describes how to upgrade Coveo for Sitecore 4.1 from the February 2019 to the May 2019 release.
Step 1: Upgrade Coveo for Sitecore
|
|
Ensure that the Microsoft MVC security update MS14-059 is installed on every Sitecore host in your environment. |
-
Log into the Sitecore Desktop.
-
Access the Installation Wizard (Sitecore Start Menu > Development Tools > Installation Wizard).
-
Install the Coveo for Sitecore .zip package.
-
When prompted to overwrite files, click Yes to all.
-
When prompted to overwrite items, select Overwrite, then click Apply to all.
 Note
NoteYou might be prompted twice with this question. Select the Overwrite option and click Apply to all both times.
-
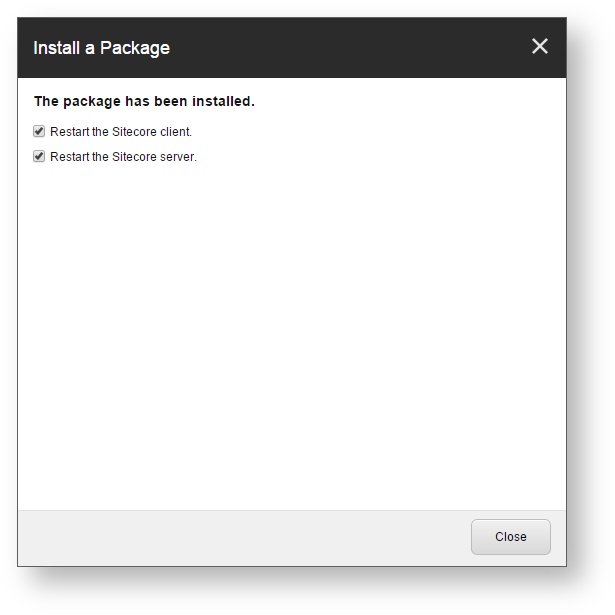
Once the installation is completed, make sure that you restart both the Sitecore client and server.
Step 2: Manually Update the Coveo Configuration Files
The Coveo configuration files are located in the Website\App_Config\Include\Coveo folder.
When upgrading, you must compare the changes to the .example files from your current Coveo for Sitecore version with the ones in the build you’re upgrading to.
Then, you can merge these changes into your current configuration files.
This method allows you to keep your own customization intact, while still benefiting from the latest enhancements brought in the product.
You can use a merge tool such as WinMerge to accomplish this.
In further detail, here are the modifications that you must perform to the configuration files resulting from the feature changes between the previous and current Coveo for Sitecore releases:
Coveo.Authentication.config
The modification below only pertains to Sitecore 9.1 instances.
The following line:
<site patch:before="*[1]" name="coveoapi" virtualFolder="/coveo" physicalFolder="/coveo" enableTracking="false" content="master" domain="sitecore" set:loginPage="$(loginPath)shell/SitecoreIdentityServer" />has been changed to:
<site patch:before="*[1]" name="coveoapi" virtualFolder="/coveo" physicalFolder="/coveo" enableTracking="false" content="master" domain="sitecore" set:loginPage="$(loginPath)shell/SitecoreIdentityServer">
  <patch:attribute role:require="ContentDelivery" name="content">web</patch:attribute>
</site>
The modification below only pertains to Sitecore 9.1 instances.
The following block has been added inside the <sitecore> element.
<settings>
  <setting name="Coveo.Framework.DatabasePropertyName" value="web" />
</settings>
Coveo.SearchProvider.config
The modification below only pertains to Sitecore 9.1 instances.
The databasePropertyStore/Database element has been changed from
<Database>core</Database>to
<Database>web</Database>Step 3: Regenerate and Save your Encryption Key
Sitecore 9.1
For Sitecore 9.1 instances only, you must regenerate and save your encryption key in the web database and subsequently copy your new configurations across your instances (see Issues When the Core Database Is Disabled on Content Delivery Servers).
-
On your CM, regenerate your API keys using the Command Center (see Changing Your Coveo Organization). Select the same organization than previously configured.
-
Regenerate your Sitecore Credentials using the
Securitypanel of the Command Center (see Modifying Your Security Settings). Re-enter the credentials, and clickApply and Restart. -
Copy the configuration files (see Deploying Coveo for Sitecore on the Content Delivery Servers - Copying the Configuration Files).