Upgrading from August 2018 to September 2018
Upgrading from August 2018 to September 2018
|
|
For the best Coveo for Sitecore experience, always follow the Leading Practices When Upgrading Coveo for Sitecore. |
This section describes how to upgrade Coveo for Sitecore 4.1 from the August 2018 to the September 2018 release.
Step 1: Upgrade Coveo for Sitecore
|
|
Ensure that the Microsoft MVC security update MS14-059 is installed on every Sitecore host in your environment. |
-
Log into the Sitecore Desktop.
-
Access the Installation Wizard (Sitecore Start Menu > Development Tools > Installation Wizard).
-
Install the Coveo for Sitecore .zip package.
-
When prompted to overwrite files, click Yes to all.
-
When prompted to overwrite items, select Overwrite, then click Apply to all.
 Note
NoteYou might be prompted twice with this question. Select the Overwrite option and click Apply to all both times.
-
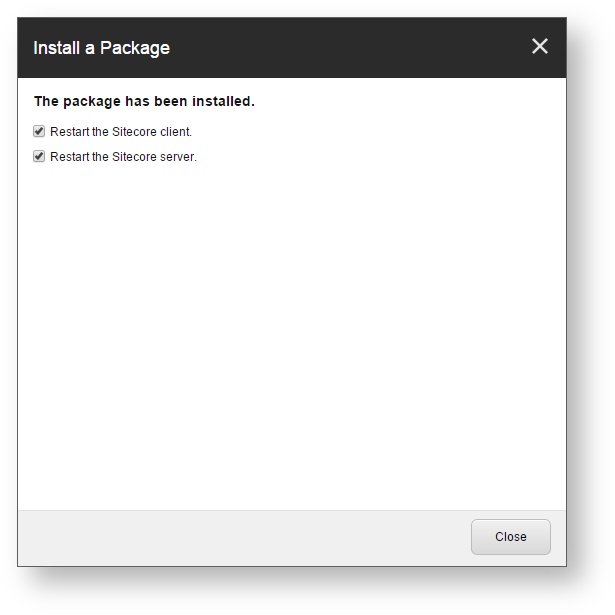
Once the installation is completed, make sure that you restart both the Sitecore client and server.
Step 2: Manually Update the Configuration Files
Merging Your Modifications Into the Configuration Files
The Coveo configuration files are located in the Website\App_Config\Include\Coveo folder.
When upgrading, you must compare the changes to the .example files from your current Coveo for Sitecore version with the ones in the build you’re upgrading to.
Then, you can merge these changes into your current configuration files.
This method allows you to keep your own customization intact, while still benefiting from the latest enhancements brought in the product.
You can use a merge tool such as WinMergeto accomplish this.
In further detail, here are the modifications that you must perform to the configuration files resulting from the feature changes between the previous and current Coveo for Sitecore releases:
Coveo.SearchProvider.config
|
|
The element below appears as an addition: To keep the behavior of your instance unchanged, don’t add this line in your configuration. For more details about |
Locate the following element:
<exclude hint="list:AddExcludedField" ref="mandatory, don't delete" factory="excludedFieldsFactory" />Immediately underneath that element, add the following element:
<include hint="list:AddIncludedField" />Coveo.SearchProvider.Custom.config
In the fieldMap node, inside the first fieldNames element, in the opening comment, replace isExternal with isSourceSpecific.
<!--
     Most used option attributes:
       General options for all fields:
         isSourceSpecific: Defines whether this field should be translated (addition of the "f" prefix and the source name hash suffix).
-->
Step 3: Merging Changes to Coveo Hive Views in Your Custom .cshtml Files
As a result of bug SC-3113 being fixed (see Release Notes for September 2018), the following rendering .cshtml files have been modified:
-
\Website\Views\Coveo Hive\Resources\Coveo Search Resources.cshtml -
\Website\Views\Coveo Hive\Search Boxes\Coveo Searchbox.cshtml -
\Website\Views\Coveo Hive\Search Interfaces\Coveo Recommendations.cshtml -
\Website\Views\Coveo Hive\Search Interfaces\Coveo Related Query.cshtml -
\Website\Views\Coveo Hive\Search Interfaces\Coveo Search Interface.cshtml
This is a non-breaking change, so no action on your part is actually required.
However, if you’re using custom .cshtml files based on the files above, you might want to merge the changes into your custom files to have an error message rendered on your public site when critical Coveo Hive component errors occur.
Step 4: Publish your site
In the Sitecore Content Editor, perform a publish site action.
This ensures any changes related to Coveo components in the upgrade are published to the web database.