Adding boosting or filtering expressions using the Coveo for Sitecore Legacy Search UI Framework
Adding boosting or filtering expressions using the Coveo for Sitecore Legacy Search UI Framework
|
|
This page only applies to Coveo for Sitecore Enterprise users. To add boosting or filtering rules programmatically, see Using Boosting or Filtering Rules on the Search Component Programmatically or Using Boosting or Filtering Rules on the Tab Component Programmatically. |
Using the Rule Set Editor, you can add rules to your search interface to either remove results, or boost them up or down.
Accessing the Rule Set Editor
-
In Sitecore, access the Experience Editor of your search interface page.
-
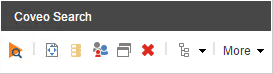
Select the Coveo Search component, and select the Edit properties option. It should be the first icon.
-
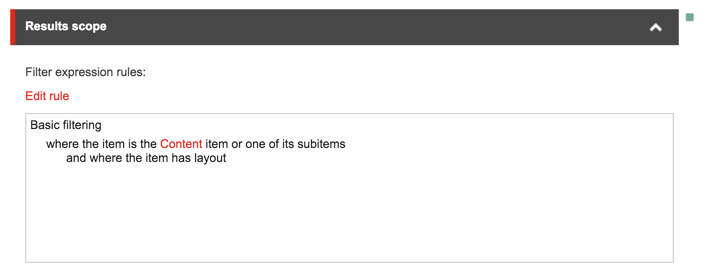
In the Control Properties, scroll to the Result Scope section.
-
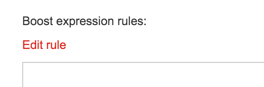
Select Edit rule under Boost expression rules or Filter expression rules to access the Rule Set Editor.
Adding a Boost Expression
Using boosting rules, you can manually change the order of your results. While it’s usually used to make certain search results appear first, it can also be used to lower the ranking of certain items.
In this example, you’ll learn how to boost Mazda car models so they appear first in the search results.
-
In the Result Scope section of the Control Properties panel, under Boost expression rules, click Edit Rule.
-
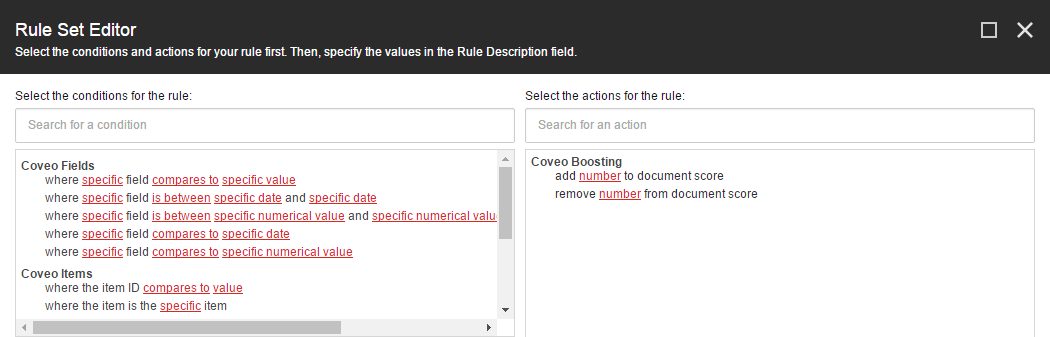
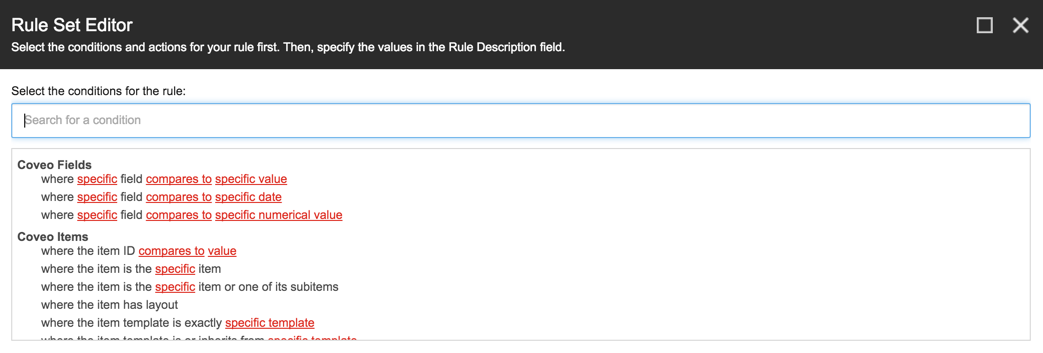
In the Rule Set Editor, in the left side of the panel, select the
where specific field compares to specific valuecondition.
For detailed explanation of each rule, see Rule Set Editor boosting and filtering rules reference.
-
Validate that the condition appears under Rule Description.

-
Click the
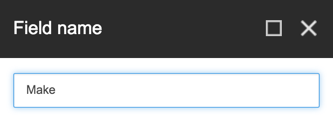
specifichyperlink of your newly added condition. -
Specify the field by which search results should be boosted up. For this example, this would be the
Makefield, which identifies the car maker. Note
NoteOnly the conditions related to Sitecore fields are currently supported.
-
Click the
compares tohyperlink to change the condition. -
Specify the comparison operator that should be used to compare the selected field to the still-to-be-defined value. For this example, choose
is equal to.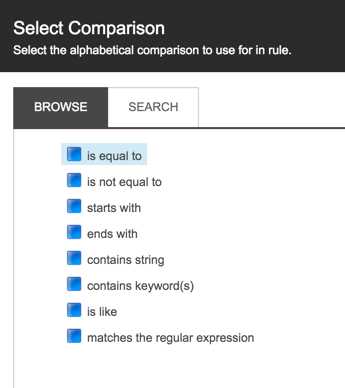
In CES, search queries are always case-insensitive. Therefore, both the
is equal toand theis case-insensitively equal tooperators produce the same results. The same applies tois not equal toandis not case-insensitively equal tooperators.However, results with the same casing as the search query have a higher ranking.
-
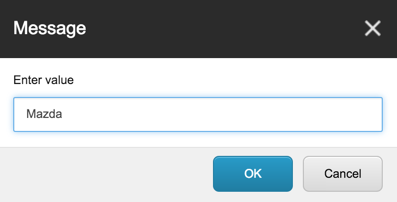
Click the
specific valuehyperlink of your condition. -
Specify the value that the selected field should compare to. In this example, because you want Mazda models to appear first in search results, you would need to specify Mazda.
-
Validate that the condition is complete in the Rule Description section.

-
In the Rule Set Editor, in the right side of the panel, select the
add number to document scoreaction to boost items conforming to your rule.
-
Validate that the action appeared under Rule Description.

-
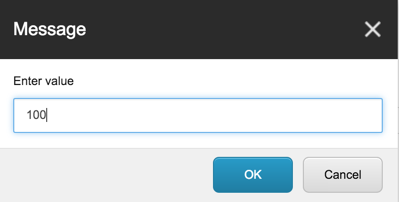
Click the
numberhyperlink of your newly added action. -
Specify the weight by which search results that correspond to the previous condition should be boosted.
NoteYou should always use a value between 1 and 100. Any value higher than this can lead to unwarranted effects on your ranking.
-
Validate that the action is complete in the Rule Description section.

-
Close the Rule Set Editor as well as the
Coveo Searchproperties dialog by clicking their respective OK buttons. -
Save and publish your page.
-
Validate that Mazda car models appear first in search results.
Adding a Filter Expression
A Filter Expression is used to filter search results by a specific criterion such that only those that satisfy it appear in search results.
In this example, you’ll filter your search interface so that only Toyota car models appear in the search results.
-
In the Result Scope section of the Control Properties panel, under Filter expression rules, click Edit Rule.
-
In the Rule Set Editor, select the
where specific field compares to specific valuecondition.
For detailed explanation of each rule, see Rule Set Editor boosting and filtering rules reference.
-
Validate that the condition appears under Rule Description.

-
Click the
specifichyperlink of your newly added condition. -
Specify the field by which search results should be filtered, for example the
Makefield which identifies the car maker.
NoteOnly the conditions related to Sitecore fields are currently supported.
Only fields with the Facet option enabled can be added.
-
Click the
compares tohyperlink to change the condition.. -
Specify the comparison operator that should be used to compare the selected field to the still-to-be-defined value. For this example, choose
is equal to.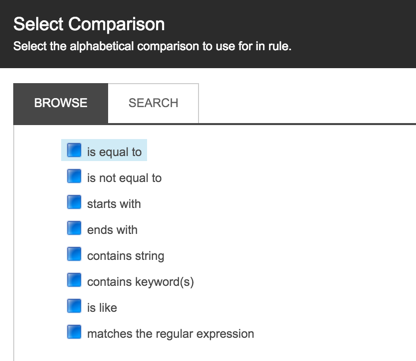
In CES, search queries are always case-insensitive. Therefore, both the
is equal toand theis case-insensitively equal tooperators produce the same results. The same applies tois not equal toandis not case-insensitively equal tooperators.However, results with the same casing as the search query have a higher ranking.
-
Click the
specific valuehyperlink of your condition. -
Specify the value that the selected field should compare to. In this example, because you only want Toyota models to appear in search results, you should specify
Toyota.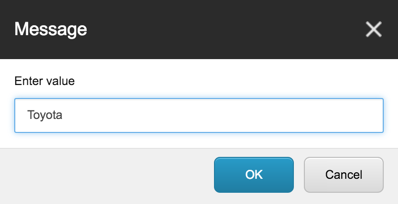
-
Validate that the condition is complete in the Rule Description section.

-
Close the Rule Set Editor as well as the
Coveo Searchproperties dialog by clicking their respective OK buttons. -
Save and publish your page.
-
Validate that only Toyota car models appear in search results, no matter what query is executed.