Custom Multi-Sort tutorial - Preparing the ground
Custom Multi-Sort tutorial - Preparing the ground
This page covers how to create the basic components to integrate a custom component in Sitecore.
Creating the base classes
Start by creating a simple class that will hold your component properties.
using Coveo.UI.Components.Models;
namespace Coveo.Custom
{
    public class MultiSortModelProperties : IModelProperties
    {
    }
}
Create a base model to use those properties:
using Coveo.UI.Components.Models;

namespace Coveo.Custom
{
    public class MultiSortModel : BaseModelWithProperties<MultiSortModelProperties>
    {
    }
}
Compile this project and copy the DLL into your Sitecore instance.
Creating the files
Create a file named MultiSort.cshtml in your Sitecore instance, in the Views > Coveo Hive Custom folder, with the following code:
@model Coveo.Custom.MultiSortModel

<div class="CoveoSort" data-caption="My Multi-Sort" data-sort-criteria="relevancy"></div>
This file will be completed later in the example when adding new properties.
Creating the base items in Sitecore
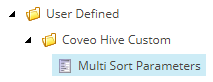
Create a template that will be used as a Data Source:
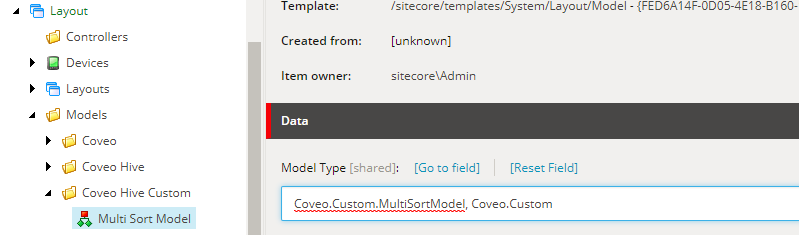
Create a model item to reference your model, and set the model type matching your class and assembly:
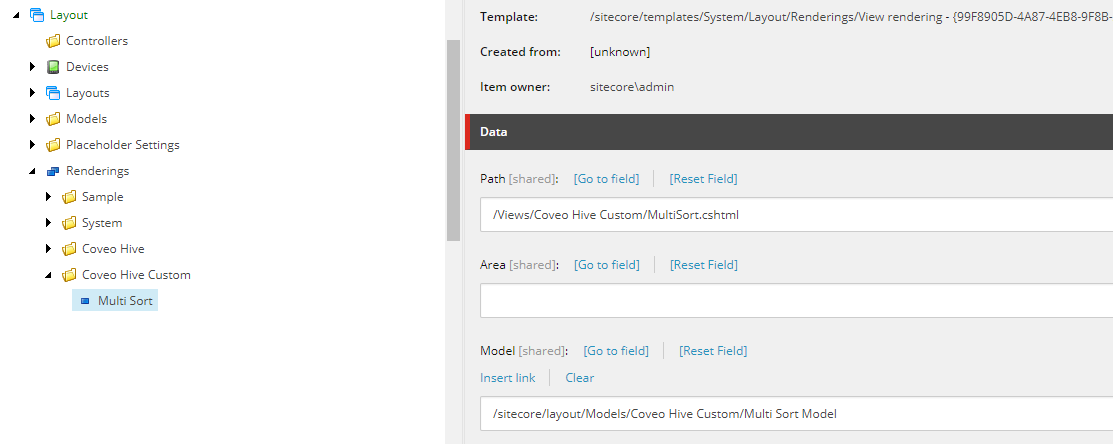
Create a View rendering item and fill in the following fields:
-
Path:/Views/Coveo Hive Custom/MultiSort.cshtml -
Model:/sitecore/layout/Models/Coveo Hive Custom/Multi Sort Model(or click Insert Link and select your model) -
Datasource Template:/sitecore/templates/User Defined/Coveo Hive Custom/Multi Sort Parameters(or click Insert Link and select your model)
This sets up the Rendering with all the parts that were previously created in this tutorial.
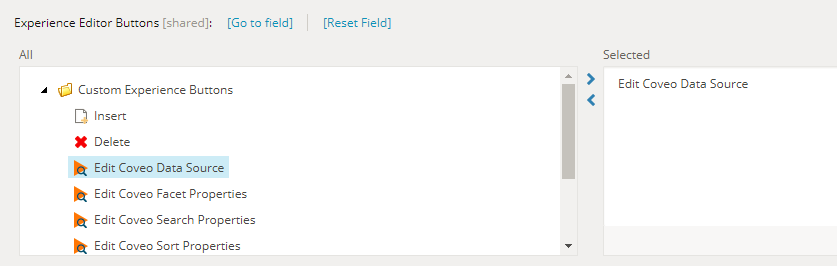
You can also add the custom Coveo Experience Editor Button to make the data source editable directly from the Rendering in the Experience Editor:
In the next step, we’ll integrate this component into our Search Interface.