Getting Recommendations
Getting Recommendations
Coveo ML provides a way to analyze the visits on your website to recommend content relevant to the user’s current visit history. The required data is collected each time a user visits a page containing the Page View Analytics component. This data is tracked anonymously and doesn’t use any personal information, apart from the current visit page history.
What to Expect From the Recommendations
Recommendations are based on your visitors visits: the more visitors you have, the better the recommendations are. Once Coveo ML has gathered enough data, it generates a model that’s then used to return recommendations relevant to the current user by comparing their navigation pattern with similar users patterns (see Deploy Content Recommendations (CR)).
Getting Recommendations
Follow these steps to enable recommendations on your website.
Step 1: Configure the Page View Analytics Component
To get recommendations, you must first set up the Coveo Page View Analytics component, which gathers the required information (see Logging View Events).
Step 2: Create a Pipeline for Recommendations
Create a new pipeline from the Coveo Administration Console. You need a different pipeline for your recommendations, as the model changes the default query behavior (see Manage query pipelines).
Step 3: Create a Model in Your Pipeline
In your Recommendations pipeline, add a new Coveo ML recommendation model. It should take at least an hour to create, depending on the volume of data previously logged (see Manage models).
Step 4: Configure your Sitecore Instance
Navigate to <SITECORE_INSTANCE_ROOT>\Website\App_Config\Include\Coveo, and create a file named Coveo.SearchProvider.Recommendations.Custom.config file, and add the following code:
<configuration xmlns:patch="http://www.sitecore.net/xmlconfig/">
    <sitecore>
        <coveo>
            <defaultIndexConfiguration type="Coveo.AbstractLayer.CoveoDefaultIndexConfiguration, Coveo.AbstractLayer">
                <serverUrl>http://YOUR_PUBLIC_SERVER_URL</serverUrl>
            </defaultIndexConfiguration>
        </coveo>
    </sitecore>
</configuration>
Replace YOUR_PUBLIC_SERVER_URL with your public (client facing) server URL.
For example, if your main page is http://www.mysite.com/en/myPage/, enter http://www.mysite.com.
Step 5: Ensure That the URL Is Correctly Configured
You can validate if your item has the correct server URL in the Content Browser of the Coveo Administration Console.
-
Access the Coveo Platform, and under Content, select Content Browser.
-
Select your filters to show your Sitecore source only.
-
Take a look at any item properties by clicking the item, and then click Properties.
-
The
URIfield value should start with the server URL configured in the configuration files.
Step 6: Insert the Coveo Recommendations Component
Coveo for Sitecore Hive UI Framework.
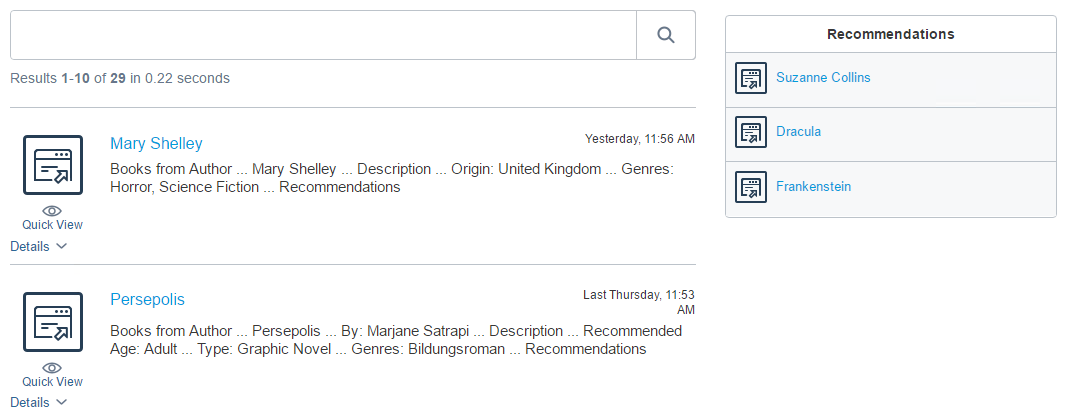
The Coveo Hive Recommendation component (see Coveo Recommendations) is a Sitecore presentation item which can be added in any placeholders. Once added, it will create several placeholders which you can use to add a result list, result templates, query filters and much more.
The datasources item of the Recommendation component requires a Recommendation pipeline, use the one created before.
Coveo for Sitecore Legacy UI Framework.
Add the Coveo Recommendations Component to the page you want (see Inserting and Customizing a Recommendations Component). Configure the Recommendations Pipeline property with the name of the pipeline created earlier.
Step 7: Publish the Items
Publish your items to your website as the view events are only logged when navigating in the published site.
Step 8: Validate Recommendations
Navigate to the website using the exact URL configured in the Sitecore configuration (see Step 5). If you have enough analytics data, you should see the recommendations on your page.
Troubleshooting
The following section lists some of the common reasons why no recommendations are displayed in the Coveo Recommendations component.
Not Getting Recommendations in the Experience Editor
Since analytics are disabled in the master database, there are no view events logged in the Coveo Analytics service. The recommendations should only appear on the published site.
Not Enough Data
Coveo Recommendations uses view events to recommend pages to the user. If you don’t have any of those events logged in Coveo Analytics, no recommendations can be returned.
First Visit to a Page
Coveo Recommendations can’t find any pattern when landing on the first page. It’s expected that the first page of a visit doesn’t return any recommendations.
The URL Is Invalid
Coveo Recommendations uses the URI field from the items, meaning http://www.mysite.com/en/myproduct isn’t the same as http://www.mysite.com/myproduct, and should give different recommendations.
The Page View Analytics Component Isn’t Correctly Configured
Ensure that you configured the Page View component in all the pages you want the recommendations section to feature.
|
|
Leading practice
Include the component in the header of your main layout, so it appears by default in all pages (see Logging View Events). |
|
|
If you have a Coveo for Sitecore older than October 2016, step one of Logging View Events is mandatory. |
Legacy UI Framework Only - The Page with the Recommendations Doesn’t Contain the Page View Analytics Component
The Page View Analytics component must load before the Coveo Recommendations component.
To change the order
-
In the Sitecore Content Editor, select your item.
-
On the Presentation tab, click Details.
-
On the Shared Layout tab, under Default, click Edit.
-
Select the Controls tab.
-
Locate the Coveo Page View Analytics component and move it up, before the Coveo Recommendations component.
-
Click OK.
-
-
Click OK.
-
Click Save and publish your changes.