Troubleshooting Guide - On-Premises Issues
Troubleshooting Guide - On-Premises Issues
Sitecore and Coveo are made of several elements that must be able to communicate with one another. You need to open ports to let through communication between your front-end and back-end services. In a secured environment, most problems are caused by one of these elements being unable to establish communication with other parts of the setup. This article is intended for developers and administrators who need an in-depth view of the interactions occurring between the services involved with Coveo for Sitecore when deployed in an on-premises environment.
Topology of Services and Components
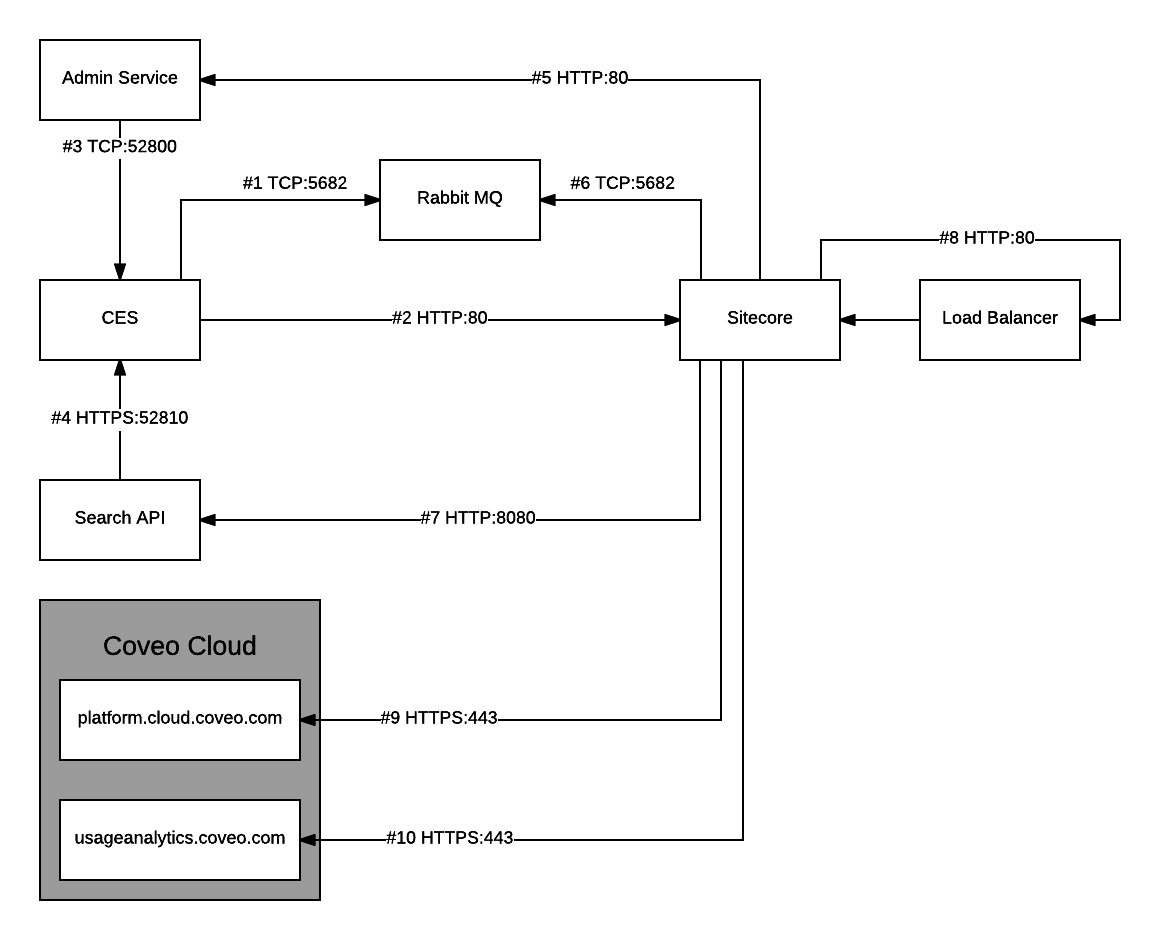
As Coveo Enterprise Search (CES) is the deepest service behind the firewall, it’s often a good strategy to validate the connectivity starting with the components near CES and then validate the interactions initiated by Sitecore.
Validating Services and Components Individually
Validating the Admin Service
Step 1: Validate that the Windows service is running
-
On the Admin Service server, open the Windows Services window.
-
Validate that the Coveo Admin Service service is Running.
- If the service isn’t running, check the Admin Service log files. They’re located in
C:\Program Files\Coveo Enterprise Search 7\binand namedAdminService_yyyyMMdd.log.
- If the service isn’t running, check the Admin Service log files. They’re located in
-
Validate that the service is running with the same identity as the Coveo Enterprise Search 7 x64 service.
- If the service is running under a different identity, update the identity and restart the service.
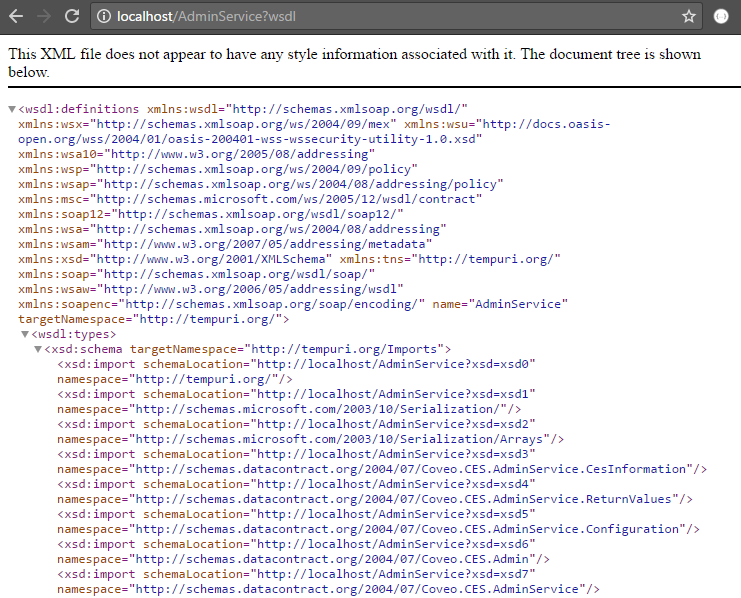
Step 2: Validate that the Admin Service web service is responding
-
On the Admin Service server, open a web browser on
http://localhost/AdminService?wsdl.If the Admin Service is secure, use this address:
https://localhost/AdminService?wsdl -
You should get an XML output similar to this one:
Validating CES
Step 1: Validate that the Windows service is running
-
On the CES server, open the Windows Services window.
-
Validate that the Coveo Enterprise Search 7 x64 service is running.
- If the service isn’t running, check the CES system log files. They’re located under
C:\CES7\Logand are namedSystem_yyyy-MM-dd.log.
- If the service isn’t running, check the CES system log files. They’re located under
Step 2: Validate that the Admin Tool is responding
-
On the CES server, open a web browser and access
http://localhost:8081. -
You should see the Admin Tool dashboard.
Step 3: Validate that the Search Service is responding
-
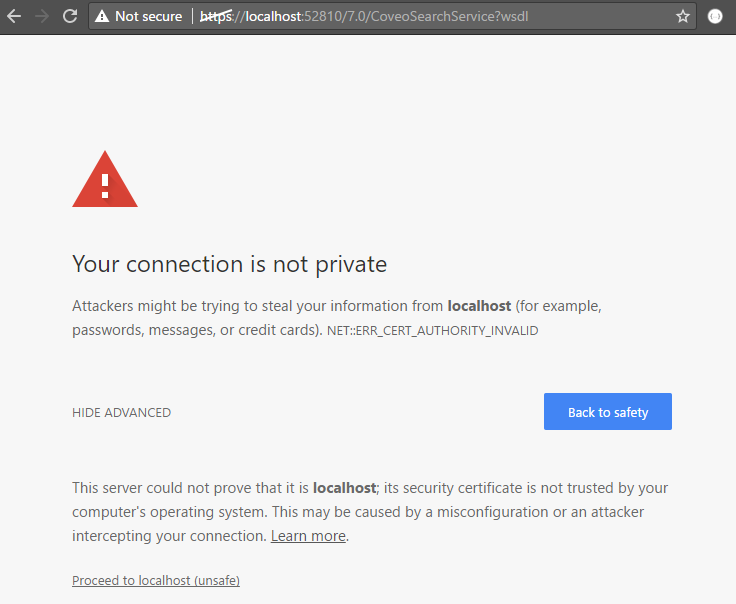
On the CES server, open a web browser and access
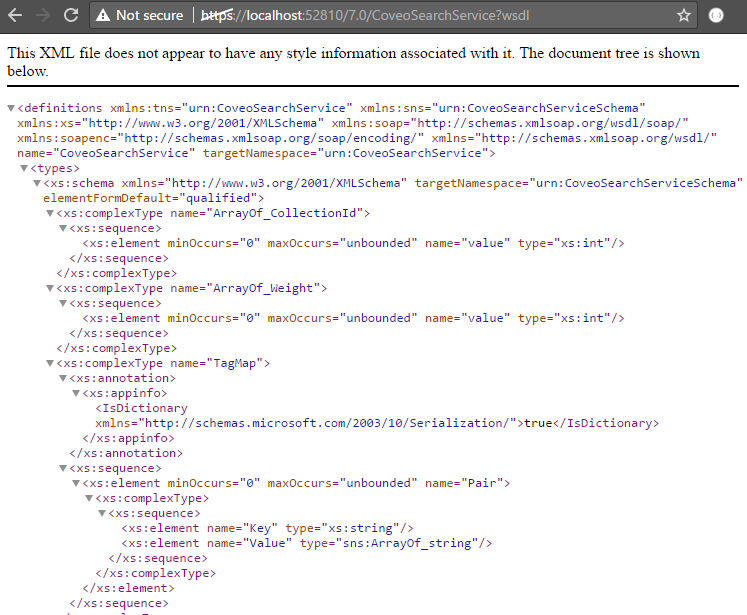
https://localhost:52810/7.0/CoveoSearchService?wsdl. -
You should get a security warning similar to this one:
-
Click the Proceed to localhost (unsafe) link. You should then see an XML output similar to this one:
Step 4: Validate Security Protocols and Ciphers
- Ensure that TLS 1.1 and 1.2 protocols are enabled on the server. See SSL/TLS Support.
Validating RabbitMQ
Step 1: Validate that the Windows service is running
-
On the RabbitMQ server, open the Windows Services window.
-
Validate that the RabbitMQ for Coveo service is running.
Step 2: Validate that the RabbitMQ Management Tool is responding
-
On the RabbitMQ server, open a web browser and access
http://localhost:15672. -
You should see a login prompt similar to this one:

Step 3: Validate that the service is responding
-
On the RabbitMQ server, open a command-line prompt and type this command.
netstat -baonThe command above may output lots of information. It’s handy to dump the command output into a file.
netstat -baon > netstat.logIn this particular case, the output will be saved in the
netstat.logfile in the current directory. -
The command output should contain this line:
 TCP    0.0.0.0:5682           0.0.0.0:0              LISTENING
 [erl.exe]
Validating the Search API
Step 1: Validate that the Windows service is running
-
On the Search API server, open the Windows Services window.
-
Validate that the Coveo Search API service is running.
- If the service isn’t running, check the log files. They’re located under
C:\Program Files\Coveo Search API 8\logsand namedCoveoSearchAPI.yyyy-MM-dd.log.
- If the service isn’t running, check the log files. They’re located under
Step 2: Validate that the service is responding
-
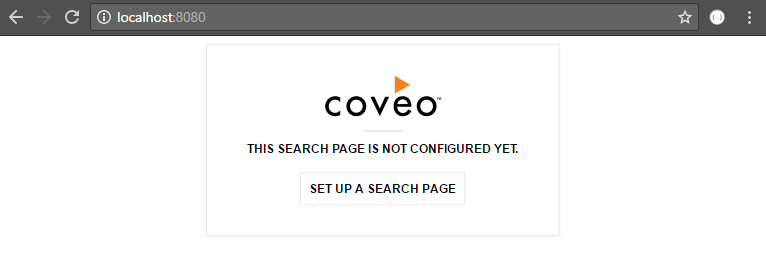
On the Search API server, open a web browser and access
http://localhost:8080. -
You should see a page similar to this one:
Validating the Sitecore Instance
-
Validate that the Sitecore instance is up and running.
-
For Sitecore 7.5+, validate that the MongoDB server is also running.
Validating the Interactions Between the Services and Components
Validating route #1 (from CES to RabbitMQ)
Source: CES
Destination: RabbitMQ
Protocol: TCP
Port: 5682
- Using the ping utility, ensure that CES can connect to the RabbitMQ service.
Validating route #2 (from CES to Sitecore)
Source: CES
Destination: Sitecore
Protocol: HTTP
Port: 80
-
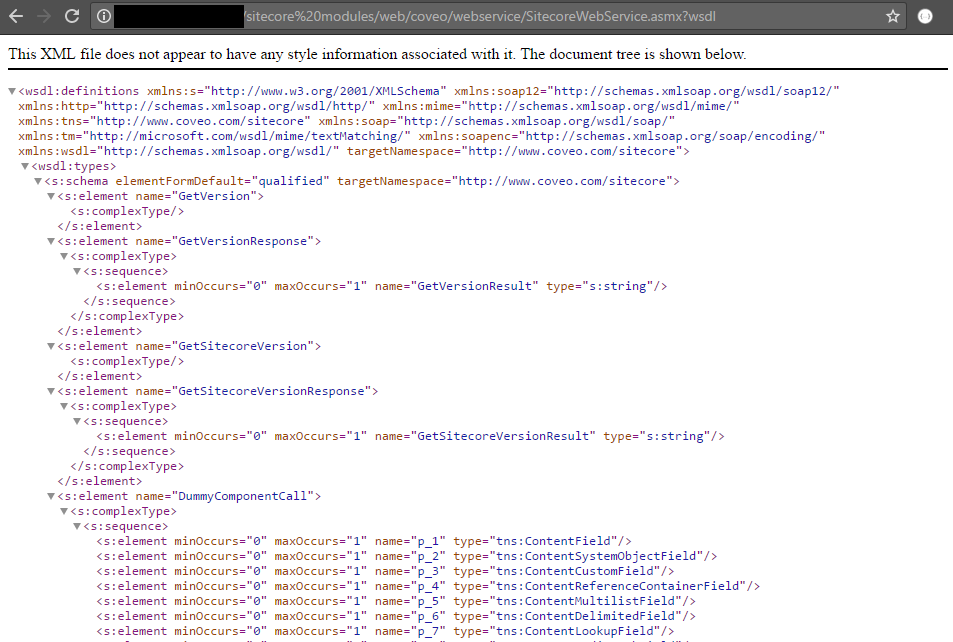
On the CES server, open a web browser and access
http://sitecoreServer/sitecore modules/web/coveo/webservice/SitecoreWebService.asmx?wsdlwherehttp://sitecoreServeris the <serverUrl> set in the config. -
You should get an XML output similar to this one:
Validating route #3 (from Admin Service to CES)
Source: Search API
Destination: CES
Protocol: HTTP
Port: 52810
The Admin Service must be installed on the same server as CES. Firewalls aren’t an issue usually.
-
Open a command-line prompt and type this command:
netstat -baon -
In the command output, look for this line:
TCP 0.0.0.0:52800 0.0.0.0:0 LISTENING [CESService7.exe]- If CES isn’t listening on the port, review the step Validating CES.
Validating route #4 (from Search API to CES)
Source: Search API
Destination: CES
Protocol: HTTP
Port: 52810
Step 1: Validate that the Search API server can reach the CES Search Service
-
On the Search API server, open a web browser and access
https://cesServer:52810/7.0/CoveoSearchService?wsdl. -
You should get a security warning similar to this one:

-
Click the Proceed to cesServer (unsafe) link.
-
You should get an XML output similar to this one:

Step 2: Validate that the Search API service can return CES data
-
On the Search API server, open a web browser (with an Active Directory identity having rights to connect to CES) and access
http://localhost:8080/rest/search. -
You should get a JSON output similar to this one:

- If you get an infinite loop of authentication prompt, CES is probably not available. Review step Validating CES.
Validating route #5 (from Sitecore to Admin Service)
Source: Sitecore
Destination: Admin Service
Protocol: HTTP
Port: 80
-
On the Sitecore server, open a web browser and access
http://adminServiceServer/AdminService?wsdl.If the Admin Service is secure, access
https://adminServiceServer/AdminService?wsdl. -
You should get an XML output similar to this one:

Validating Route #6 (from Sitecore to RabbitMQ)
Source: Sitecore
Destination: RabbitMQ
Protocol: TCP
Port: 5682
There’s no easy way to validate that a message is sent correctly from the Sitecore server to RabbitMQ without using Coveo for Sitecore and the Sitecore instance.
-
Using the ping utility, validate that the Sitecore server can access the RabbitMQ server.
-
Validate that the firewalls aren’t blocking the communication.
Validating Route #7 (from Sitecore to Search API)
Source: Sitecore
Destination: Search API
Protocol: HTTP
Port: 8080
Step 1: Validate that the Sitecore server can reach the Search API service
-
On the Sitecore server, open a web browser and access
http://searchApiServer:8080. -
You should get an output similar to this:

Step 2: Validate that the Coveo for Sitecore REST endpoint can return the Search API data
-
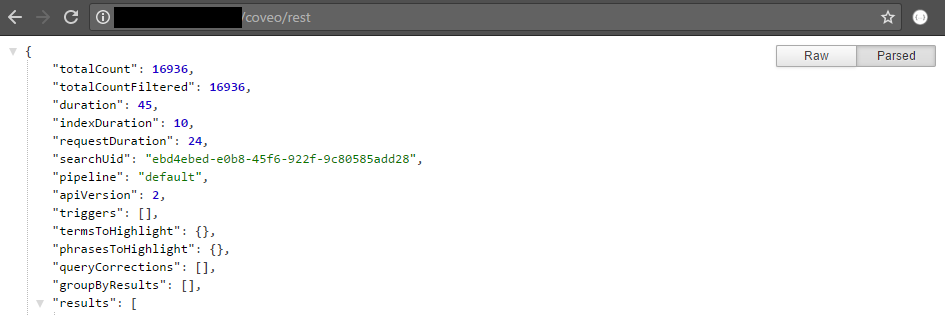
On the Sitecore server, open a web browser and access
http://sitecoreServer/coveo/rest. -
You should get a JSON output similar to this one:
Validating Route #8 (from Sitecore to Sitecore through Load Balancer)
Source: Sitecore
Destination: Load Balancer
Protocol: HTTP
Port: 80
If Sitecore is secure, the protocol is HTTPS, and port is 443.
-
From the Sitecore server, open a web browser and access
http://sitecoreLoadBalancer/coveo/rest. -
You should get an output similar to this:

Validating Route #9 (from Sitecore to platform.cloud.coveo.com)
Source: Sitecore
Destination: platform.cloud.coveo.com
Protocol: HTTPS
Port: 443
-
On the Sitecore server, open a web browser and access
https://platform.cloud.coveo.com. -
You should get the Coveo login page.
Validating Route #10 (from Sitecore to usageanalytics.coveo.com)
Source: Sitecore
Destination: usageanalytics.coveo.com
Protocol: HTTPS
Port: 443
-
On the Sitecore server, open a web browser and access
https://usageanalytics.coveo.com. -
You should get the Coveo Usage Analytics (Coveo UA) home page.