Upgrading From September 2018 to October 2018
Upgrading From September 2018 to October 2018
|
|
For the best Coveo for Sitecore experience, always follow the Leading Practices When Upgrading Coveo for Sitecore. |
This section describes how to upgrade Coveo for Sitecore 4.1 from the September 2018 to the October 2018 release.
Step 1: Upgrade Coveo for Sitecore
|
|
Ensure that the Microsoft MVC security update MS14-059 is installed on every Sitecore host in your environment. |
-
Log into the Sitecore Desktop.
-
Access the Installation Wizard (Sitecore Start Menu > Development Tools > Installation Wizard).
-
Install the Coveo for Sitecore .zip package.
-
When prompted to overwrite files, click Yes to all.
-
When prompted to overwrite items, select Overwrite, then click Apply to all.
 Note
NoteYou might be prompted twice with this question. Select the Overwrite option and click Apply to all both times.
-
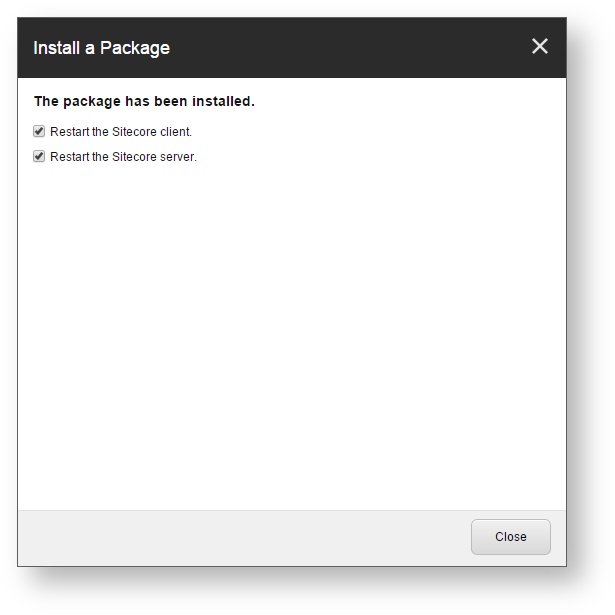
Once the installation is completed, make sure that you restart both the Sitecore client and server.
Step 2: Manually Update the Coveo Configuration Files
Since upgrading Coveo for Sitecore modifies the Coveo Search Provider configuration files (Coveo.SearchProvider.config.example and Coveo.SearchProvider.Custom.config.example) with the latest fixes and enhancements, you need to manually merge these modifications into your current configuration files (Coveo.SearchProvider.config and Coveo.SearchProvider.Custom.config).
This method allows you to keep your own customization intact, while still benefiting from the latest enhancements brought in the product.
You can use a merge tool such as WinMerge to do that.
In further detail, here are the modifications that you must perform to the configuration files resulting from the feature changes between the previous and current Coveo for Sitecore releases:
Coveo.SearchProvider.config
The AddAnalyticsFieldsProcessor element has been moved up in the processor execution list and now sits ahead of the IncludeFieldsFromConfigOnlyProcessor element.
This modification is required to resolve Issue SC-3200 when upgrading Coveo for Sitecore.
<!-- The AddComputedFieldsProcessor adds the computed fields to the search index. -->
<processor type="Coveo.AbstractLayer.Processors.Indexing.Fields.AddComputedFieldsProcessor, Coveo.AbstractLayer" />
<!-- The AddAnalyticsFieldsProcessor adds fields related to Sitecore Analytics to the search index. Those fields are used by the personalization features. -->
<processor type="Coveo.AbstractLayer.Processors.Indexing.Fields.AddAnalyticsFieldsProcessor, Coveo.AbstractLayer" />
<!-- The IncludeFieldsFromConfigOnlyProcessor adds the included fields to the search index. If at least one included field is specified, the processor stops the pipeline. -->
<processor type="Coveo.AbstractLayer.Processors.Indexing.Fields.IncludeFieldsFromConfigOnlyProcessor, Coveo.AbstractLayer" />
<!-- The AddCoveoFieldsProcessor adds specific Coveo fields to the search index. -->
<processor type="Coveo.AbstractLayer.Processors.Indexing.Fields.AddCoveoFieldsProcessor, Coveo.AbstractLayer" />
<!-- The AddTemplateFieldsProcessor gets the fields from a list of templates and then adds them to the search index.
     The processor invokes the coveoIndexingGetTemplates pipeline to retrieve the templates. -->
<processor type="Coveo.AbstractLayer.Processors.Indexing.Fields.AddTemplateFieldsProcessor, Coveo.AbstractLayer" />
<!-- The AddExternalFieldsProcessor adds the fields declared in the ExternalFields element to the search index. -->
<processor type="Coveo.AbstractLayer.Processors.Indexing.Fields.AddExternalFieldsProcessor, Coveo.AbstractLayer" />
Step 3: Enable the FetchPageContent Processor
If you’re indexing rendered HTML, you can switch from the HtmlContentInBodyWithRequestsProcessor processor to the new FetchPageContentProcessor processor as follows.
-
Go to the Configuration section of the Command Center, accessible at
http://<INSTANCE_HOSTNAME>/coveo/command-center/index.html#configuration/. -
In the Configure options section, if the
Index rendered HTMLoption is selected-
Select
Only index Sitecore item data. -
Click Apply and Restart.
-
-
In the Configure options section, select the
Index rendered HTMLoption. -
Click Apply and Restart.
You should now see the following configuration in your App_Config\Include\Coveo\Coveo.SearchProvider.Custom.config file.
<coveoPostItemProcessingPipeline>
  <processor type="Coveo.SearchProvider.Processors.ExecuteGetBinaryDataPipeline, Coveo.SearchProviderBase" />
</coveoPostItemProcessingPipeline>
<coveoGetBinaryData>
  <processor type="Coveo.SearchProvider.Processors.FetchPageContentProcessor, Coveo.SearchProviderBase">
    <inboundFilter hint="list:AddInboundFilter">
      <itemsWithLayout type="Coveo.SearchProvider.Processors.FetchPageContent.Filters.ItemsWithLayout, Coveo.SearchProviderBase" />
    </inboundFilter>
    <preAuthentication hint="list:AddPreAuthenticator" />
    <postProcessing hint="list:AddPostProcessing">
      <processor type="Coveo.SearchProvider.Processors.FetchPageContent.PostProcessing.CleanHtml, Coveo.SearchProviderBase">
        <startComment>BEGIN NOINDEX</startComment>
        <endComment>END NOINDEX</endComment>
      </processor>
    </postProcessing>
  </processor>
</coveoGetBinaryData>
Step 4: Upgrading from Legacy Fields
Several legacy Coveo fields were removed as a result of issue SC-3166. If you’re referencing any of these fields in your result templates or filter rules, you’ll need to make certain adjustments (see Field Is No Longer Indexed in the Sitecore Items).
Step 5: Publish your site
In the Sitecore Content Editor, perform a publish site action.
This ensures any changes related to Coveo components in the upgrade are published to the web database.