Filter and boost using the Rule Set Editor
Filter and boost using the Rule Set Editor
|
|
Legacy feature
This article pertains to achieving relevance with the Coveo Hive framework. Coveo Hive is now in maintenance mode. See Achieve relevance for guidance on leveraging Coveo Platform relevance features with the Coveo Atomic library. |
Enterprise edition
The Rule Set Editor lets you apply filtering at the search interface level or for a specific search interface tab. You can access the Rule Set Editor through the data source of the following Coveo for Sitecore renderings:
|
|
Leading practice
Although the Coveo Search Interface rendering view file automatically instantiates both a Query Filter and a Query Ranking rendering, you should insert standalone instances of these renderings in your search interfaces. This eases the configuration and reusability of these renderings. |
Using the Query Filter Rendering
You can apply filtering expressions to all your search interface queries by inserting the Query Filter rendering and editing its data source.
-
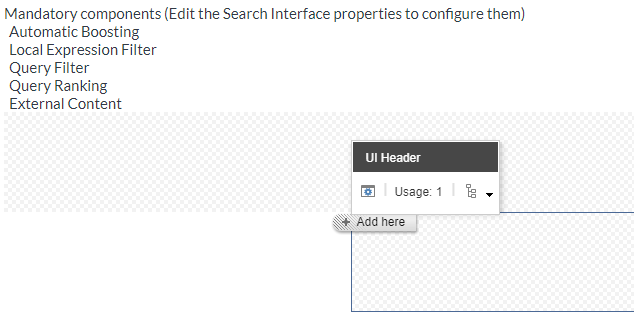
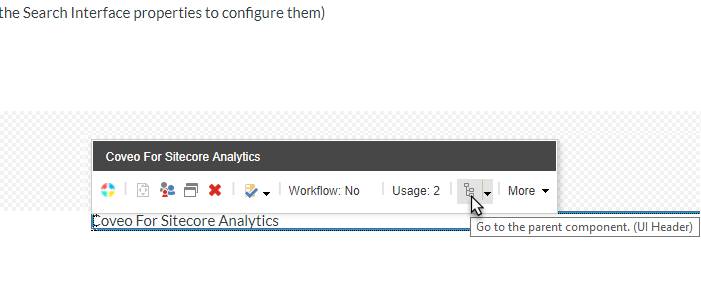
In the Experience Editor, locate and select the UI Header placeholder. When the UI Header placeholder is empty, the placeholder shaded area is visible (image below left). Otherwise, you can select a rendering that has been inserted in the UI Header placeholder and use the Go to the parent component option (image below right).
-
Click Add here.
-
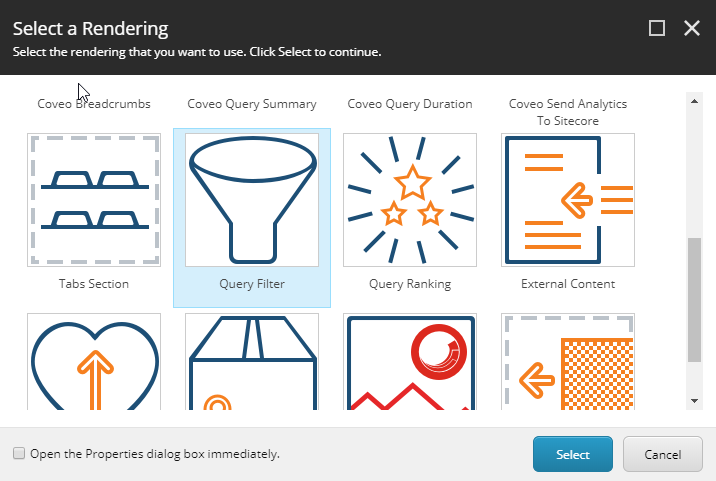
Select the Query Filter rendering.
-
Create a data source for your rendering.
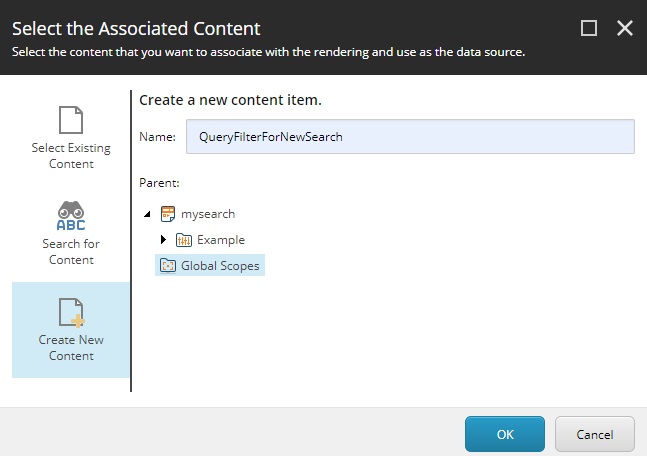
-
In the Query Filter rendering floating toolbar, select the Edit the rendering’s data source option. It should be the leftmost option on the floating toolbar.
-
In the Query Filter section, just underneath Filter expression rules, click Edit rule.
-
Click Add a new rule.
-
In the Choose conditions section of the dialog, select the condition template you want to use (see Rule Set Editor boosting and filtering rules reference).

-
In the Edit rule section, for each link in the condition template, click the link to either toggle between possible options or to set a value (for example, clicking the
wherelink will allow you to toggle between thewhereandexcept whereoptions.)
-
To add other conditions to your rule, repeat steps 7 to 9. You can change the
andlogical operator between the conditions, if need be.
-
Give your rule a meaningful name.

Once completed, the Query Filter rendering and its rule name should be displayed in the Experience Editor.
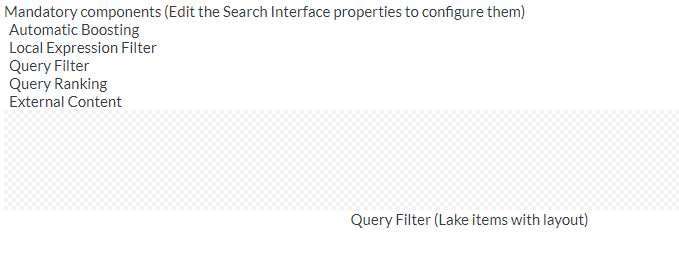
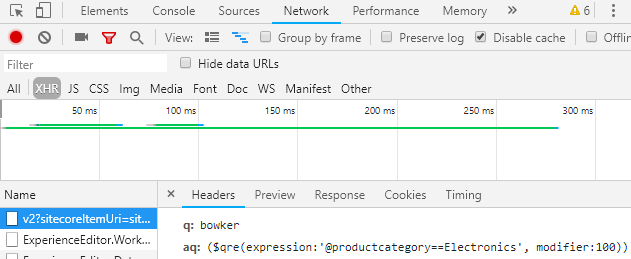
When executing queries in a search interface, you can review your call headers in the browser developer tools to ensure that the advanced query (aq) value properly reflects your query filter rule.
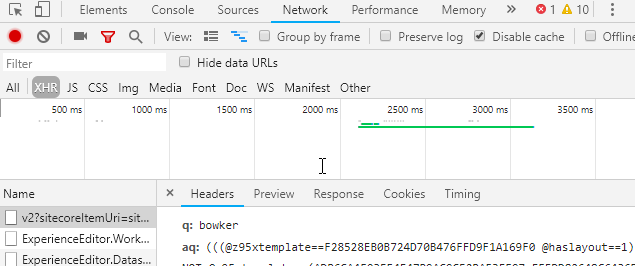
Using the Query Ranking Rendering
You can boost the score of targeted results on all your search interface queries by inserting the Query Ranking rendering and editing its data source.
-
In the Experience Editor, locate and select the UI Header placeholder. When the UI Header placeholder is empty, the placeholder shaded area is visible (image below left). Otherwise, you can select a rendering that has been inserted in the UI Header placeholder and use the Go to the parent component option (image below right).


-
Click Add here.
-
Select the Query Ranking rendering.
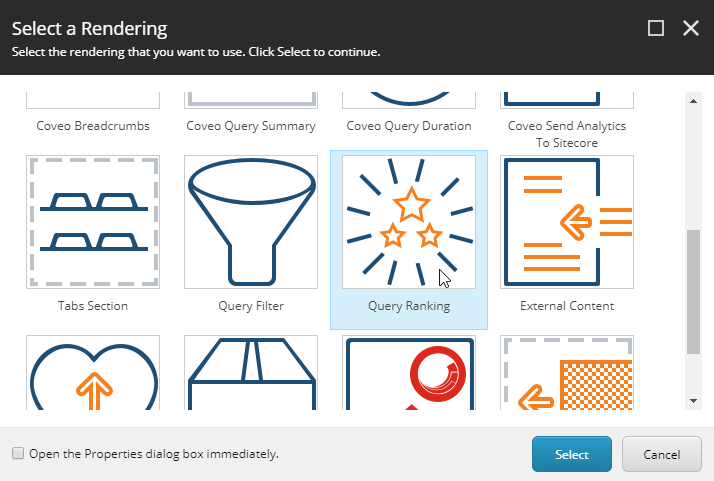
-
Create a data source for your rendering.
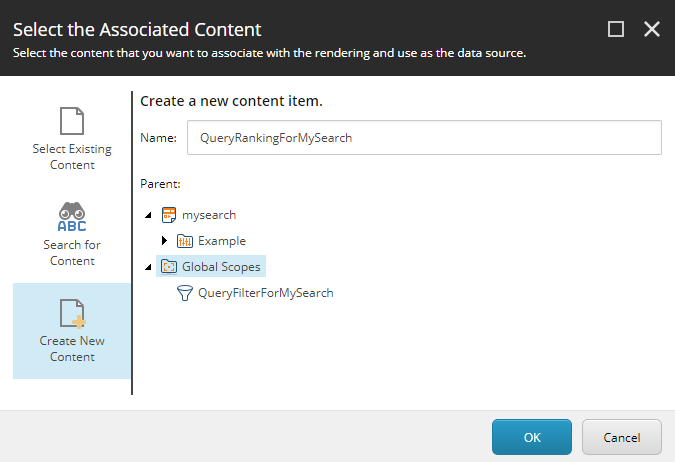
-
In the Query Ranking rendering floating toolbar, select the Edit the rendering’s data source option. It should be the leftmost option on the floating toolbar.
-
In the Query Ranking section, just underneath Boost expression rules, click Edit rule.
-
In the Choose conditions section, select the condition template you want to use.
-
In the Edit rule section, for each link in the condition template, click the link to either toggle between possible options or to set a value (for example, clicking the
wherelink will allow you to toggle between thewhereandexcept whereoptions.)
-
To add other conditions to your rule, click Add a new rule and repeat steps 7 and 8. You can change the
andlogical operator between the conditions, if need be. -
In the Choose actions section, select whether you want to boost (add number to document score) the targeted items or reduce the score (remove number from document score) of the targeted items.
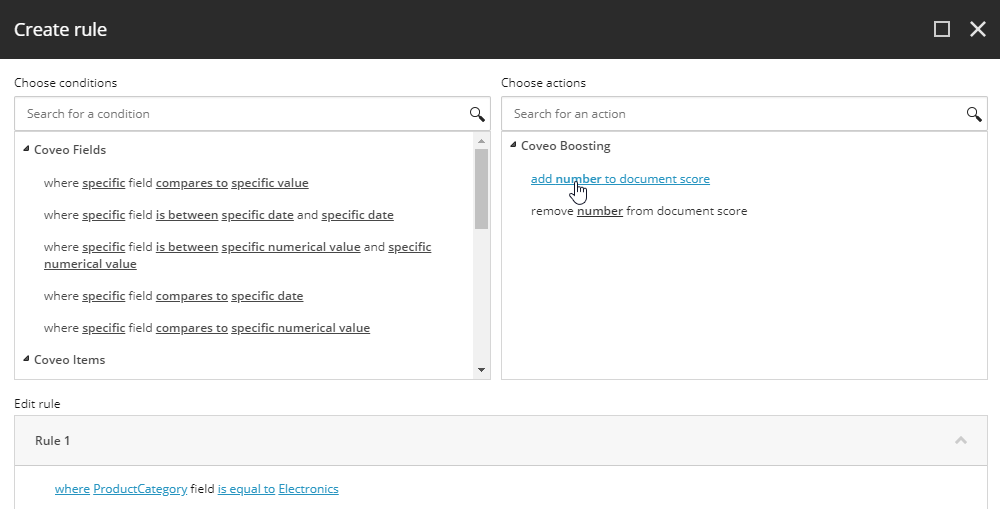
-
In the Edit rule section, click the
numberlink to specify the number of points to add to, or subtract from, the scores of the targeted items. -
Give your rule a meaningful name.

Once completed, the Query Ranking rendering and its rule name should be displayed in the Experience Editor.
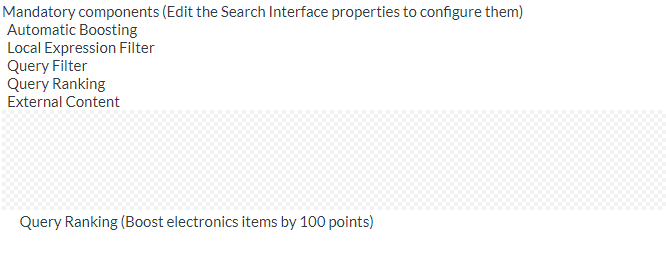
When executing queries in search interface, you can review your call headers in the browser developer tools to ensure that the advanced query (aq) value properly reflects your query ranking rule.
