Insert custom components in an existing search interface
Insert custom components in an existing search interface
|
|
Legacy feature
The Coveo Hive Framework is now in maintenance mode and is no longer recommended for new implementations. To build new search experiences, use one of Coveo’s more modern, lightweight, and responsive libraries. To get started, see the Build search article. |
There are two ways to insert your own components into an existing search interface:
Inserting a placeholder section
The Placeholder Section rendering allows adding a placeholder in the interface. This placeholder can be an existing one that already has been configured or a custom placeholder.
Many of the placeholders in the Coveo Modular Frame already let you add the Placeholder Section rendering.
-
Select the Main Content section, and click Add To Here
-
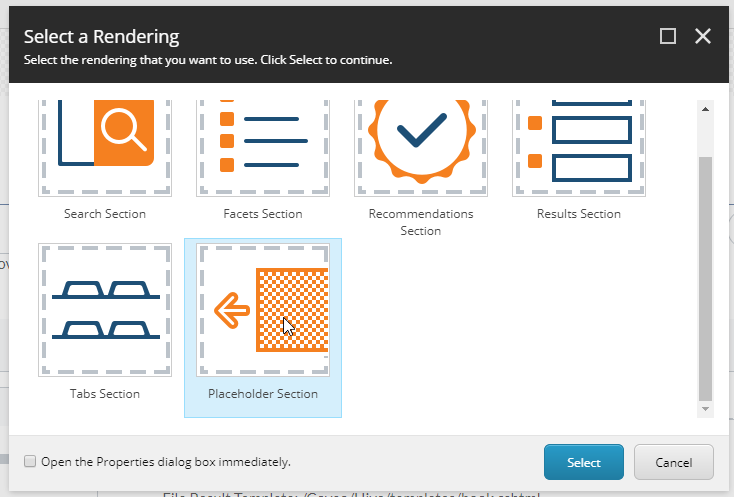
Select the Placeholder Section component.
-
Select or create a new data source. If you select an existing data source that’s already configured, jump to step 7.
-
You should now have a non-configured Placeholder Section component.

-
Click the component, and click Edit Coveo Data Source.
-
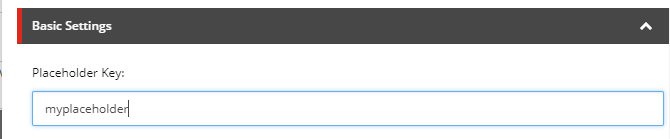
Enter the placeholder key that you want to insert.
-
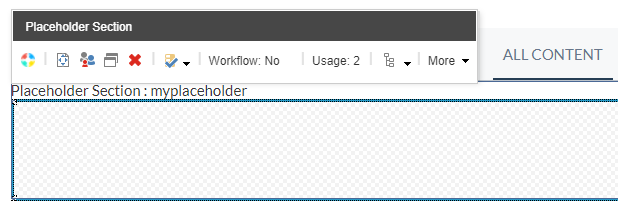
You should now have an empty placeholder. If you don’t see it, ensure that you have properly configured the Placeholder Settings for the key entered in the data source.
Patching the allowed controls of an existing placeholder
This item allows you to add your own Allowed Controls to a placeholder without running the risk getting your placeholder overwritten during an upgrade.
You should always use this method to patch the placeholders provided by Coveo for Sitecore.
-
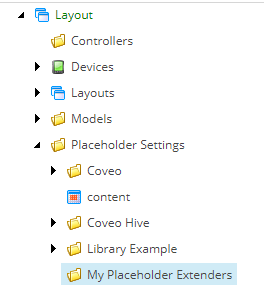
In the Content Editor, in the location of your choice.
-
For example, create a folder named "My Placeholder Extenders" under the path Sitecore > Layout> Placeholder Settings..
-
-
Right-click the folder and choose Insert > Insert From Template
-
In the templates, navigate to Coveo Hive > Structure and choose Placeholder Extender.
-
Choose a name that identifies what you’re extending.

-
-
In your newly created item, select the Placeholder Setting property.
-
Choose the placeholder that you want to extend.

-
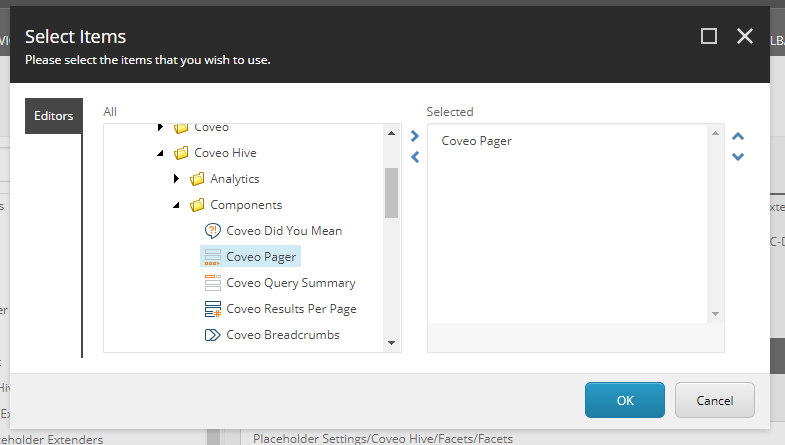
In the Allowed Controls property, click Edit.
-
Choose the controls that you want to add and click OK.
-
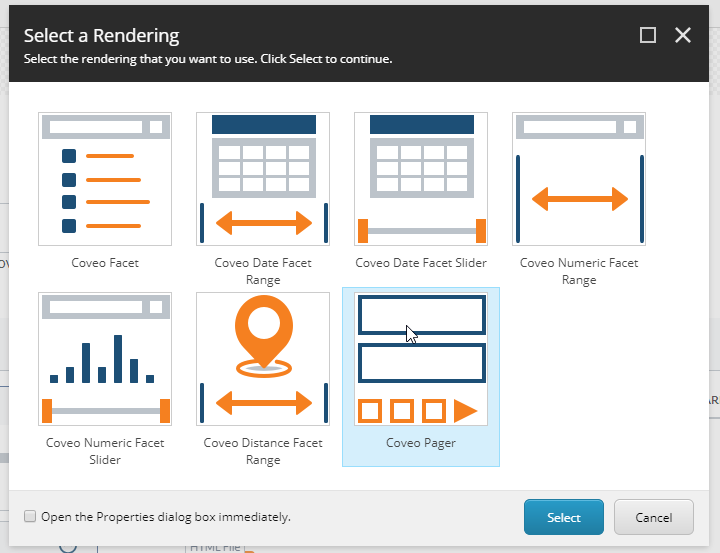
In this example, we add Coveo Pager to the coveo-facets placeholder. This allows us to add the Pager component where the Facets are usually located.
-
-
Save the item.
-
You should now be able to add the component from the extender to the provided placeholder.