Configure and activate using the user interface
Configure and activate using the user interface
After installing Coveo for Sitecore, it must be configured and activated. The steps in this article let you link your Sitecore instance to a Coveo organization and perform indexing configurations.
|
|
Note
In some circumstances, for example in multi-server setups, you may prefer activating Coveo for Sitecore using PowerShell. |
HIPAA organization prerequisites
To use Coveo for Sitecore with a Coveo Platform HIPAA-compliant environment, you must have a Coveo HIPAA Platform organization created for you. Then, you’ll have to perform a few extra configuration steps to get your Sitecore instance ready to link to that HIPAA organization.
If you don’t need a HIPAA-compliant environment, you may skip to the activation procedure right away.
To prepare for a Coveo for Sitecore with HIPAA organization activation
-
Contact Coveo Sales to get a HIPAA organization created for you.
-
If you had already activated Coveo for Sitecore on a non-HIPAA Coveo organization, delete the following
Coveofolders from your main Sitecore CM server:-
<SITECORE_INSTANCE_ROOT>\App_Config\Include\Coveo
You may want to keep a backup of this folder which contains your custom configurations. You can integrate your custom configurations after activation.
-
<SITECORE_INSTANCE_ROOT>\App_Config\Modules\Coveo
-
-
In the
<SITECORE_INSTANCE_ROOT>\App_Config\Include\folder, create a text file calledCoveo.Cloud.Hipaa.config. -
In the
Coveo.Cloud.Hipaa.configfile, paste the snippet below, replace<ORG_ID>with your Coveo organization ID, and save your changes.<configuration xmlns:patch="http://www.sitecore.net/xmlconfig/"> <sitecore> <settings> <setting name="Coveo.Cloud.AuthorizationEndpointUri" value="https://platformhipaa.cloud.coveo.com/oauth/authorize" /> <setting name="Coveo.Cloud.IndexingEndpointUri" value="https://apihipaa.cloud.coveo.com/push" /> <setting name="Coveo.Cloud.PlatformEndpointUri" value="https://platformhipaa.cloud.coveo.com" /> <setting name="Coveo.Cloud.UsageAnalyticsEndpointUri" value="https://<ORG_ID>.analytics.orghipaa.coveo.com" /> </settings> </sitecore> </configuration> -
If you had already activated Coveo for Sitecore, reinstall the Coveo for Sitecore package you were using. After installation, the Coveo for Sitecore Configuration dialog will be displayed.
-
Follow the activation procedure to link your Sitecore instance to your HIPAA organization.
-
(Optional) If this isn’t your first Coveo for Sitecore activation, integrate custom configurations from your
<SITECORE_INSTANCE_ROOT>\App_Config\Include\Coveobackup folder into the new<SITECORE_INSTANCE_ROOT>\App_Config\Include\Coveofolder as follows:-
Restore the old
Coveo.SearchProvider.Fields.Custom.configfile from your backup folder to overwrite the newly created one. -
Merge custom configurations from your old
Coveo.SearchProvider.Custom.configfile into the newly created one.
-
Activation procedure
-
In the Coveo for Sitecore Configuration dialog, click Activate Coveo for Sitecore Package.


You can also reach the Coveo for Sitecore Activation page at
https://<INSTANCE_HOSTNAME>/coveo/command-center/index.html, where<INSTANCE_HOSTNAME>is replaced with your Sitecore instance name. -
In the Coveo for Sitecore Activation page, click Log In.
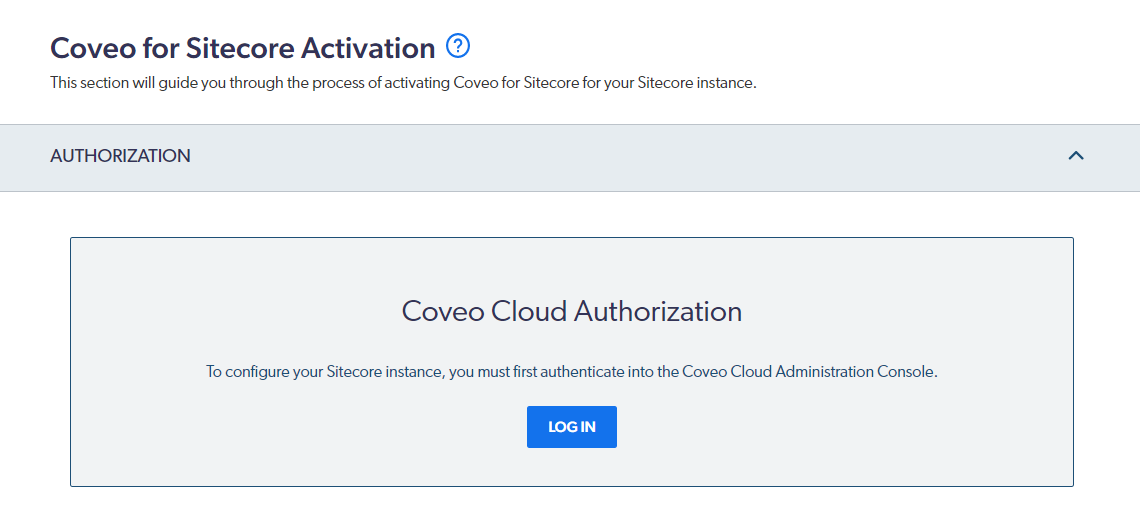
-
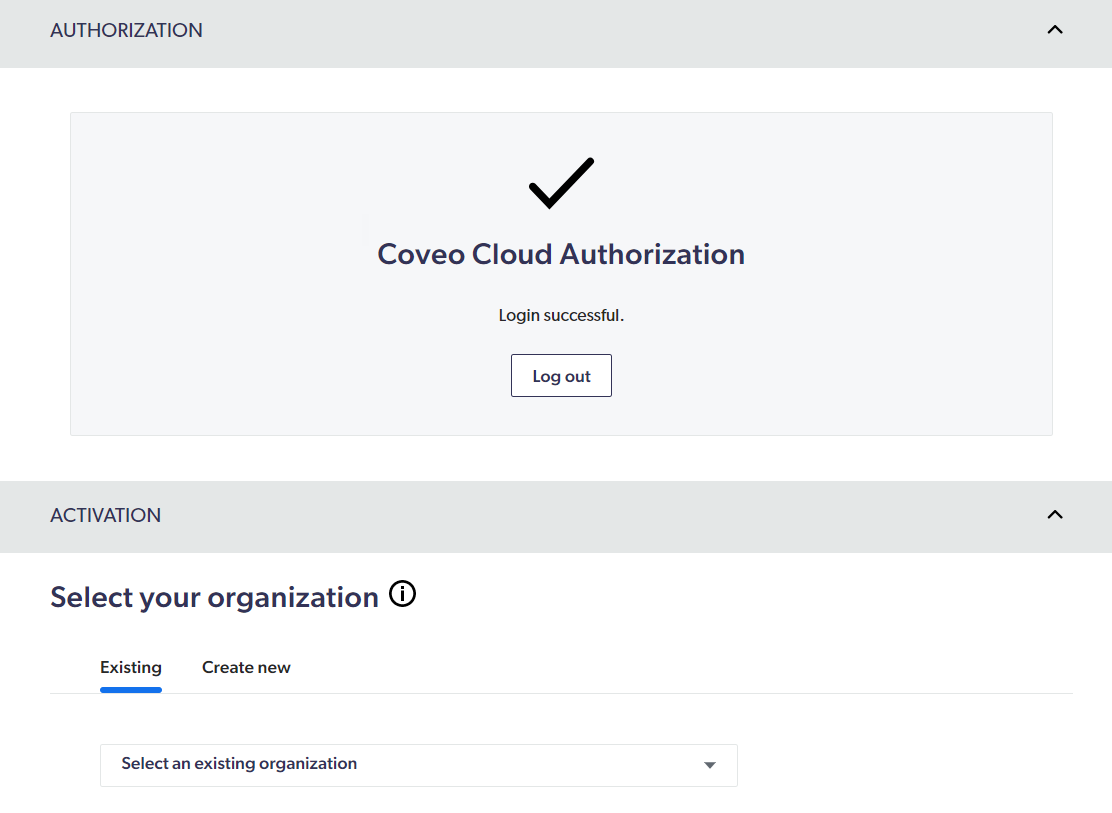
Follow the instructions shown on screen to log in to the Coveo Platform using your preferred identity provider.
If you already have access to one or several Coveo organizations, a screen with the Select your organization section similar to the following will appear:
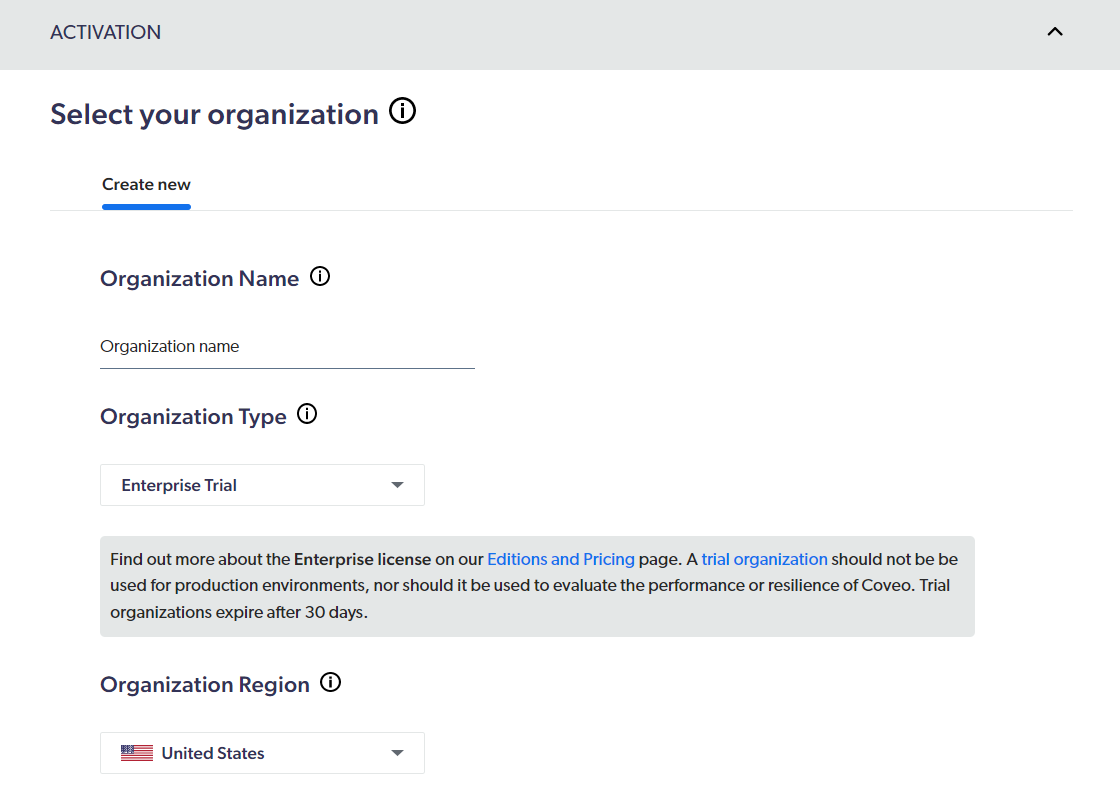
If you don’t have access to a Coveo organization, a screen with the Select your organization section similar to the following will appear:
-
Select or create your Coveo organization.
-
To select an existing organization
-
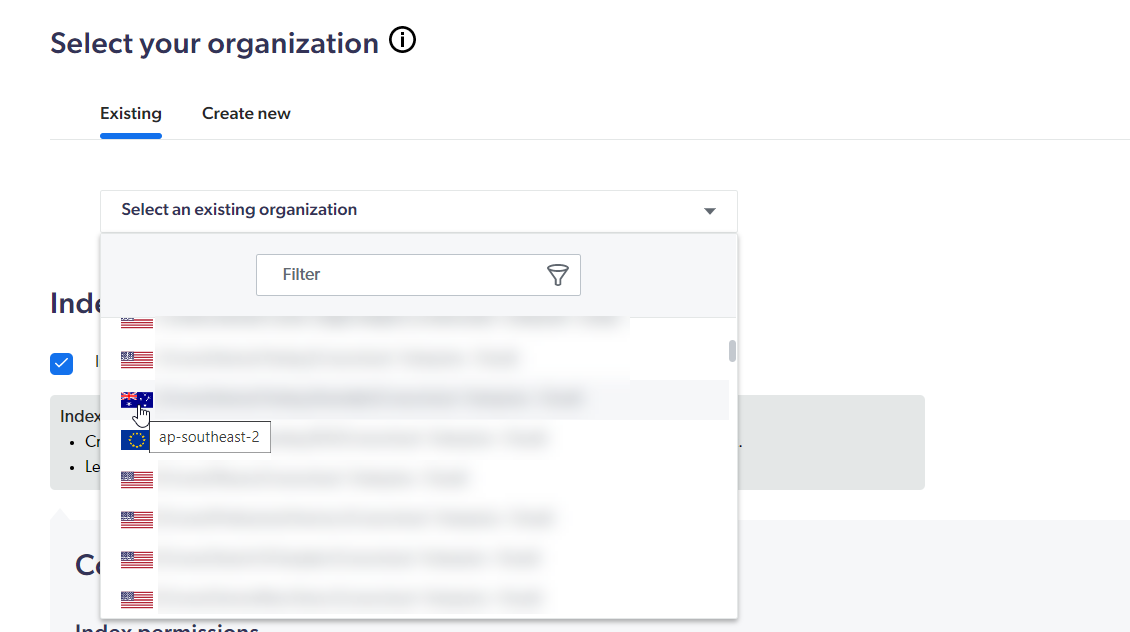
In the Select your organization section, select the Existing tab.
-
Select the desired organization from the dropdown menu.
 Note
NoteYou can only link to an organization in which you’re a member of the Administrators group.
The flag next to the organization name indicates the region the organization data is hosted in. The flag tooltip provides further details on the organization data residency location.
-
-
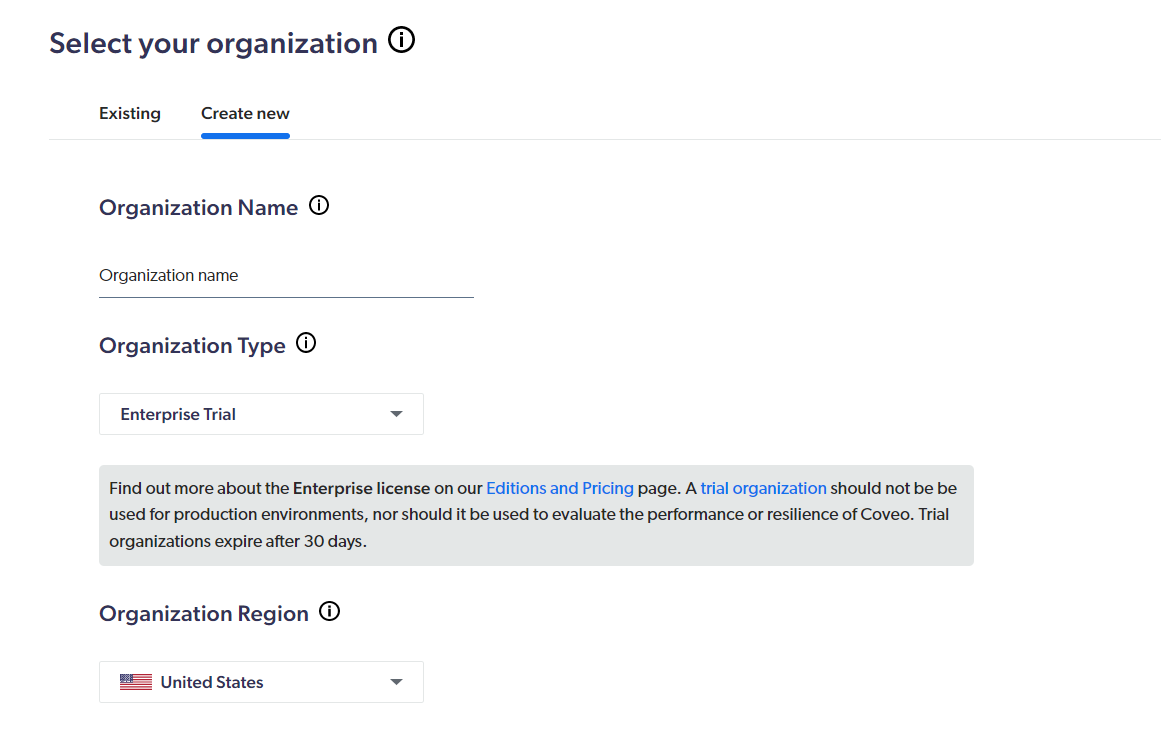
To create a new organization
-
In the Select your organization section, select the Create New tab.
-
In the Organization Name field, type the name you want for your Coveo organization.
Notes-
While you can always change your organization display name later in the Coveo Administration Console (platform-ca | platform-eu | platform-au) under Settings > Organization > Profile, be aware that the original name value you specify when creating an organization will forever be part of the unique and permanent ID of that organization.
-
Organizations created through Coveo for Sitecore are hosted in the
us-east-1region.
-
-
Select the Organization Type that matches your needs (see Product entitlements).
Leading practiceFor a local development environment, select the Test organization type.
-
In the Organization Region dropdown menu, select the data residency region that best suits your needs.
-
-
-
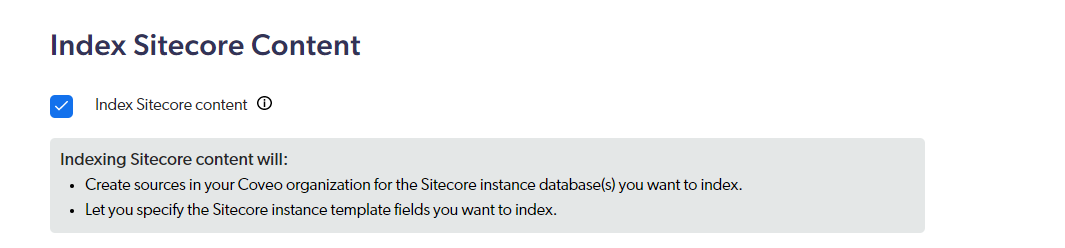
In the Index Sitecore Content section, use the Index Sitecore content checkbox to specify whether you want to index your Sitecore instance content.
The Index Sitecore content option is associated with the
disableSourceCreationelement in theCoveo.SearchProvider.Custom.configfile. If you unselect Index Sitecore content now and later decide to index Sitecore content, you’ll need to do the following in theCoveo.SearchProvider.Custom.configfile:-
Set the value of the
disableSourceCreationelement tofalse. -
Set the Sitecore credential
sitecoreUsername(that is, domain\username), andsitecorePasswordelement values.
-
-
If you selected Index Sitecore content, in the Configure options section, specify your Sitecore instance indexing-related configurations.
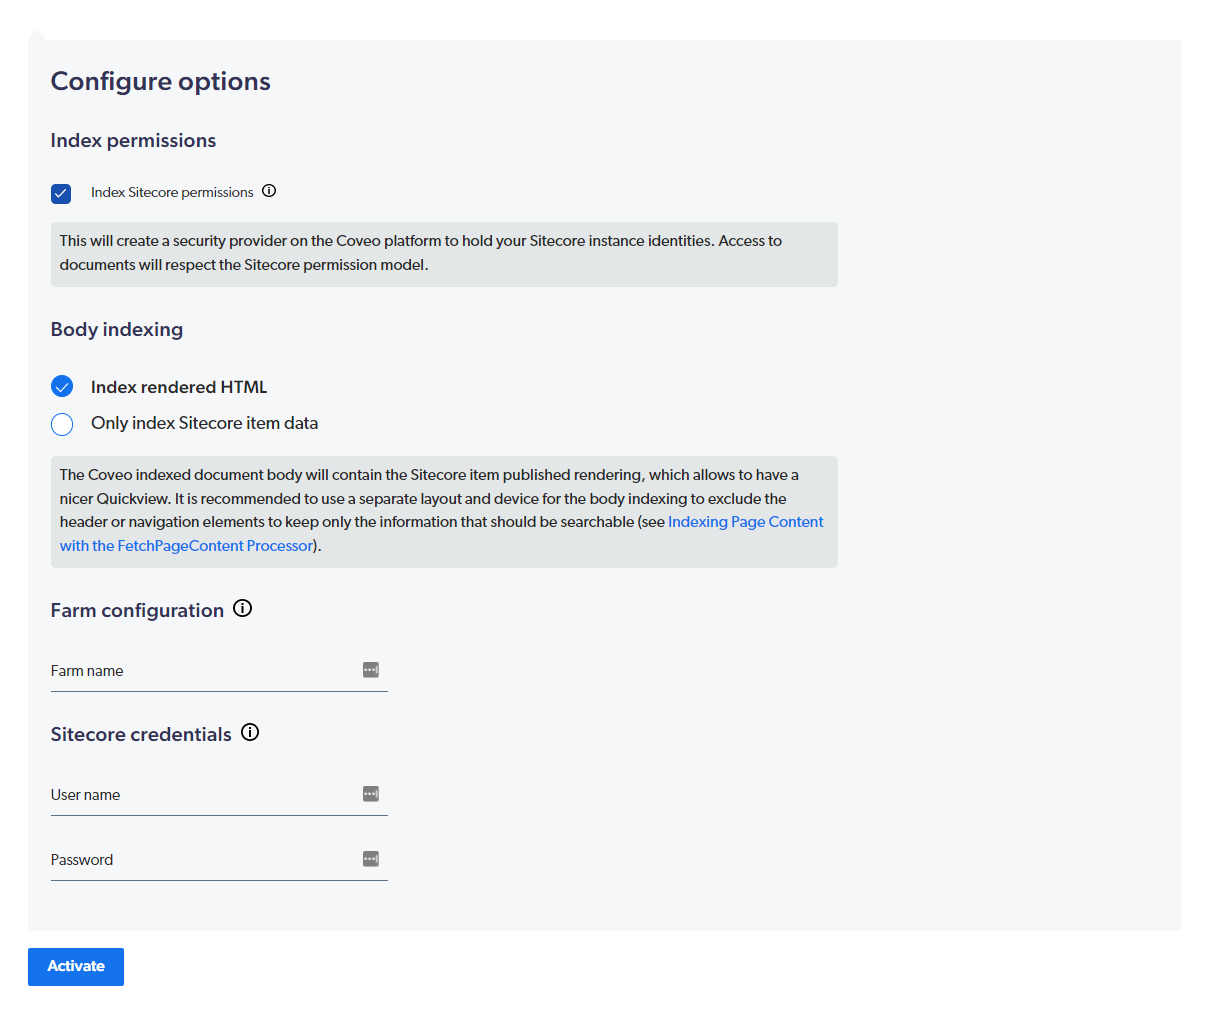
Further details for each option are provided below:
-
Index permissions: Lets you select whether to index Sitecore permissions on the documents. When permissions aren’t indexed, all indexed documents are available to anonymous users. When permissions are indexed, a security provider is created in Coveo to ensure user access to documents follows Sitecore permissions. If your site contains secure content, index the permissions.
-
Body indexing: Lets you select whether the rendered HTML should be indexed.
-
Farm configuration: Lets you specify a Farm name to set coherent names for your resources (that is, sources and security identity providers).
By default, Coveo for Sitecore sources are named
Coveo_master_index - <FARM_NAME>andCoveo_web_index - <FARM_NAME>in your Coveo organization. As a result, if multiple Sitecore instances use the same farm name and are linked to the same Coveo organization, their items are indexed in the same sources.This is rarely useful in a development scenario, but a leading practice in a scaled production environment.
Multiple developers shouldn’t link their instances to the same Coveo organization and use the same farm name. With this setup, a rebuild in one Sitecore instance deletes all items in your Coveo for Sitecore sources that come from the other linked Sitecore instances. Instead, each developer should use their own trial or test Coveo organization.
In a scaled production environment, where multiple Content Management (CM) servers share the same databases, using the same farm name across all CMs and CDs is ideal. This ensures all CMs and CDs pull results from the same public website-related Coveo source (for example, a
Coveo_pub_index - <FARM_NAME>source). -
Sitecore credentials: Lets you specify the Sitecore account (domain\username) responsible for crawling the items and expanding permissions (see Sitecore credential usage).
Leading practiceCreate a dedicated Sitecore admin user for Coveo and use it in the activation steps. Assigning a dedicated user to Coveo for Sitecore will prevent lock-down issues.
Notes-
If you don’t specify a domain in the User name field, Coveo for Sitecore assumes the user is a member of the
sitecoredomain. -
The password entered on this screen is encrypted and saved in the
Coveo.SearchProvider.Custom.config.examplefile.An encryption key is automatically created in the
coredatabase of your Sitecore instance.An encryption key is automatically created in the
webdatabase of your Sitecore instance.
-
-
-
Click Activate.
Allow 15 to 30 minutes for your Coveo organization to be provisioned.
NoteAt activation, the
.config.examplefiles below are renamed.-
Coveo.CloudPlatformClient.Custom.config.exampletoCoveo.CloudPlatformClient.Custom.config -
Coveo.SearchProvider.config.exampletoCoveo.SearchProvider.config -
Coveo.SearchProvider.Custom.config.exampletoCoveo.SearchProvider.Custom.config -
Coveo.SearchProvider.Rest.config.exampletoCoveo.SearchProvider.Rest.config -
Coveo.SearchProvider.Rest.Custom.config.exampletoCoveo.SearchProvider.Rest.Custom.config -
Coveo.UI.Controls.config.exampletoCoveo.UI.Controls.config -
Coveo.UI.Components.ExperienceEditor.config.exampletoCoveo.UI.Components.ExperienceEditor.config
These configuration files are located under
<SITECORE_INSTANCE_ROOT>\App_Config\Modules\Coveo, except the*.Custom.configfiles which are located under<SITECORE_INSTANCE_ROOT>\App_Config\Include\Coveo.
NoteWhen a Coveo trial organization has been idle for some time, it’s paused automatically. If you have selected an existing organization that has been idle for a while, the following dialog box will be displayed:

You can click Resume in the dialog box to resume using your organization.
You can also reactivate your organization by logging in to the Coveo Administration Console.
-
-
Depending on your Sitecore revision, there may be some lines that you want to uncomment in the
Coveo.SearchProvider.Custom.configfile. Scan the file for any relevant section. For example, you may want to uncomment the<field fieldName="culture">element.
It’s important that you only modify the
.Custom.configfiles. Modifying the.configfiles may lead to unexpected bugs during updates. -
Changes to your
Web.configfile are required to ensure that requests targeting the REST endpoint can handle special characters. -
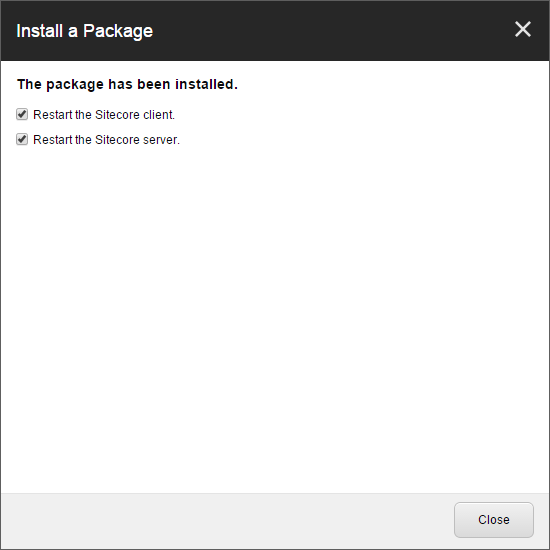
Restart the Sitecore client.
-
If you’re using the
webdatabase, publish themasterdatabase, as items created by Coveo for Sitecore need to be replicated to thewebdatabase as well.
|
|
Sitecore on Azure Azure’s Web Application Firewall (WAF) may block Coveo query network calls that trigger OWASP rules. You might need to disable or customize Azure WAF rules to allow Coveo for Sitecore network calls (see Azure Web Application Firewall triggered rules block Coveo for Sitecore’s communication on Content Delivery servers). |
What’s next?
When installing Coveo for Sitecore in a Sitecore configuration with several content management (CM) and content delivery (CD) hosts, see the scaling guide.
Otherwise you can return to the deployment guide.