Use a standalone search box
Use a standalone search box
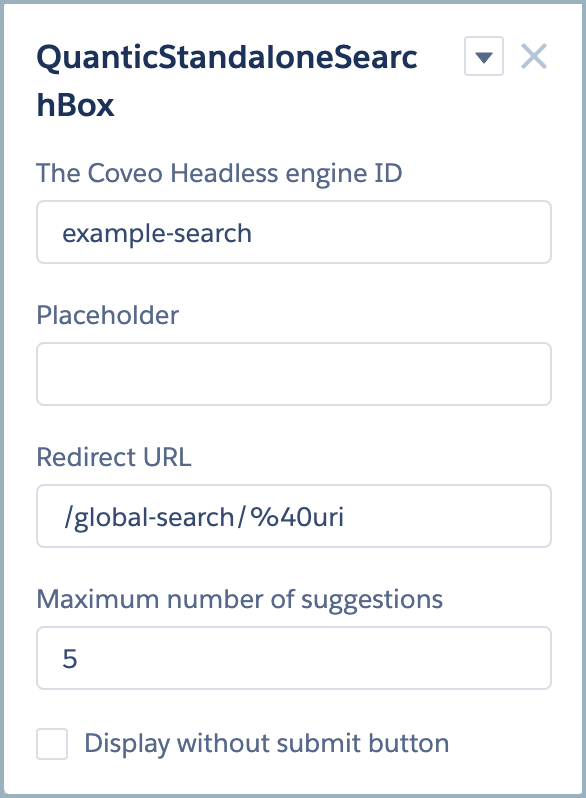
The QuanticStandaloneSearchBox component lets you create a search box that redirects to a main, Quantic-powered search page.
It works out of the box and redirects to the Quantic-powered search page of your Salesforce Experience Cloud site (that is, Salesforce Community) by default.
Once included in your Experience Cloud site, you can use the Experience Builder to configure it.

Set the Quantic Standalone Search Box as the Header Search Box
In most cases, you’ll want to go further by including that standalone search box component in the header of your Experience Cloud site.
That’s only possible with Lightning Aura search box components, so you’ll need to create one that wraps the QuanticStandaloneSearchBox component.
This article walks you through the required steps.
-
Create a new Lightning Aura Component. We recommend doing so through the Salesforce developer console.
-
Edit the
.cmpfile to wrap theQuanticStandaloneSearchBoxcomponent. Be sure to set theimplementsoption of your Aura component toforceCommunity:searchInterface, so that you can use it in the header of your Experience Cloud site. Also, be sure to set theengineIdvalue to the one used in the target main search page (see Usage).<aura:component implements="forceCommunity:searchInterface"><aura:attribute name="engineId"
type="String" access="global" /> <aura:attribute name="placeholder" type="String" access="global" /> <aura:attribute name="numberOfSuggestions" type="Integer" access="global" /> <aura:attribute name="redirectUrl" type="String" access="global" /> <aura:attribute name="withoutSubmitButton" type="Boolean" access="global" /> <c:quanticStandaloneSearchBox
engineId="{!v.engineId}" placeholder="{!v.placeholder}" numberOfSuggestions="{!v.numberOfSuggestions}" withoutSubmitButton="{!v.withoutSubmitButton}" redirectUrl="{!v.redirectUrl}"/> </aura:component>
As mentioned earlier, this informs your Experience Cloud site that your component should be considered a search box that can be used in your Experience Cloud site header. We will retrieve the engineIdfrom the Experience Builder, and we do similarly for the other properties below.Wrap the QuanticStandaloneSearchBoxcomponent, setting the target property values. In this example we set theengineIdproperty value, which is required, and four others, which are optional. -
In your
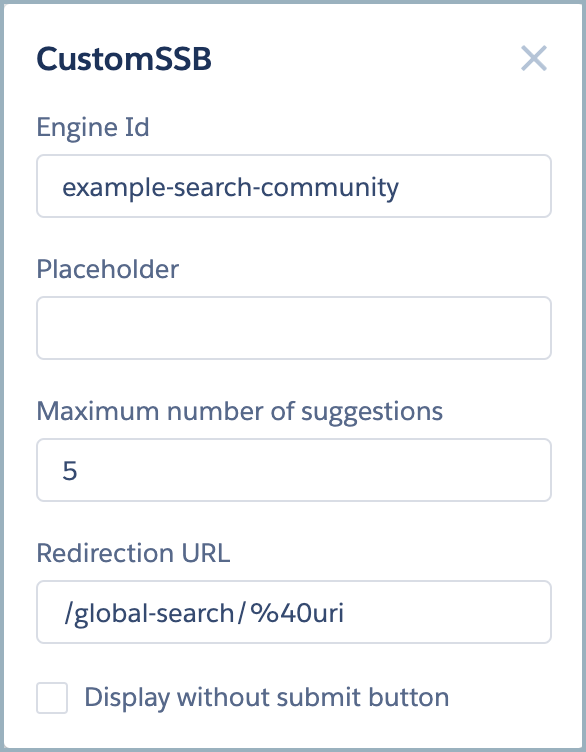
.designfile, expose the target attributes through the Experience Builder, optionally setting default values.<design:component> <design:attribute name="engineId" label="Engine Id" default="example-search-community"/><design:attribute name="placeholder" label="Placeholder"/> <design:attribute name="numberOfSuggestions" label="Maximum number of suggestions" default="5"/> <design:attribute name="redirectUrl" label="Redirection URL" default="/global-search/%40uri"/> <design:attribute name="withoutSubmitButton" label="Display without submit button" default="false"/> </design:component>
Use the same engineIddefault value as you do in the target main search page. -
Set your custom component as the default Search Component of your Experience Cloud site.
-
In the left sidebar, select Theme > Theme Settings.
-
Under Search Component, in the dropdown menu, select the name of your custom component.
-
If needed, use the Experience Builder to configure the attributes of your component.
