Set the period to review data
Set the period to review data
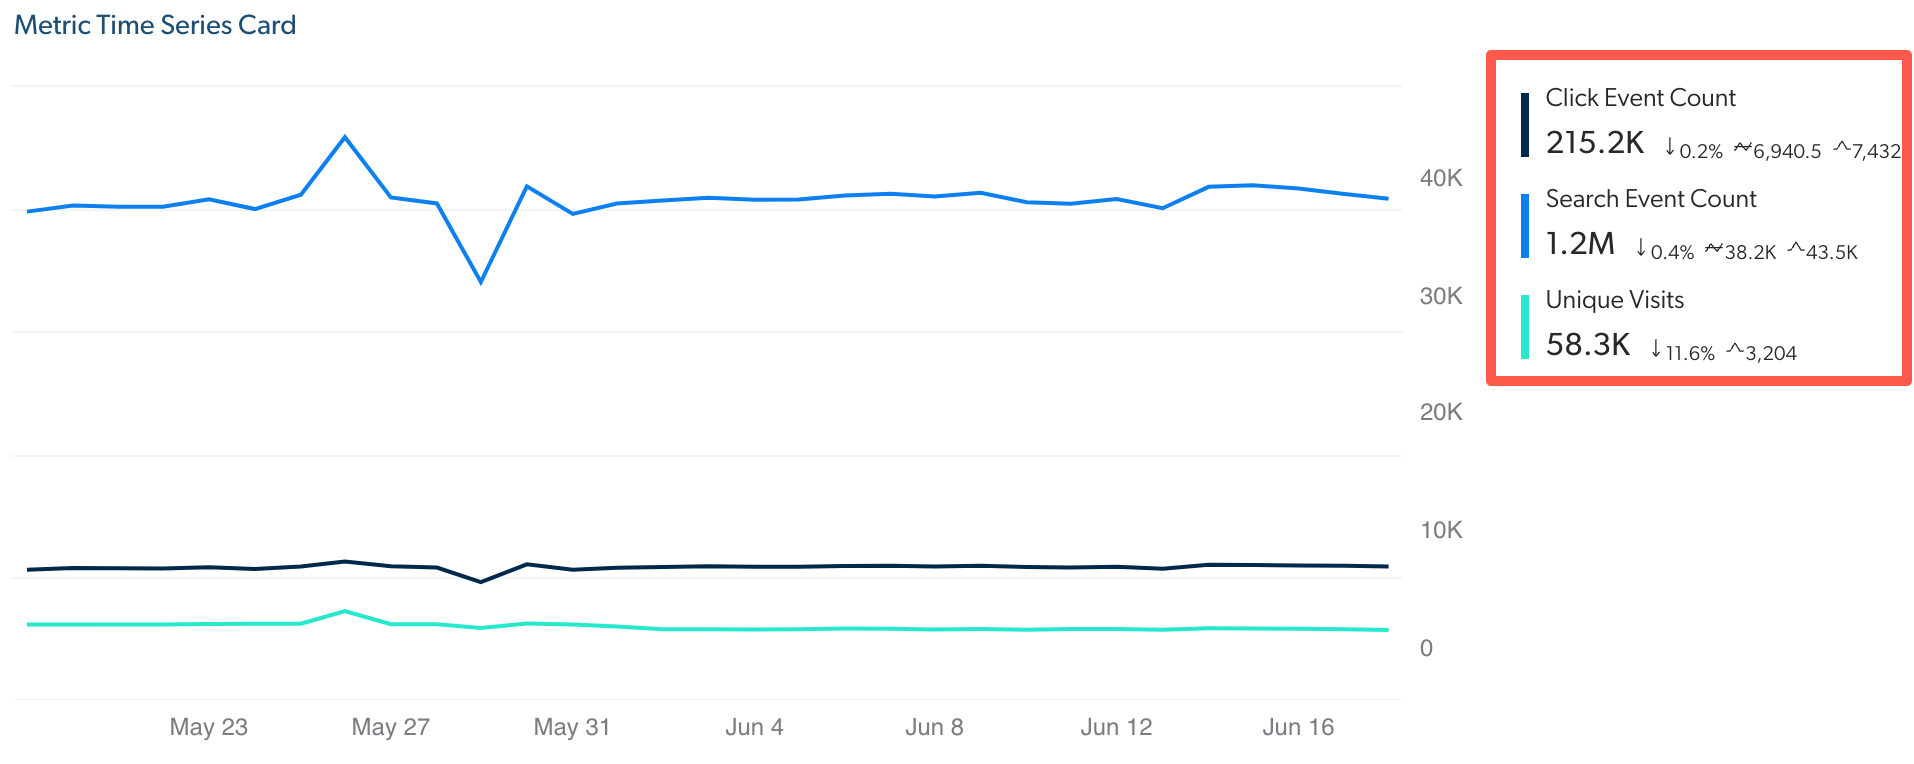
You can determine the date interval over which you want to review Coveo Analytics data in various areas of Coveo, such as the Coveo Analytics reports, data exports, and the Visit Browser. In the date picker of the reports, you can also determine the period used to establish trends in metric and trend report cards.
Set a period to review data
To focus on a specific period of data, you can adjust the date range in the date picker.
-
(Optional - Reports only) When you want a specific date range selection to be the default for your report, access Edit mode by clicking Edit in the upper-right corner.
Although you can modify the date range on a given report without accessing Edit mode, the changes you make will only apply to the current session. This means that the next time you open the report, the default date range will be displayed. If you want to change the default date range to a different one and ensure that it remains the same each time you open the report, you must modify it in Edit mode and save the report.
-
Click the current date range.
Depending on your context, see the appropriate topics to locate the date range:
-
Note
(Coveo for Salesforce only) Depending on your date range selection and license limit, some date range options can be grayed (see Coveo for Salesforce edition comparison).
-
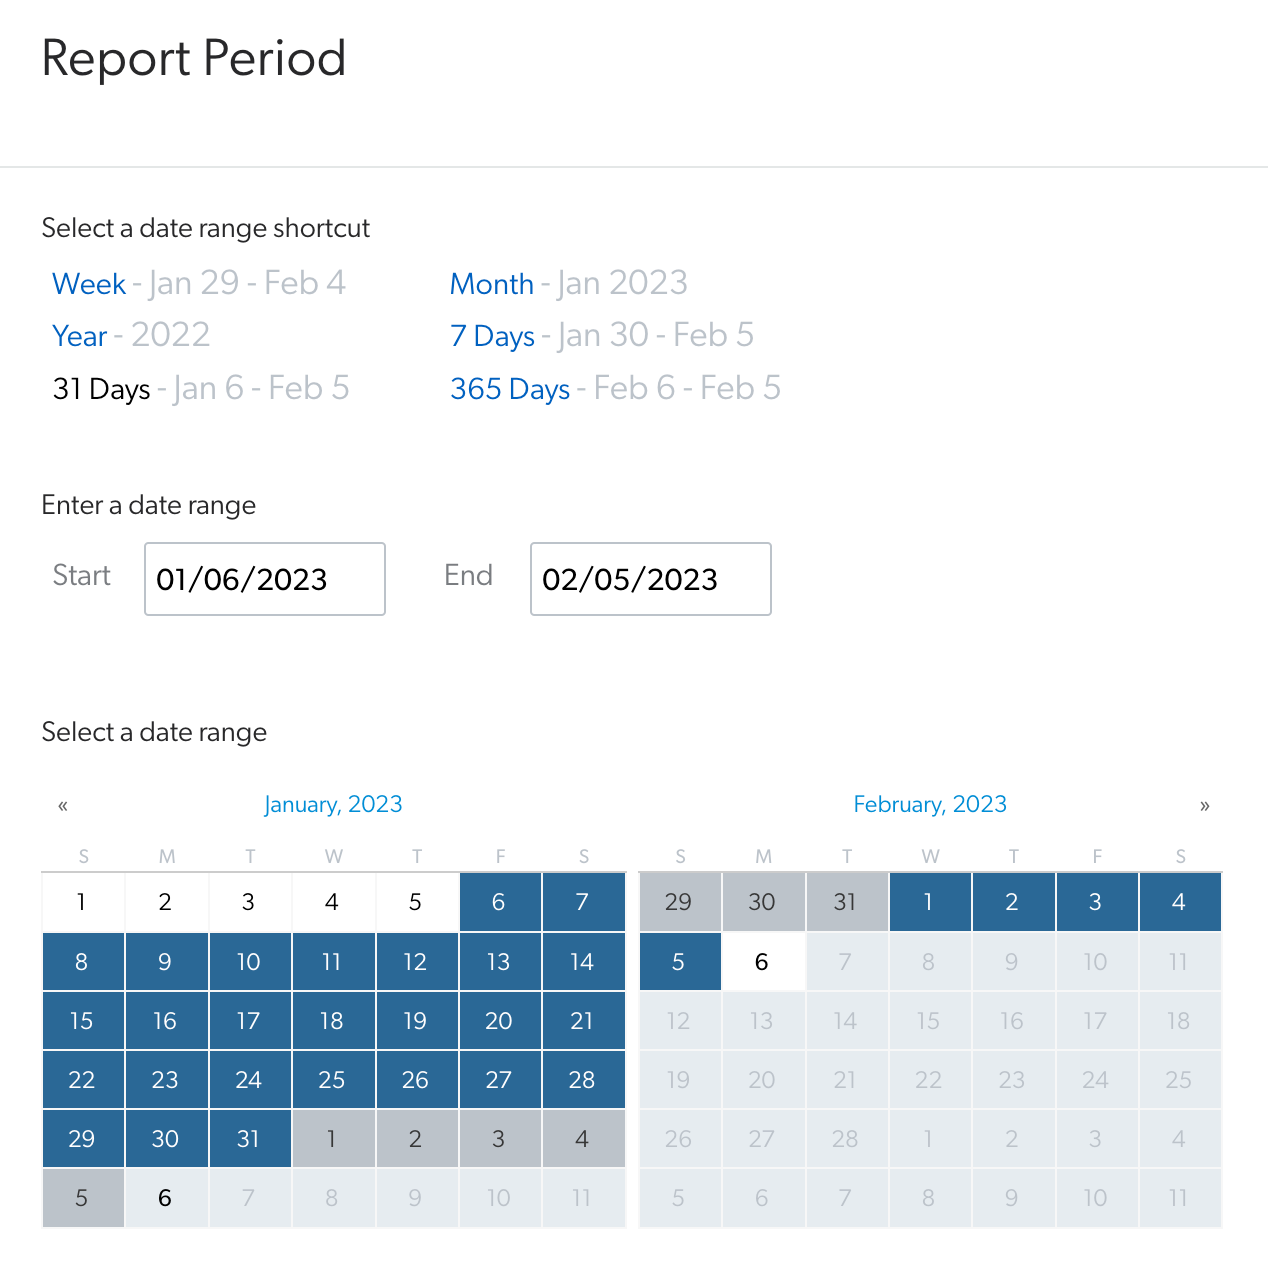
In the Report Period panel that opens, use one of the following methods to select the date range you want to review:

-
In the Select a Date Range Shortcut section, click the last complete Week, Month, Year, 7 Days, 31 Days or 365 days link to automatically set the start and end dates accordingly relative to the day the page is displayed.
Notes-
The current day is excluded from date range shortcut selections to prevent affecting trends and other analytics.
-
The date range can’t exceed 365 days.
-
-
In the Enter a Date Range section, in the Start and End boxes, enter the beginning and end dates in the
mm-dd-yyyyformat. -
In the Select a Date Range section, do one of the following:
-
Click the left or right double-arrows to adjust the month, and then click the start and end dates.
-
Click a month label (for example, May, 2023) to select the entire month as the date range.
Notes-
(Reports only) The report remembers your date range selection so you don’t have to set it each time the report is displayed.
-
(Reports only) When you set specific Start and End dates, the results shown will always belong to those particular dates.
For example, on May 1st, 2023, you want to create a report that presents the Coveo Analytics data for April 2023, so you select April 1st, 2023 as the Start date and May 1st, 2023 as the End date instead of selecting 31 Days.
If you select 31 Days and open the report on May 2nd, you would see the results from April 2nd to May 2nd.
-
All three methods are linked together, meaning that you can select a date range shortcut, and then select a different start or end date, for example.
-
The calendar picker uses your browser’s time zone.
-
-
-
(Reports only) In the Compare to section, click the Previous Period, Previous Month, Previous Year, or Custom Period link to set the period to compare the current selected data with.
The trends in the metric and trend (dashboards only) cards are automatically updated based on your selection.
 Notes
Notes-
By default, the Previous Period is used to compare.
-
The reports remember your date range selection so you don’t have to set it each time the report is displayed.
-
-
-
Once you’re done, click Apply.
-
(Reports only) If you’re in Edit mode, don’t forget to save your changes by clicking Save in the upper-right corner.
Required privileges
The following table indicates the required privileges to view and edit elements of the Data Exports (platform-ca | platform-eu | platform-au), and Visit Browser (platform-ca | platform-eu | platform-au) pages and associated panels.
|
|
Note
Access to dashboards or part of their content may be further restricted as a function of the member (see Manage access to reports and Manage permission filters). |
| Action | Service - Domain | Required access level |
|---|---|---|
View reports |
Analytics - Analytics data Analytics - Dimensions Analytics - Named filters Analytics - Permission filters Analytics - Reports Organization - Organization |
View |
Edit reports |
Analytics - Analytics data Analytics - Dimensions Analytics - Named filters Analytics - Permission filters Organization - Organization |
View |
Analytics - Exports Analytics - Reports |
Edit |
|
Analytics - Administrate |
Allowed |