Use marketer controls
Use marketer controls
In this article, we’ll show you how to customize our out-of-the-box strategies by applying global or per-experience rules.
What are marketer controls?
|
|
The user role contributor or above is required to create, edit, or delete recommendations rules. |
Qubit’s Marketer controls provide a powerful way to customize our out-of-the-box recommendations strategies by applying global or per-experience promotion and blacklisting rules.
These controls improve product recommendations by adding a business logic layer that is overlaid on top of our algorithmic strategies and enable merchandisers and curators, who are often best placed, with the deepest product knowledge, to fine-tune the product carousel with recommendations that are more closely aligned with campaigns, promotions, and wider business goals.
|
|
Leading-practice
Product recommendations are driven by our machine learning algorithm that learns patterns from visitor interactions with your product catalog. Applying lots of rules, with complex attribute combinations, will restrict the effectiveness of the learning process in generating recommendations that are tailored to each customer and their journey. We therefore suggest that you carefully plan your rules strategy and then work iteratively by adding rules and determining the effects of those rules on the carousel, before continuing to add further rules. |
Available rules
You can use Marketer controls to promote and blacklist products. You do this by creating one of three rule types: Promote, Blacklist, or Conditional. Rules can be applied globally across all of your recommendations experiences or per-experience.
|
|
Note
Refer to A focus on rule types for more information. |
The anatomy of a rule
Rules consist of product attributes, which you can add singularly or in combination.
For example, you might promote products based solely on the attribute category or combine this with another attribute, such as stock level.
|
|
Which attributes are available for use in creating rules depends on the product fields emitted for your property. |
In addition to attributes, Conditional rules allow you to also define a rule condition. A good example is where you want to promote products only if a condition returns true, e.g. promote belts if a customer is browsing products in the product category trousers or promote end-of-line products from a manufacturer where the stock level is below a certain level.
Example rule
In the following example, we see that the user has created a rule to promote products in the Modern Fashion brand that have less than 50 items left in stock.
You might use this rule type to increase promotions of low-stock items:

|
|
Note
Rules are delivered server-side to ensure effective integration with the recommendations carousel and with the page on which the products are displayed. |
A focus on rule types
Promote
Promote products based on one or more attributes. Promoted products permeate through recommendations, increasing their visibility and sales. The promotional feature is smart and exploits existing links between products to show promoted products on the site.
Promotions allow you to push high stock items and products that are part of seasonal campaigns, such as Back To School or Easter.
Blacklist
Blacklist products based on one or more attributes. Blacklisted products will never be shown in recommendations. This is useful for out of stock or discontinued items, pre-orders, and out of season product lines.
Conditional
Promote or blacklist products based on a condition and one or more attributes.
Rule interactions
It is important to understand that rules created for specific experiences will interact with global rules and any custom rules added by Qubit for your property. What does this mean?
Well, for example, suppose you added a global rule to promote products in the category Bed Sheets - Valences and a second rule for an experience that also promoted a smaller set of products, perhaps by product attribute, in the same category.
In this instance, we would promote all products in the category, and then promote even further that smaller set of products targeted by the per-experience rule.
|
|
Leading-practice
A good rule of thumb is the more a product is promoted the more likely it is to be recommended. |
It is also possible that a product promoted in a globally-applied rule could be blacklisted by a rule for a specific experience. In this instance, for any experiences linked to the rule, the product would be blacklisted–blacklisting wins.
Rule preview
For each rule you create, we provide an indicative preview of how the rule will change the recommendations generated for the carousel.
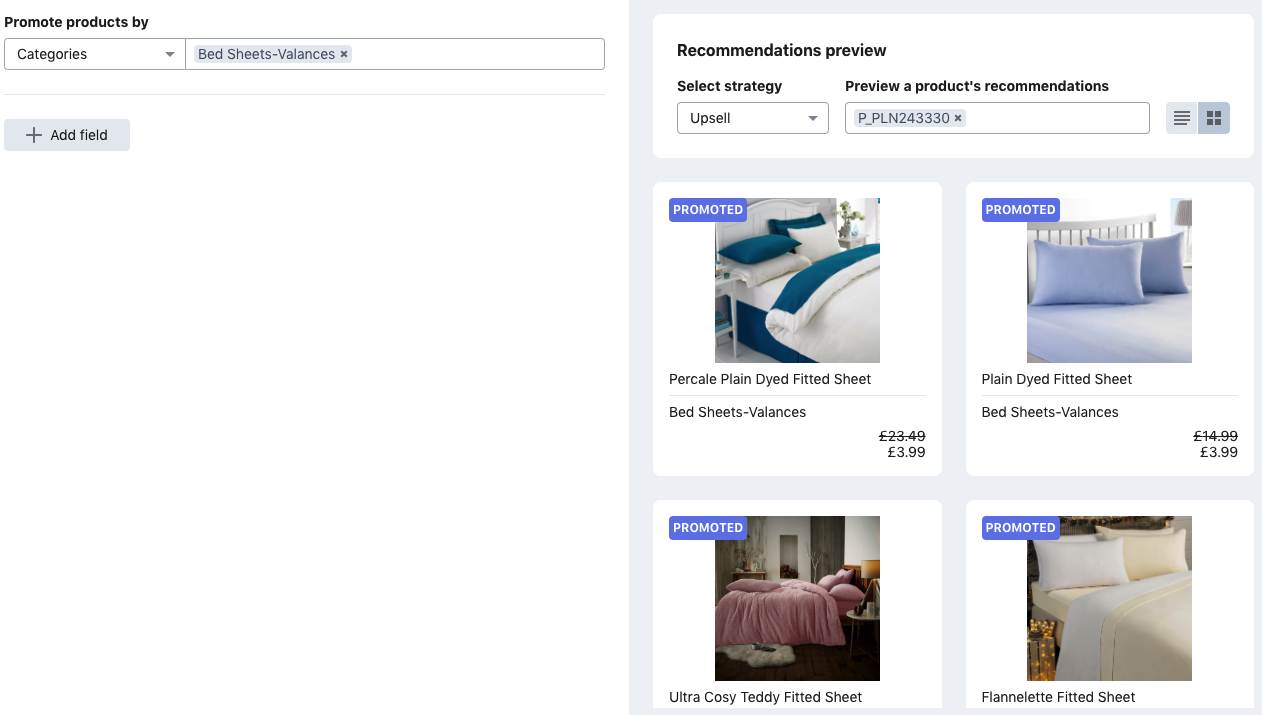
In the following simplified example, the user has created a rule to promote Bed Sheets - Valances, seeding the recommendation with the product Id of a bed P_PLN243330:
|
|
Leading-practice
You can also experiment with the strategy selection to see how this impacts recommendations in the carousel. |
|
|
Note
The seed is simply the product or list of products that you want to generate recommendations for. In the example above, we used the product Id of a bed as the seed. So on the PDP for that bed, we would recommend the products shown in the preview. |
Let’s now take a look at how we add a rule and use the preview to see how our rule affects the products in the carousel.
Adding rules
Step 1
Select Recommendations from the side menu. Existing rules are displayed
Select New rule and enter a name for the rule
|
|
Leading-practice
We recommend using a name that approximately describes the rule intention so that you can more easily identify rules in your list. |
Step 2
Select the rule type - this can be Promote, Blacklist, or Conditional
|
|
Once a rule is created, you can edit its attributes and conditions, but you cannot change the rule type or name. |
By default, the new rule will be a global rule.
-
To continue with a global rule, select Next
-
To target specific experiences, select the Global rule toggle to turn it off:

and select Next. Now select the experiences you want to apply the rule to:
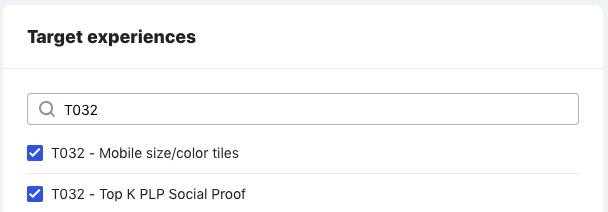
and select Next again
Step 3
Select an attribute from the list and enter an appropriate value for the attribute
To add further attributes, select Add attribute:
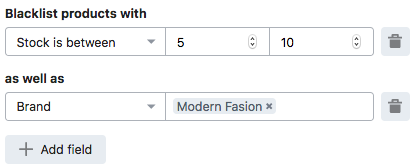
|
|
You can only add an attribute once in a rule. |
To delete an attribute, select 
|
|
Note
Conditional rules can be used to promote or blacklist products based on a condition in addition to attributes. A good use case for this rule type, is where you want to promote products in a category for a particular manufacturer (the condition). |
Step 4
You can now use the Recommendation preview to understand how the rule will affect the generation of recommendations.
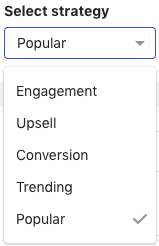
By default, we will use the popular strategy when presenting the preview. You can change this by making a selection from the dropdown list:
|
|
The strategy you select in no way changes the strategy called in your recommendations experience, as specified in triggers.js. See Building The Experience for more information. |
The Engagement, Upsell, and Conversion strategies all require a product Id as a seed. You can get a product’s Id by switching to the list view:

The Id is presented for each product in the carousel:

Step 5
Once you are happy with the configuration of your rule, select Create and then Create a second time.
|
|
Note
Your changes are immediately applied to your live recommendations experiences-globally or per experience. |
Editing rules
|
|
When editing a rule, you can change which live experiences the rule targets—of course, only if it’s a per-experience rule—and also rule attributes and conditions. You cannot change the rule name or the rule type. So you cannot change a rule from promotion to blacklist. |
Select your rule from the list to open it and select Edit
Make the necessary changes, and select Save to commit those changes
|
|
Note
Your changes are immediately applied to your live recommendations experiences—globally or per experience. |
Deleting rules
Open your rule from the list and select Delete and then select Delete a second time to confirm
Support
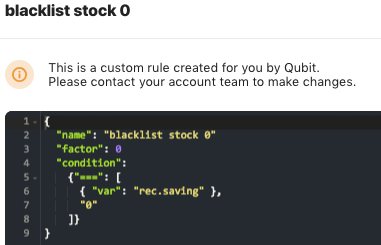
Custom global rules can be added by your Qubit team when your specific use case is not covered by the rules available on the Recommendations page. Reach out to your Customer Success Manager at Qubit to discuss adding new rules or editing existing rules.
You can see which custom rules have been added to your property in your list of rules. These are rules with the type Custom. You can then view the rule construct by selecting it from the list:
